It always amazes me how many people are unaware of rhubarb. Almost every time I purchase it, I have to explain to the cashier what it is. My mom once accidentally dropped a piece of raw rhubarb in a stranger’s pocket at a Mariners game. Fearing the man would think she was being fresh, she just left it there for him to discover on his own. A couple innings later, he found it, and you could tell by the look on his face he had no idea what the little piece of red vegetable was, or how it got into his pocket.
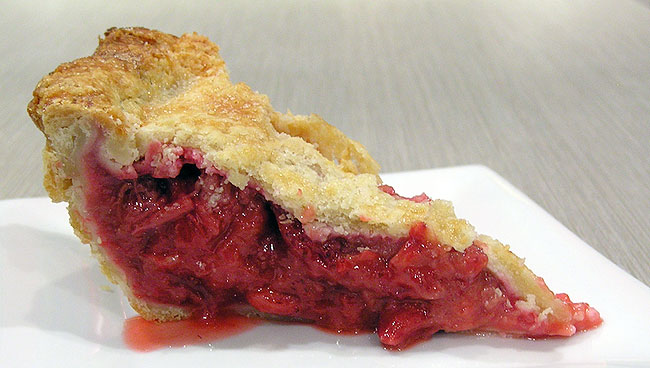
I grew up in Seattle and my parents planted rhubarb in our backyard. We all liked rhubarb pie and even ate rhubarb as a snack, plain without sugar. I prefer rhubarb pie without the strawberries. However, for those of you who like the mix of strawberries and rhubarb, this is a good recipe with a nice balance of the two. The strawberries were very watery, as is the case in rainy years, so the first attempt failed, the pie was more like a soup. The second attempt worked perfectly. The trick was making sure the eight venting slits were large enough so that they did not close up during the baking process.

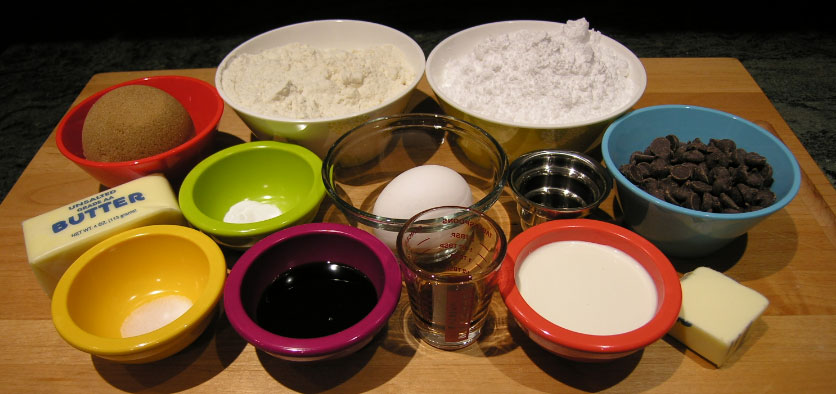
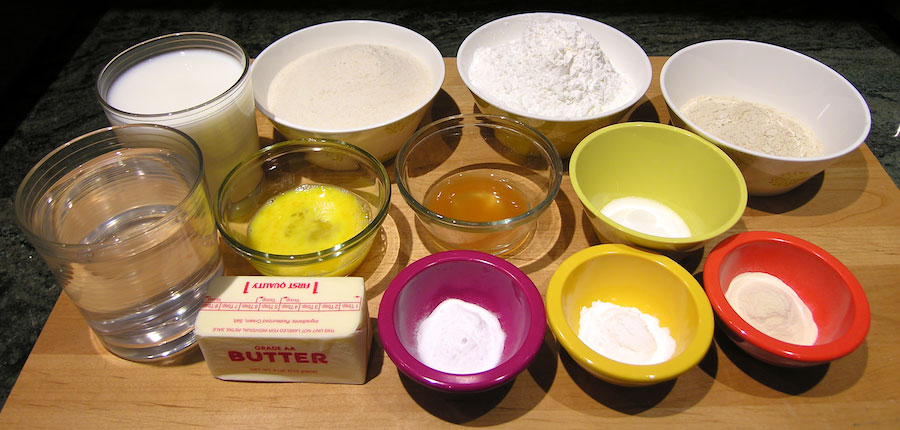
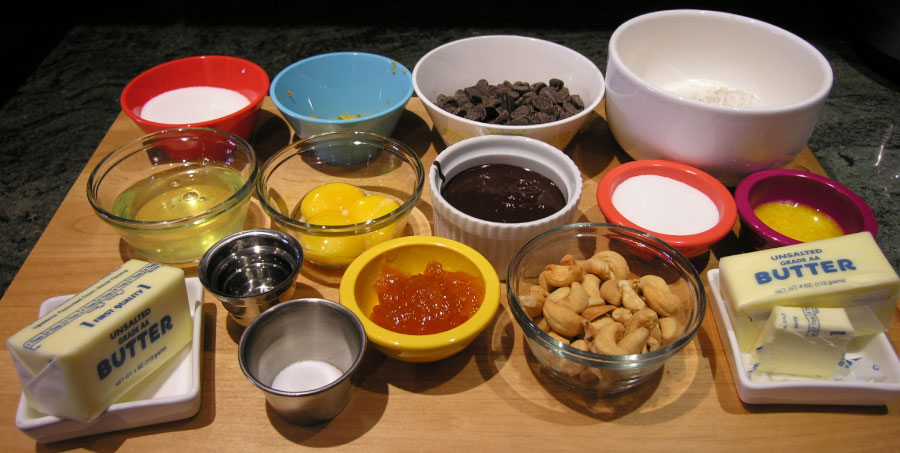
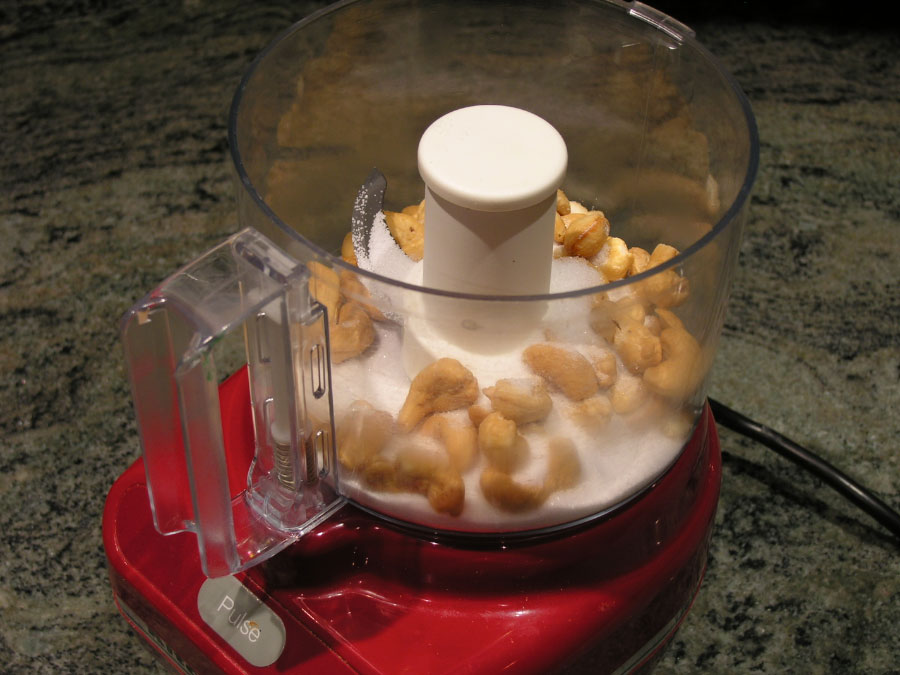
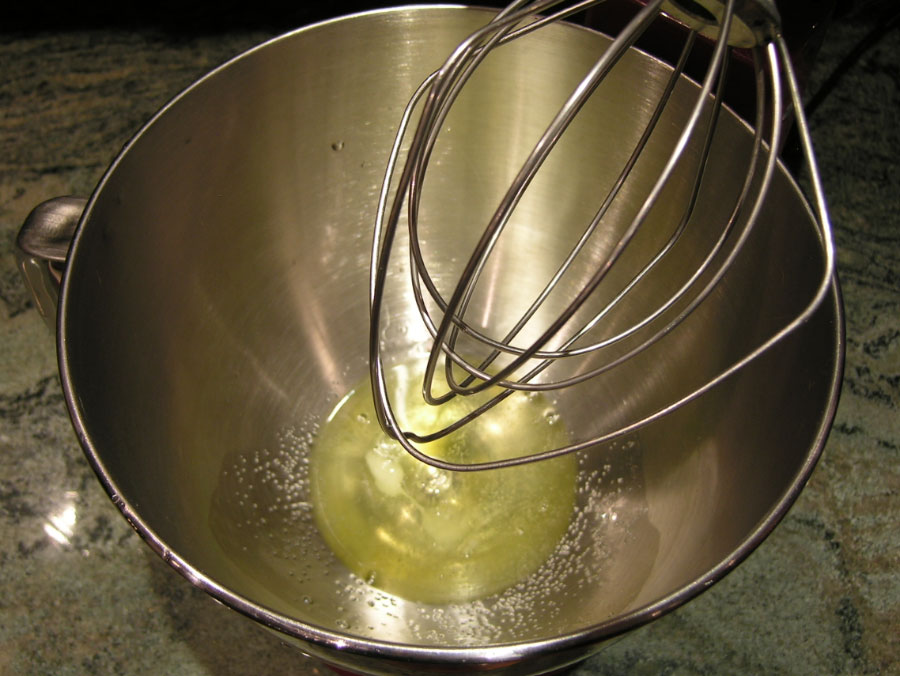
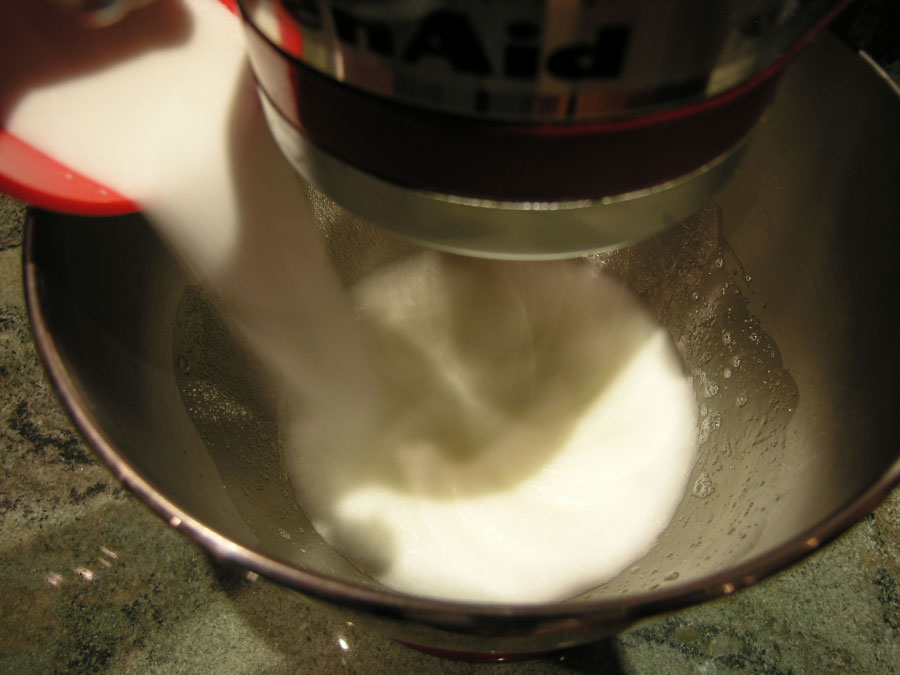
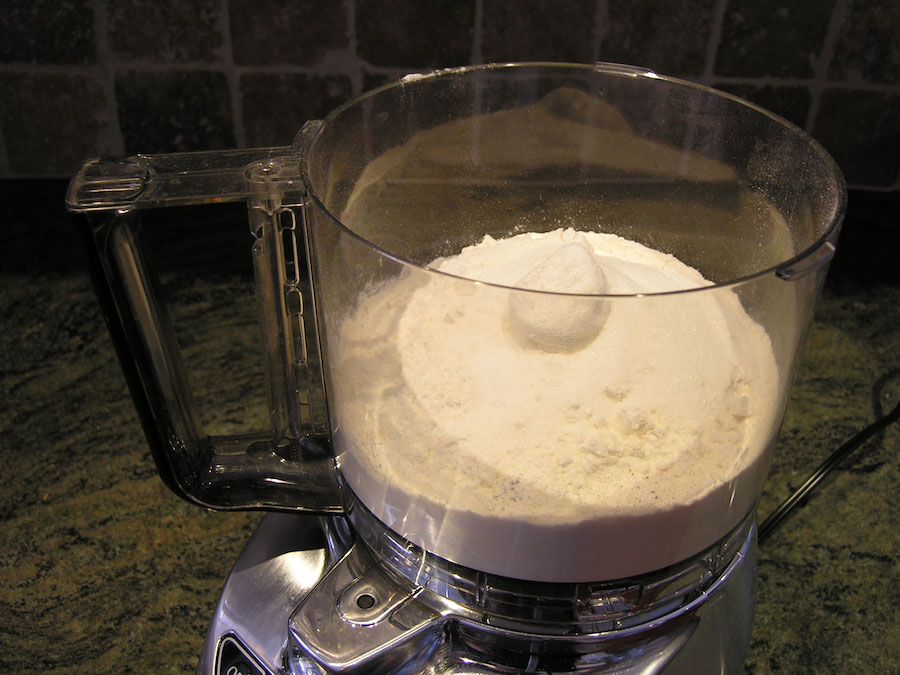
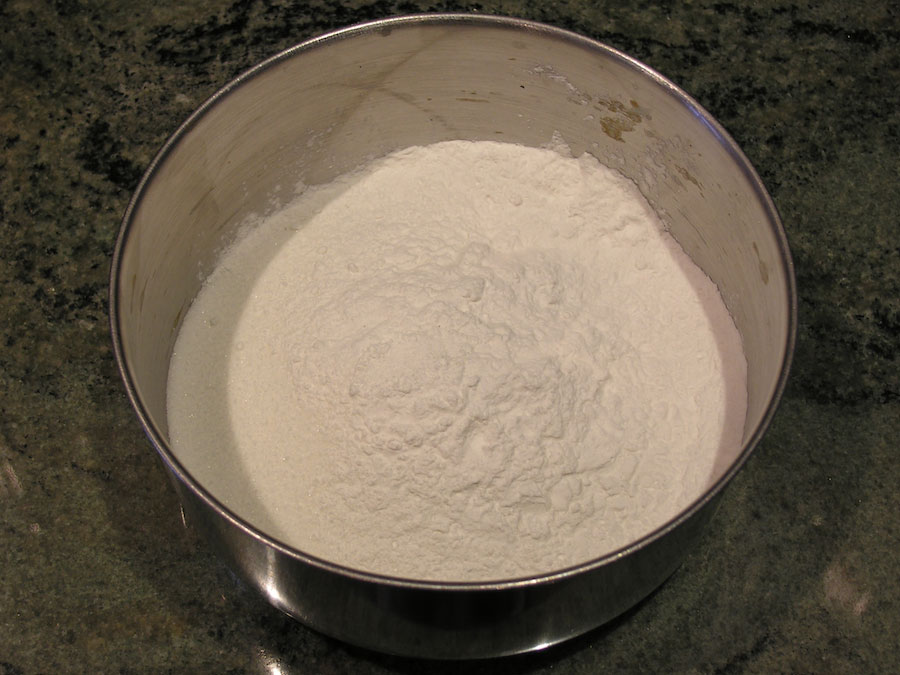
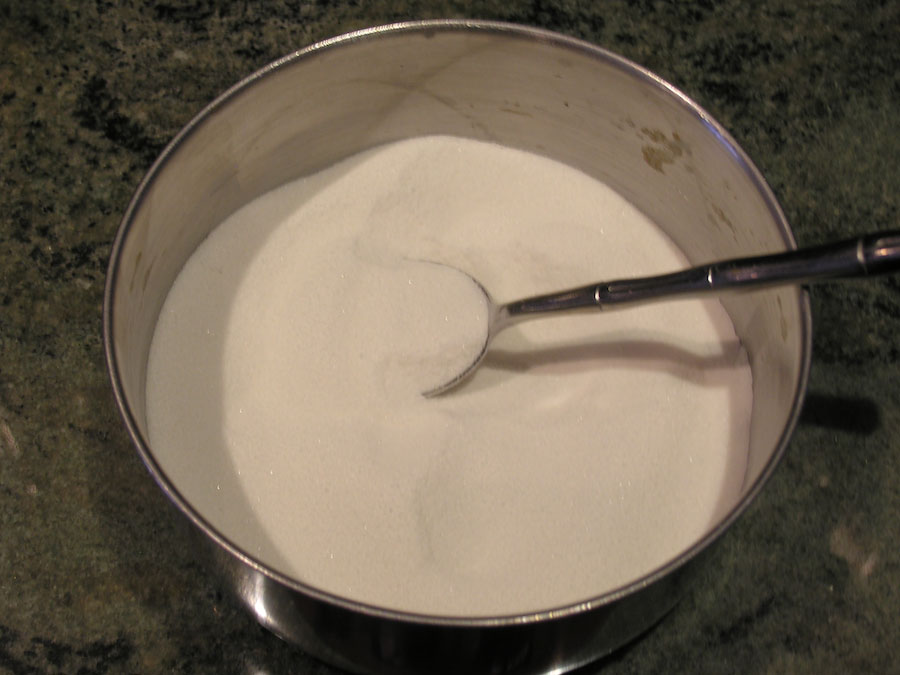
Starting off with the crust. The recipe and detailed instructions are at the end of this post. For this recipe, we need all-purpose flour, salt, sugar, vegetable shortening, unsalted butter, and ice water. Looks like we have it all. Ready, set, bake…
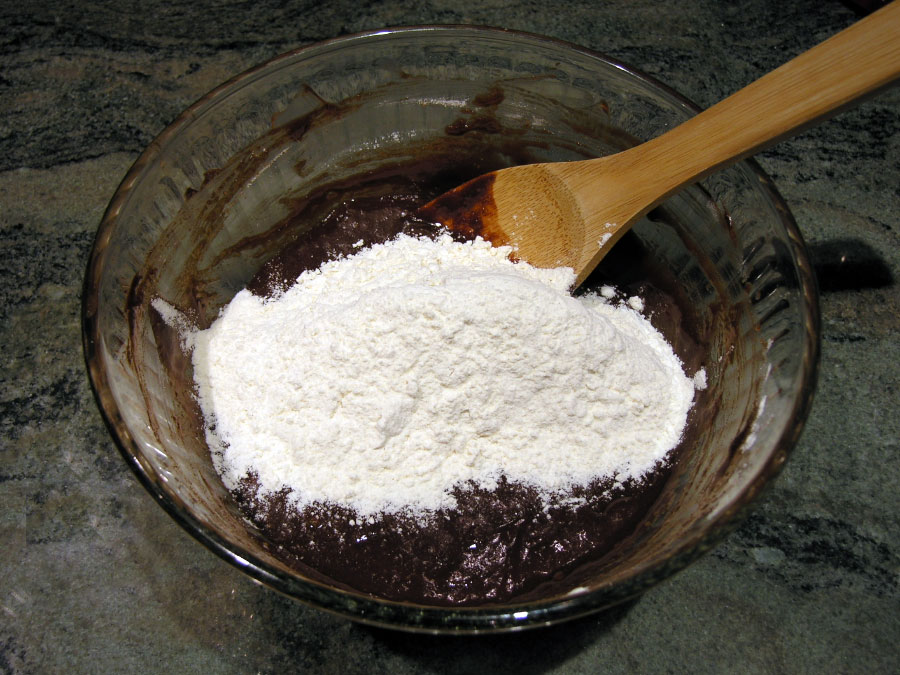
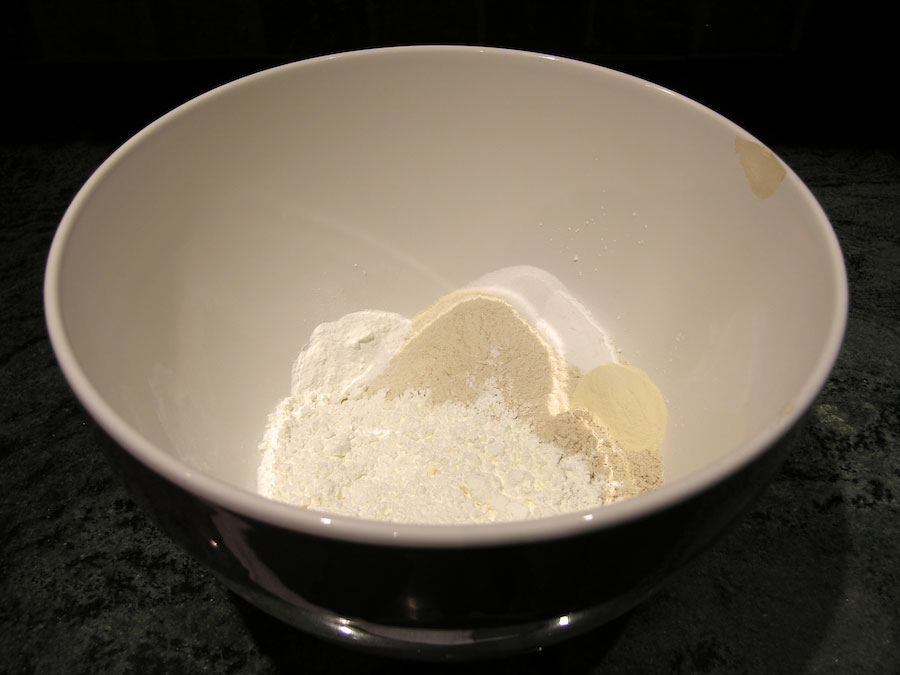
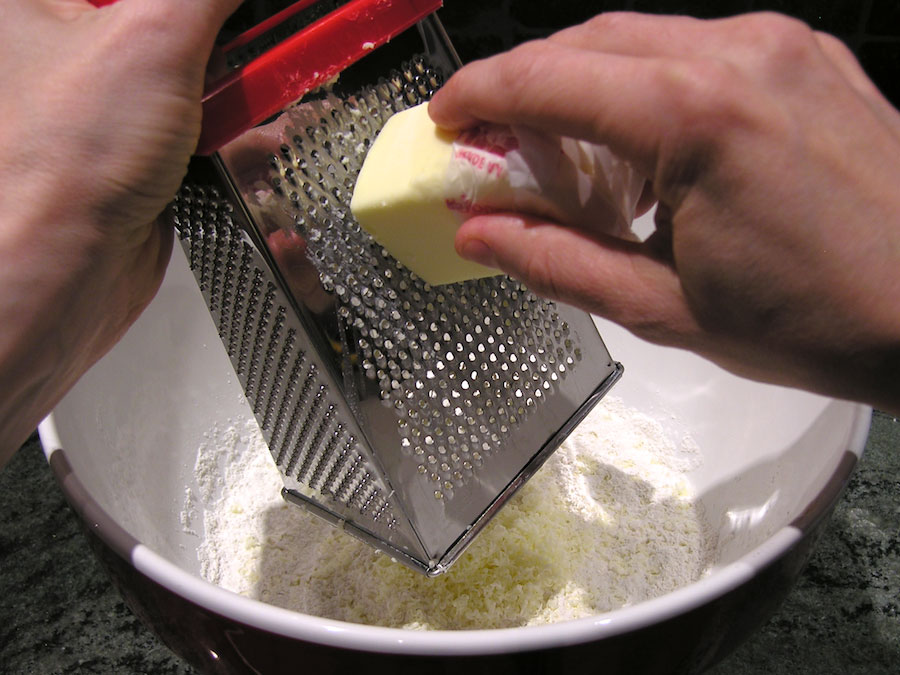
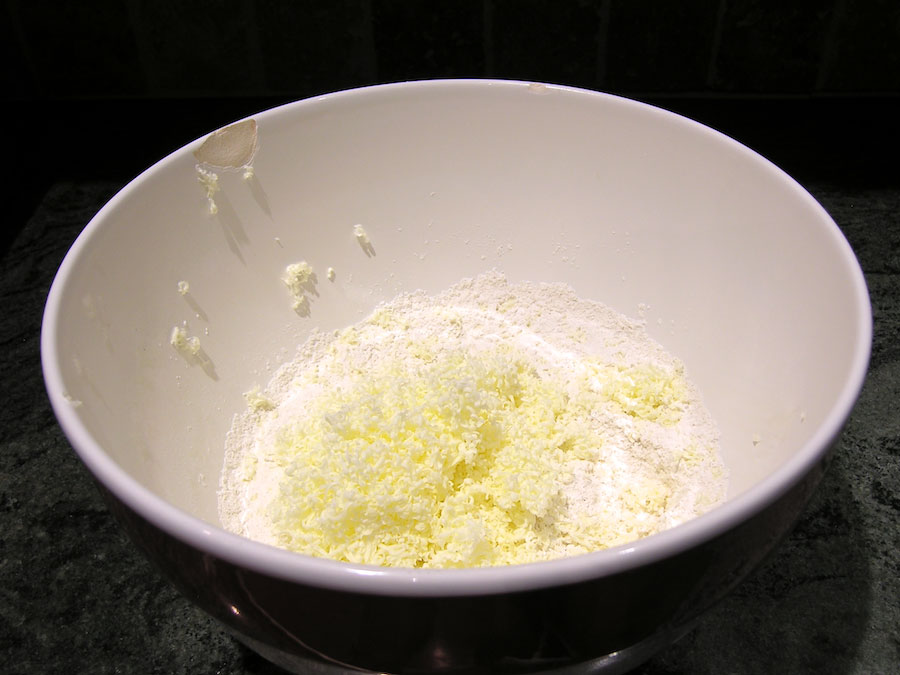
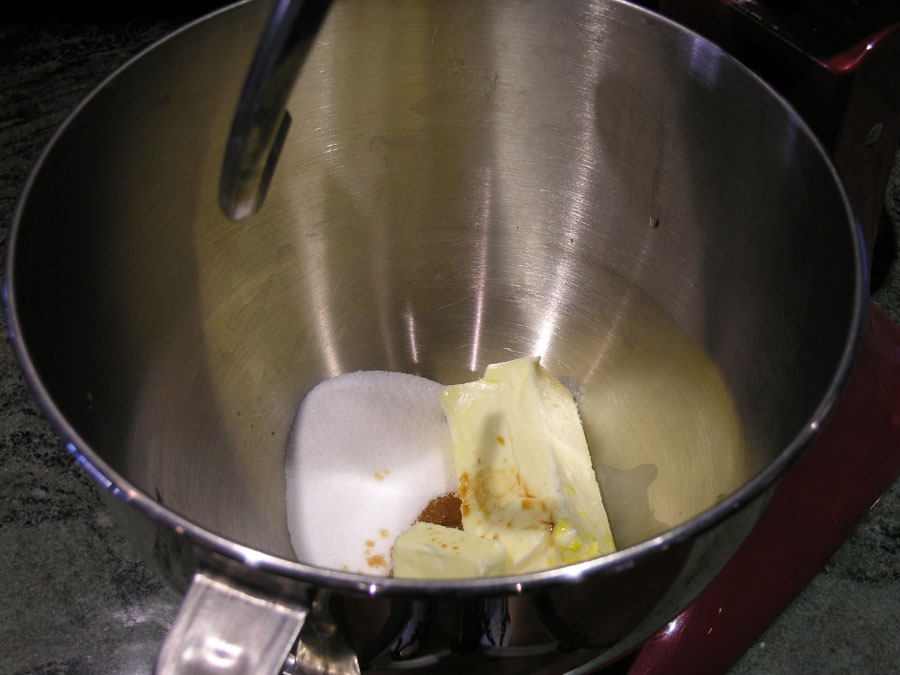
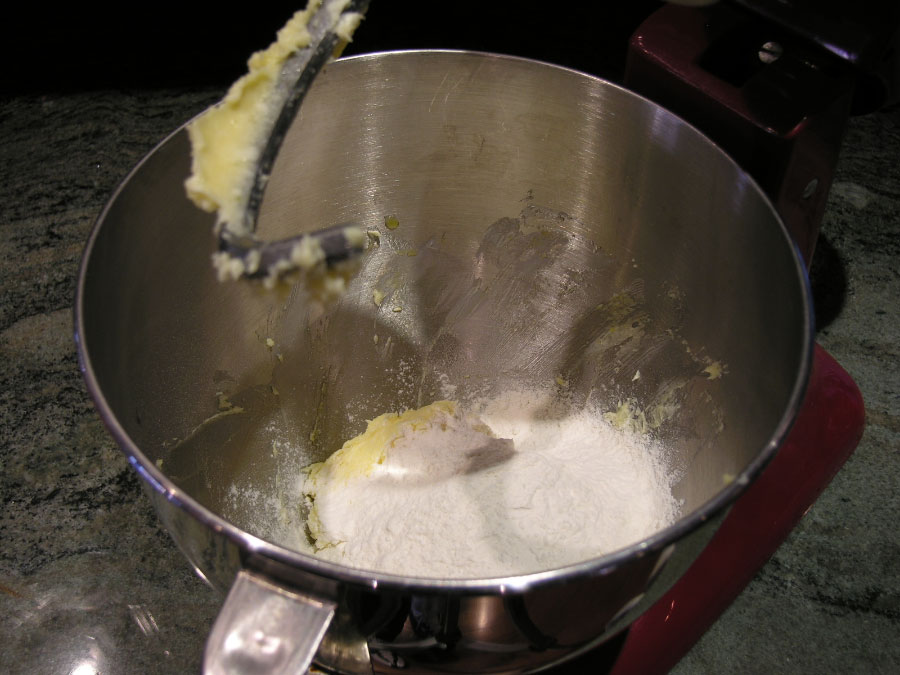
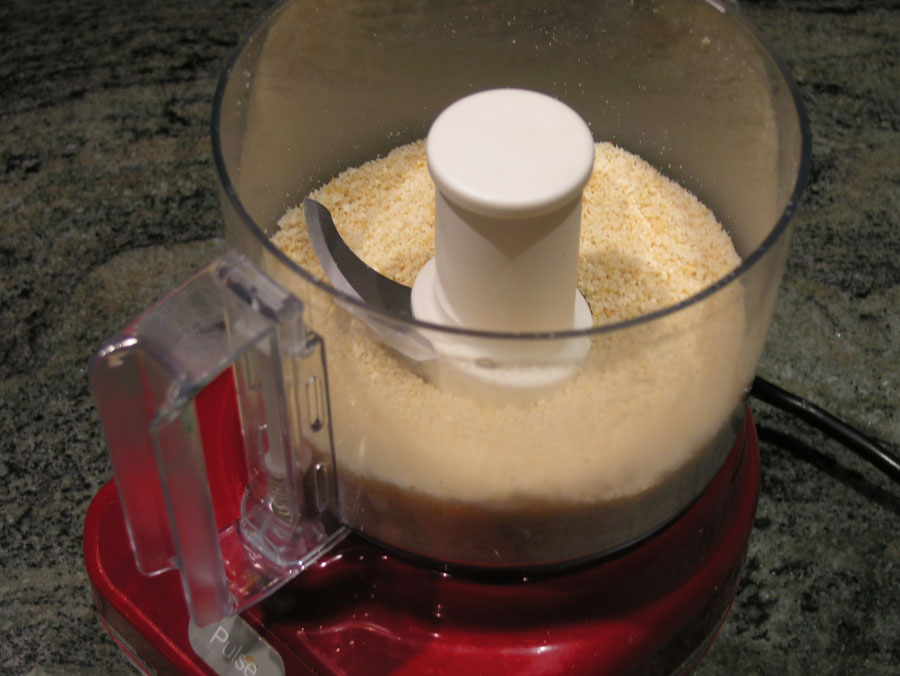
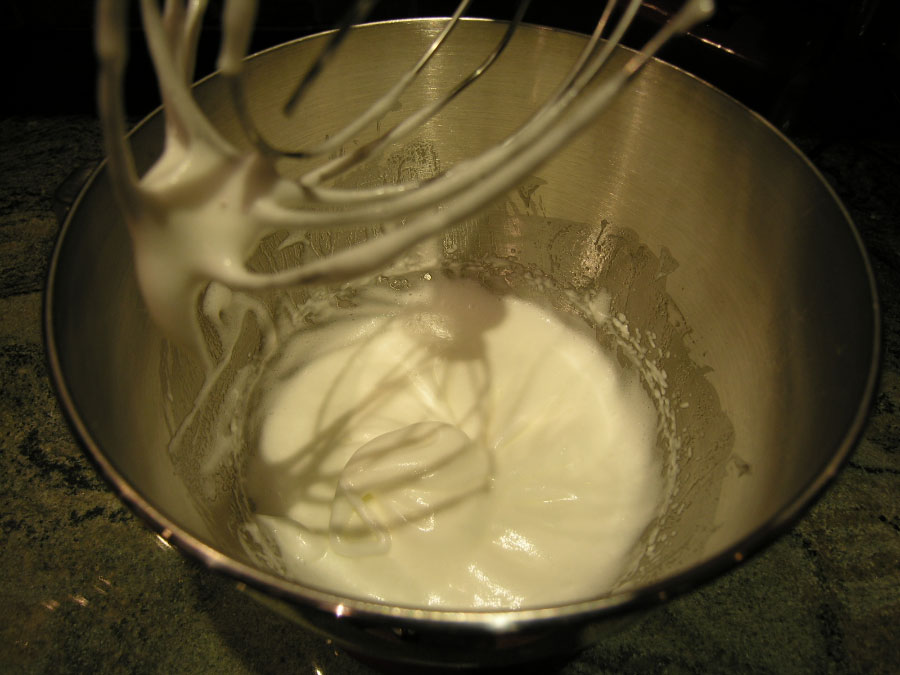
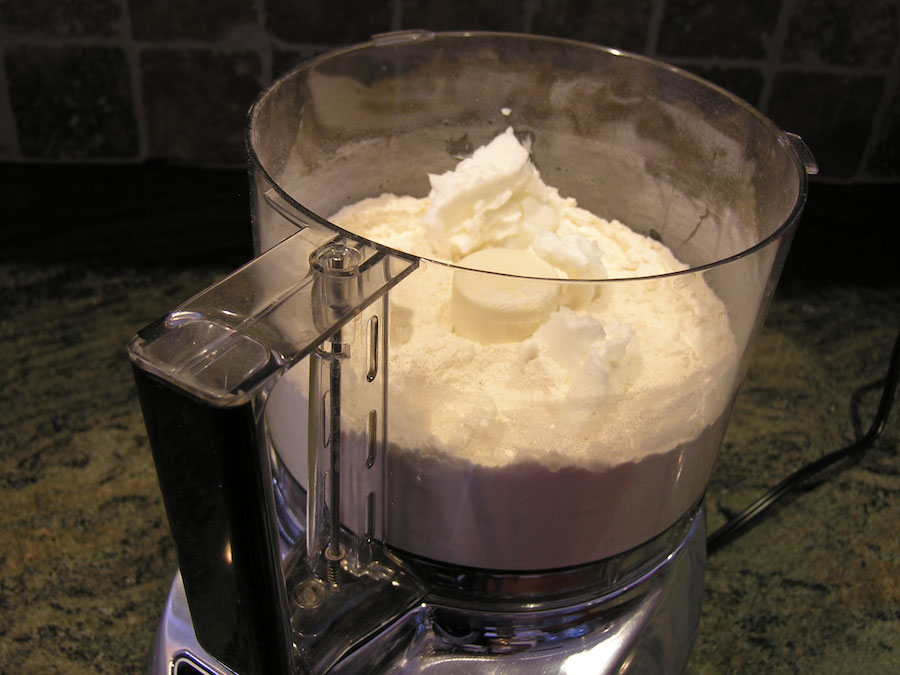
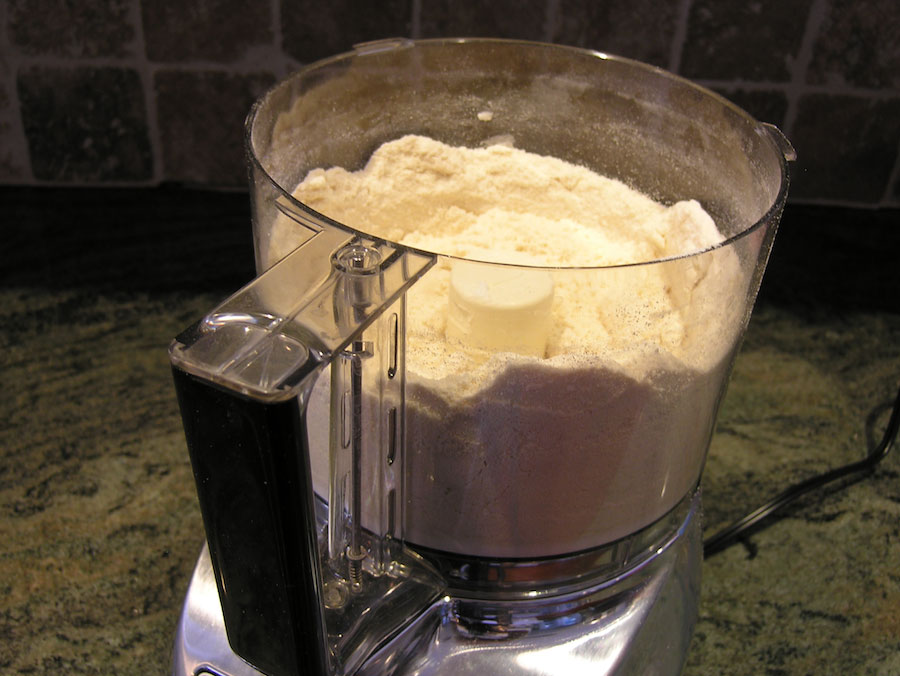
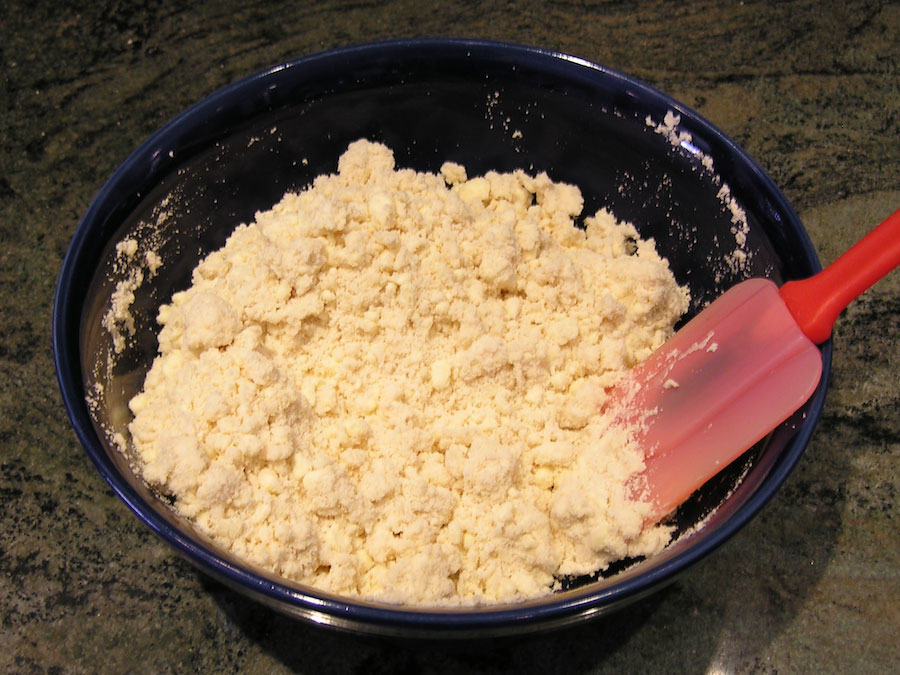
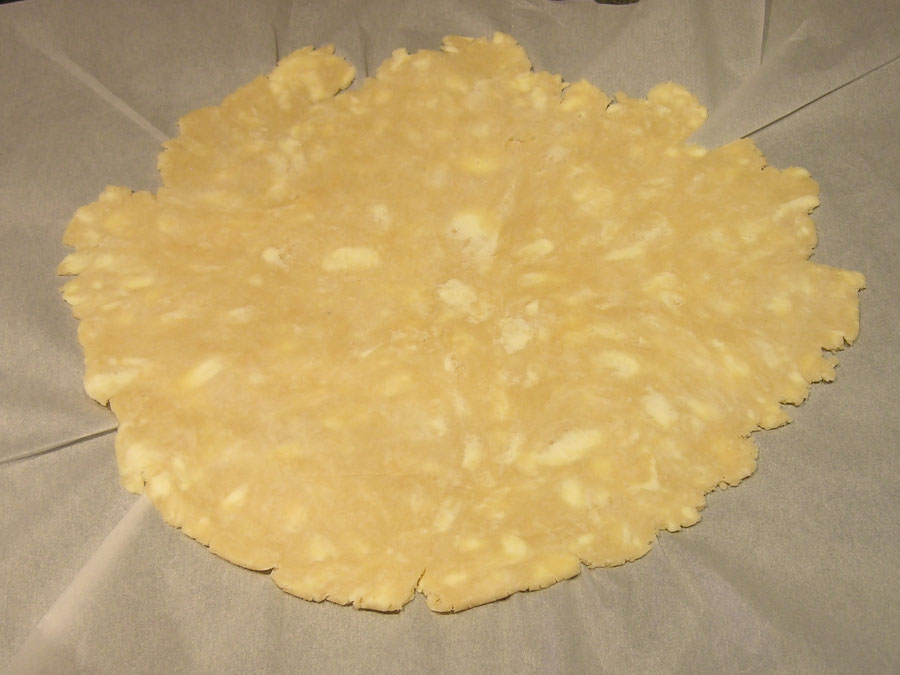
Process the flour, salt, and sugar in a food processor until combined. Add the shortening and process until the mixture has the texture of coarse sand. Scatter the butter pieces over the flour mixture; pulse the butter into the flour until the mixture is pale yellow and resembles coarse crumbs, with butter bits no larger than small peas.
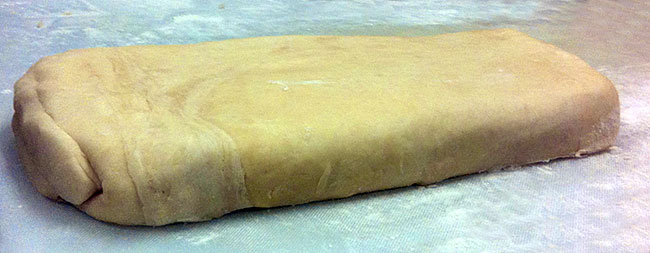
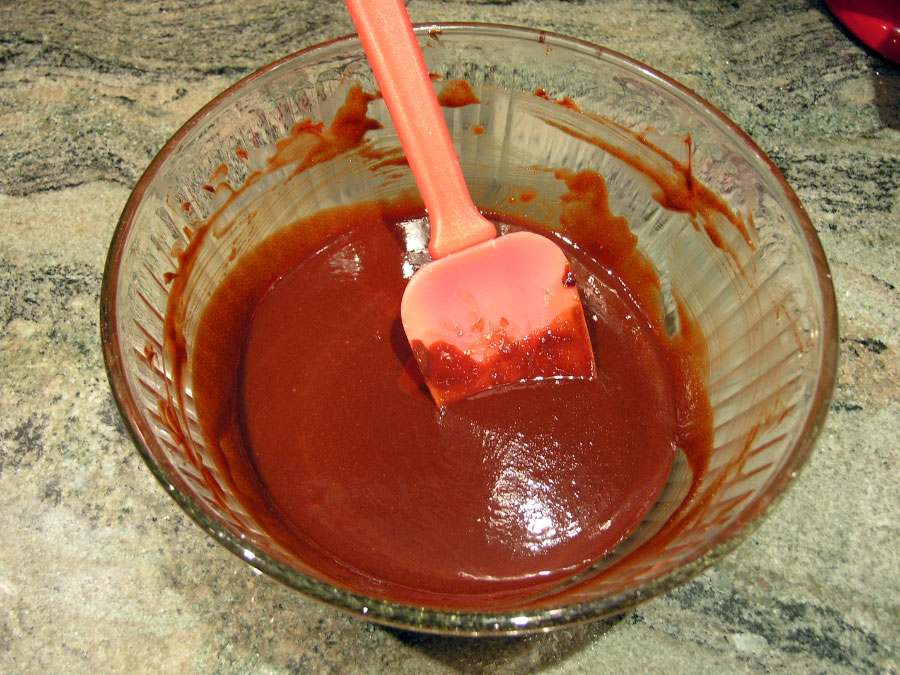
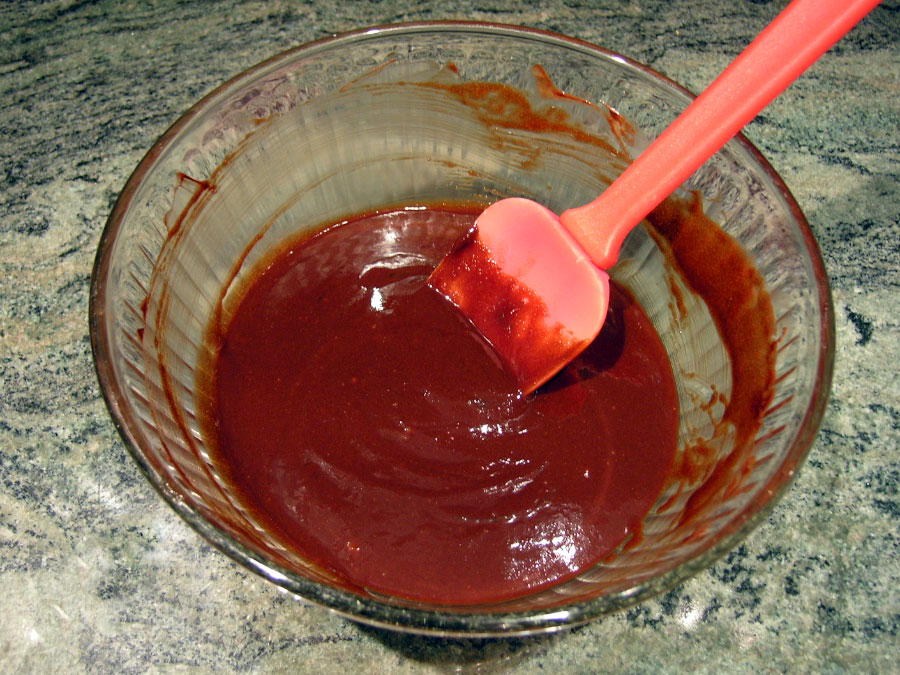
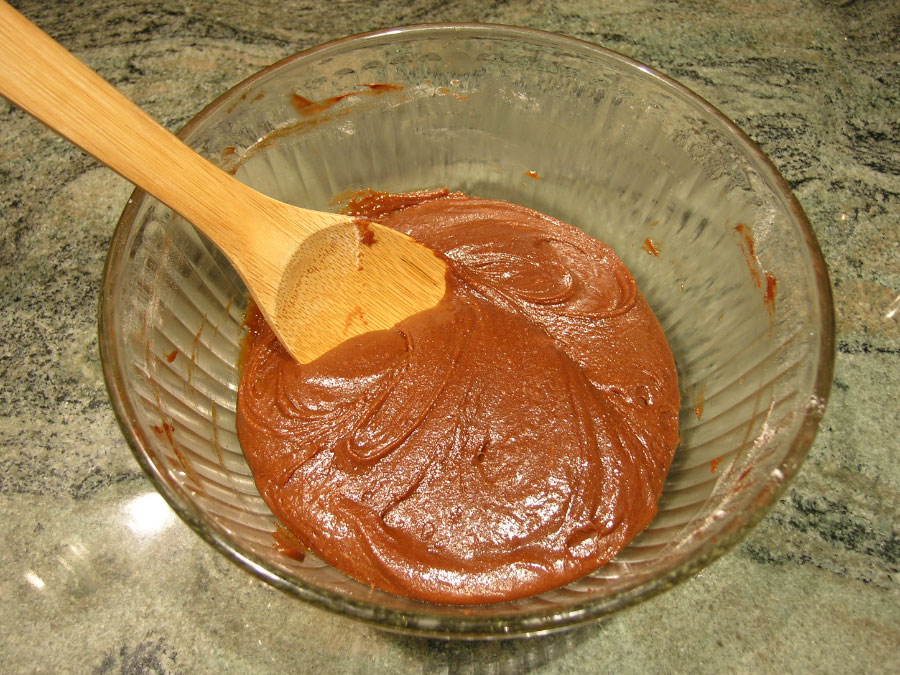
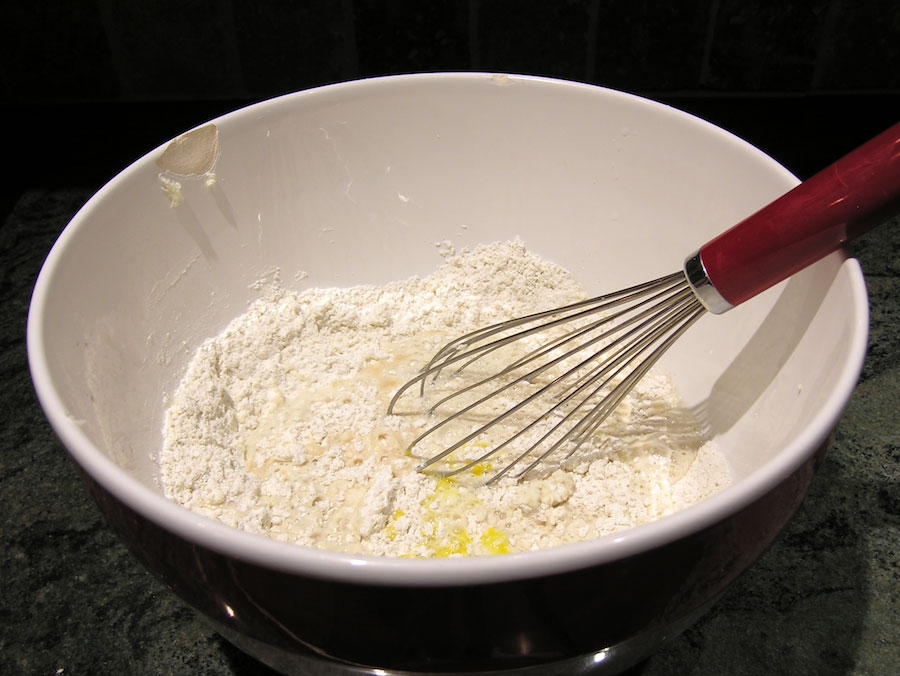
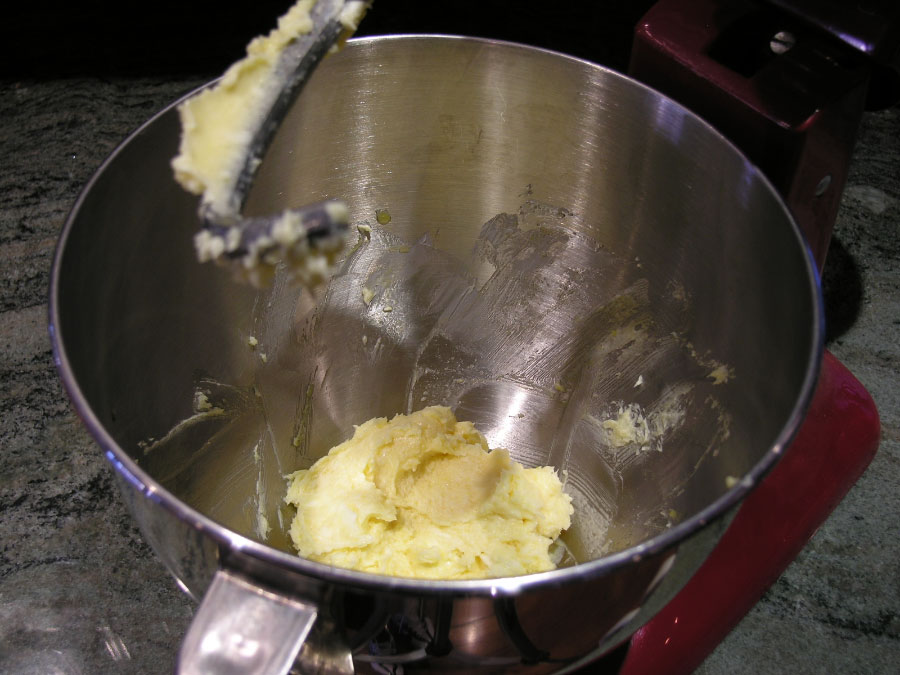
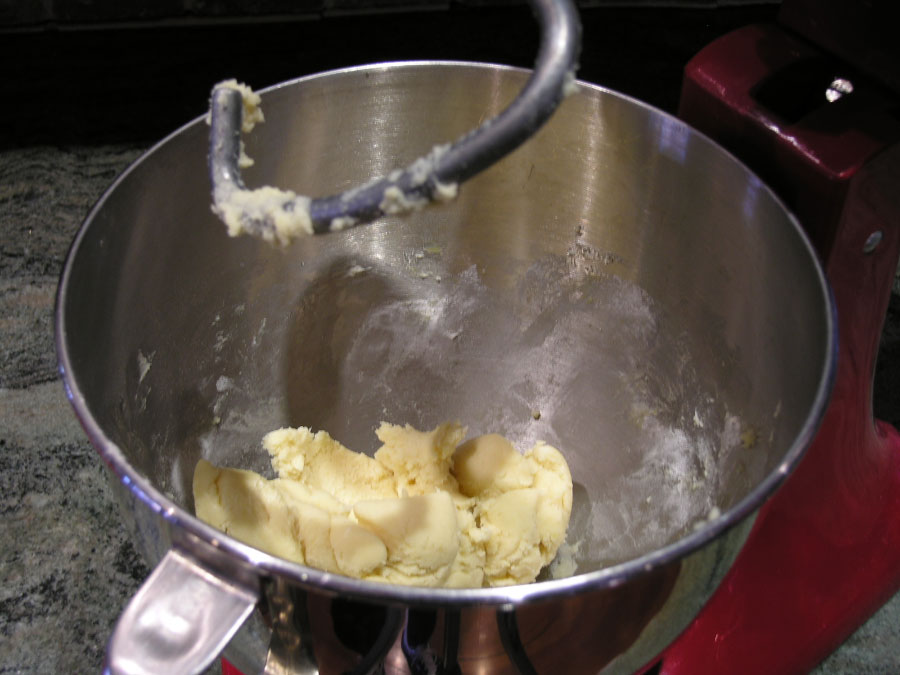
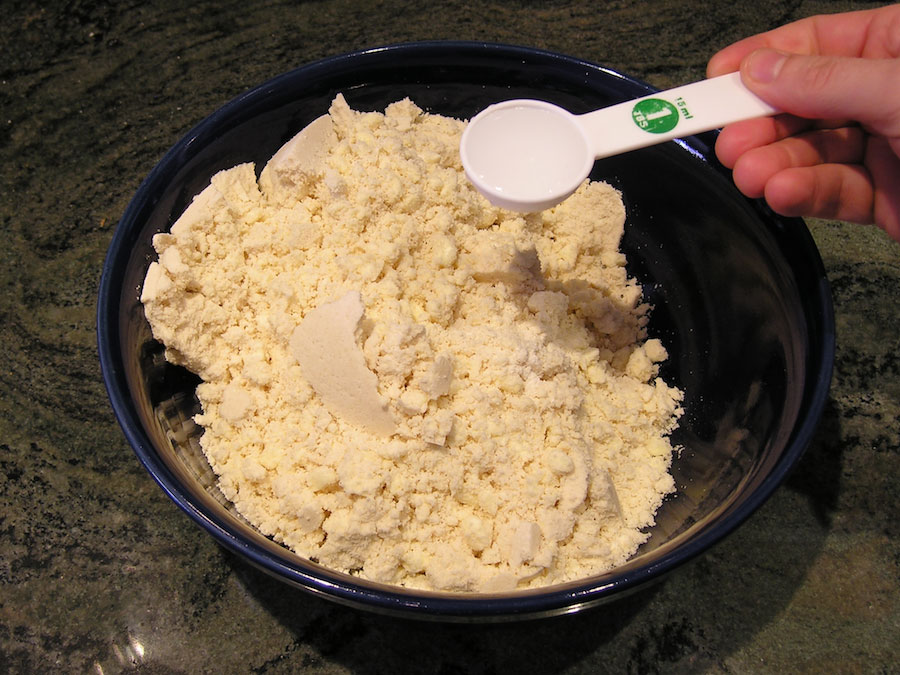
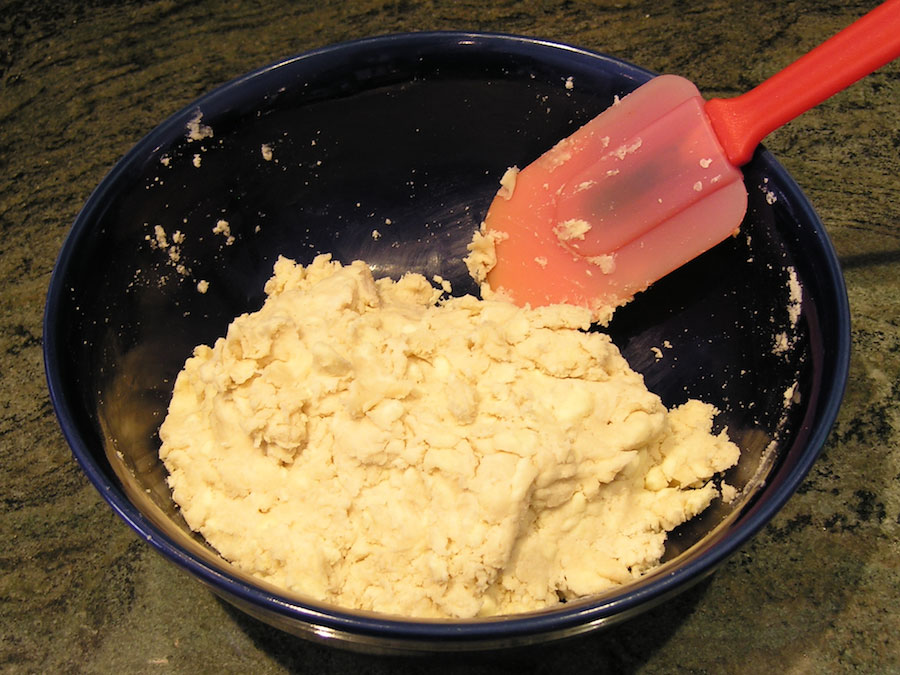
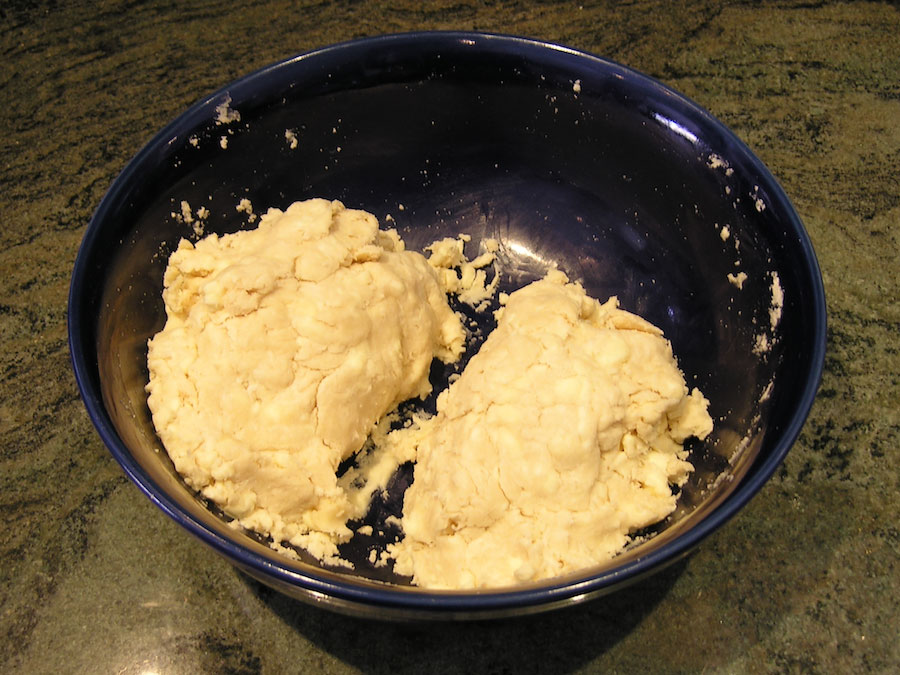
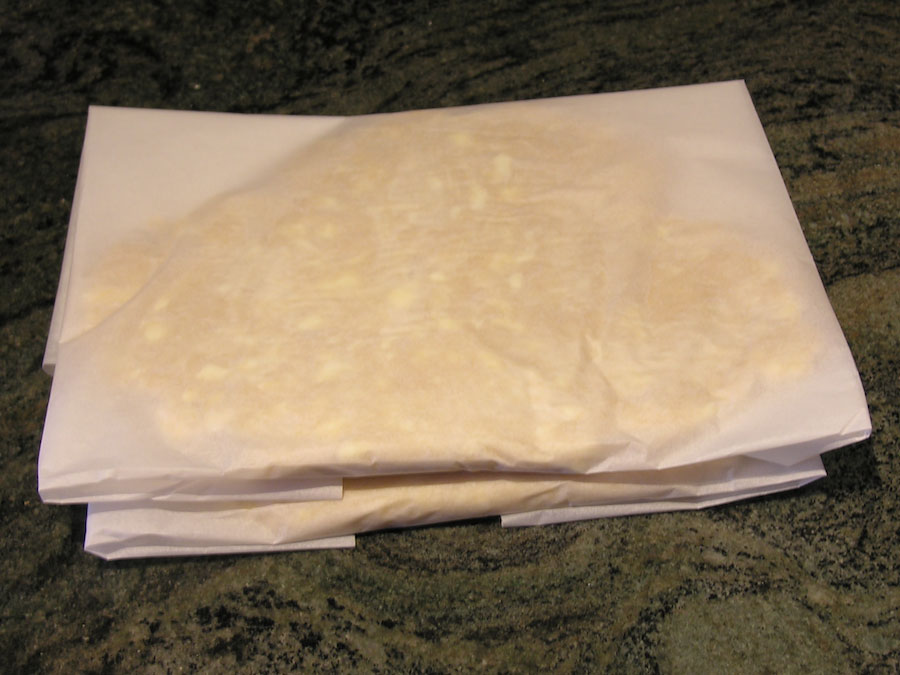
Turn the mixture into a medium bowl. Sprinkle six tablespoons of the ice water over the mixture. With a rubber spatula, press down on the dough with the broad side of the spatula, using a folding motion, until the dough sticks together, adding up to two more tablespoons of ice water if the dough will not come together. Divide the dough into two balls and flatten each into a four-inch disk. Wrap each in plastic and refrigerate at least an hour.
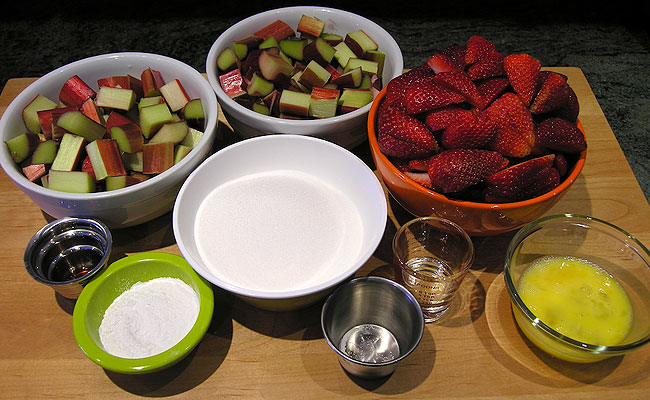
Now for the pie filling. The recipe and detailed instructions are at the end of this post. For this recipe, we need vegetable oil, rhubarb, sugar, arrowroot, salt, strawberries, vanilla extract, egg. Looks like we have it all. Ready, set, bake…
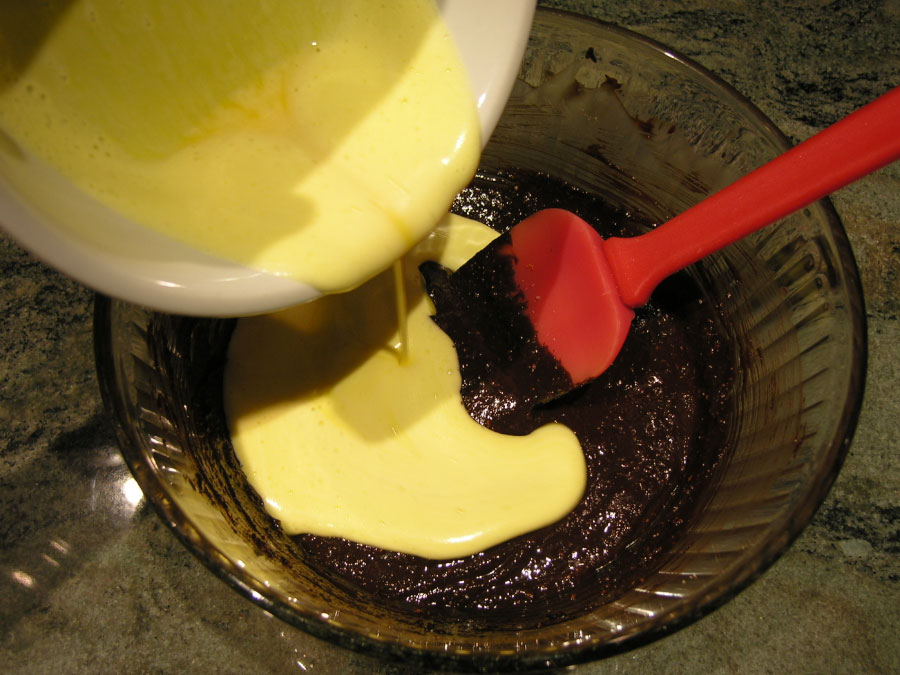
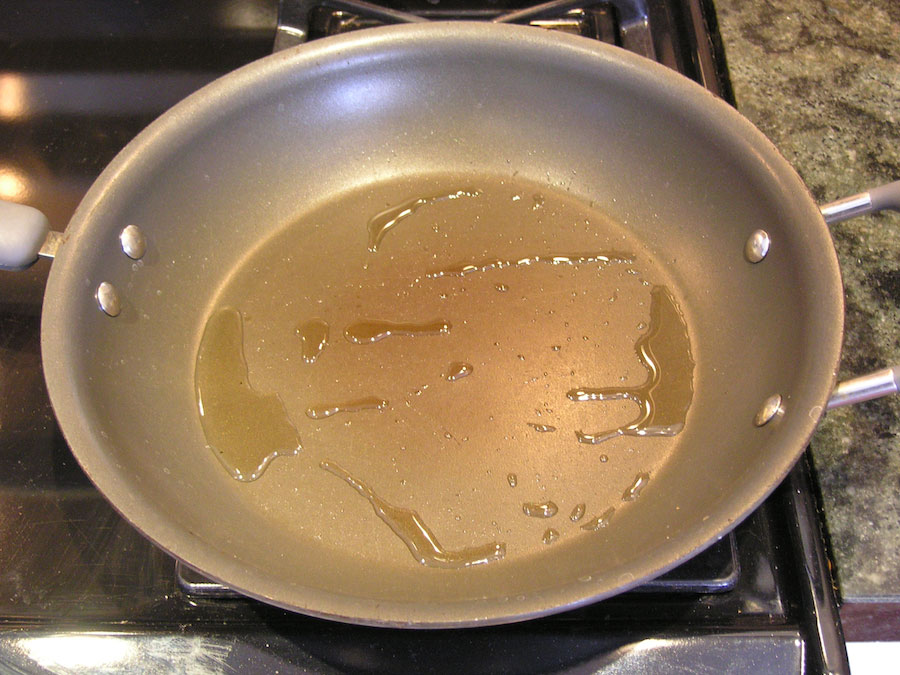
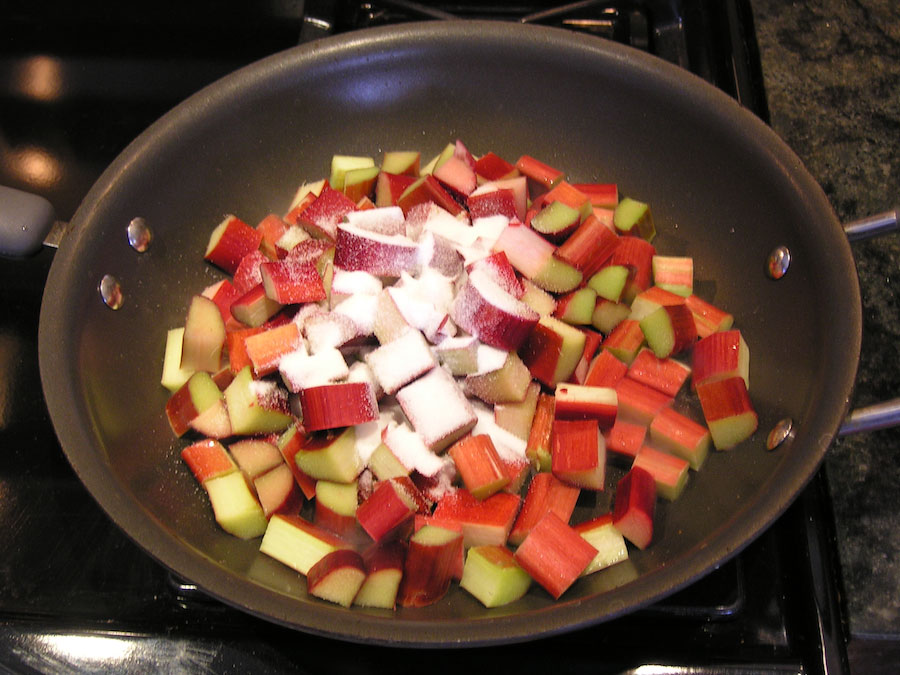
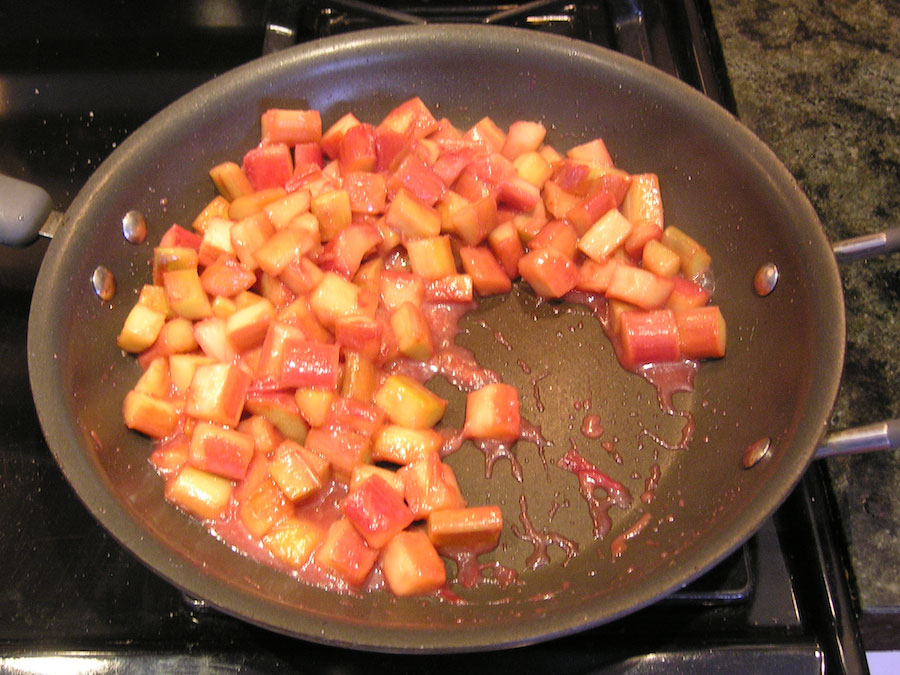
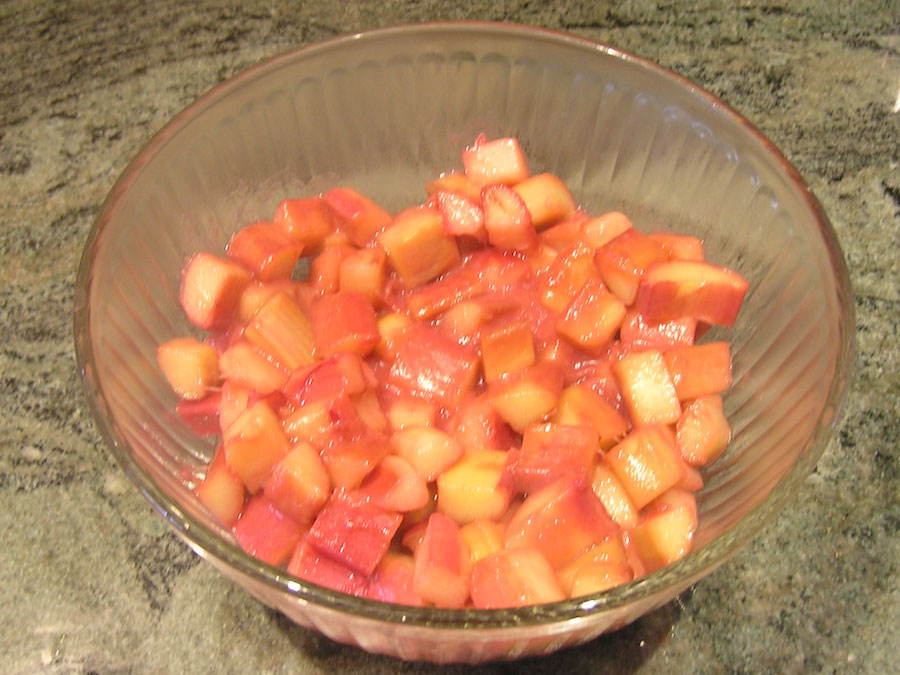
Heat the oil in a large skillet over medium-high heat until smoking. Add the rhubarb and 1/4 cup of the sugar and cook, stirring frequently, until firm. Refrigerate in a large bowl until cool.
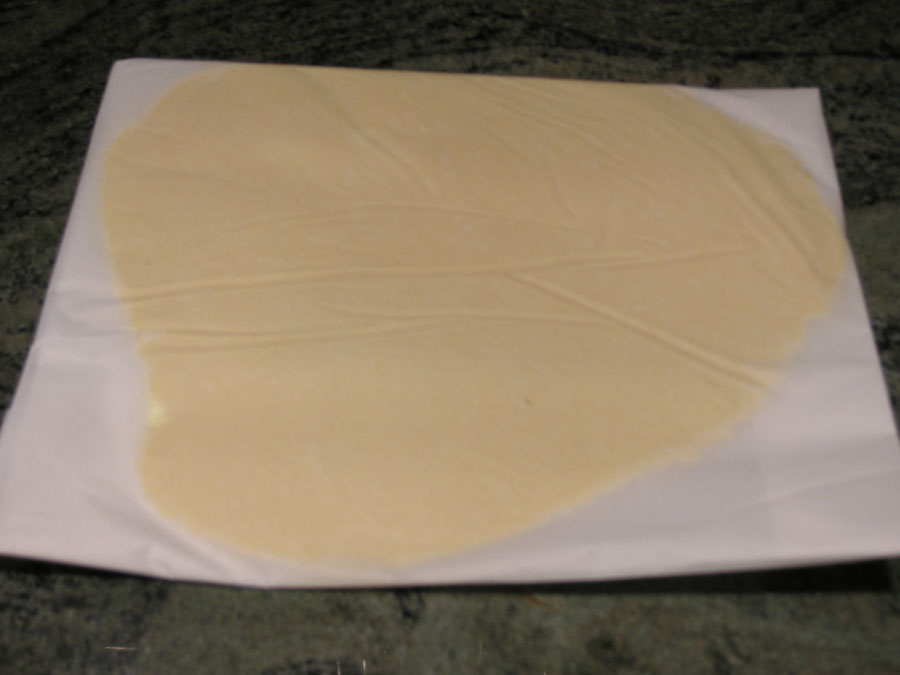
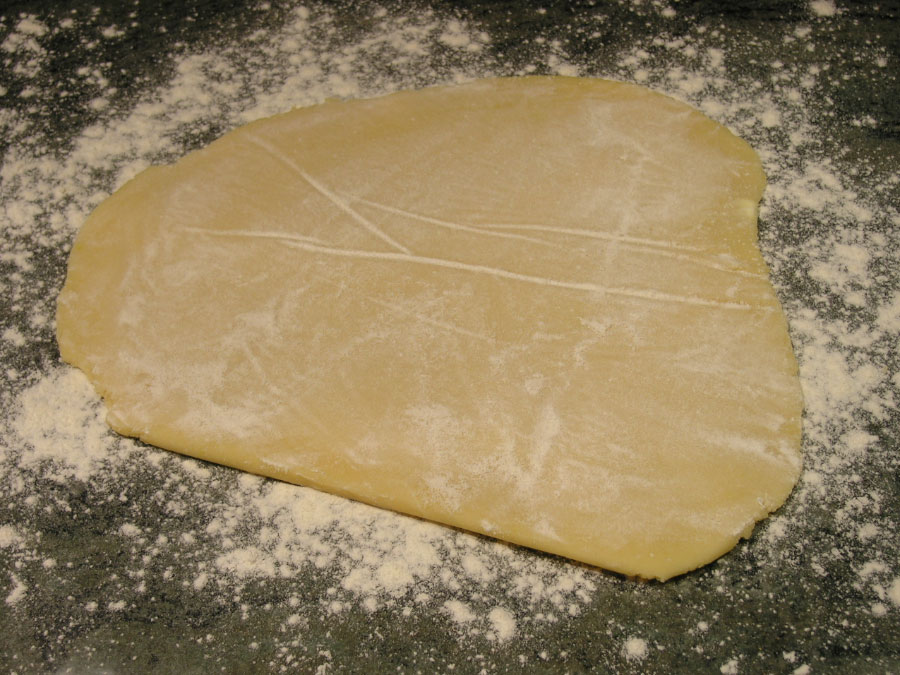
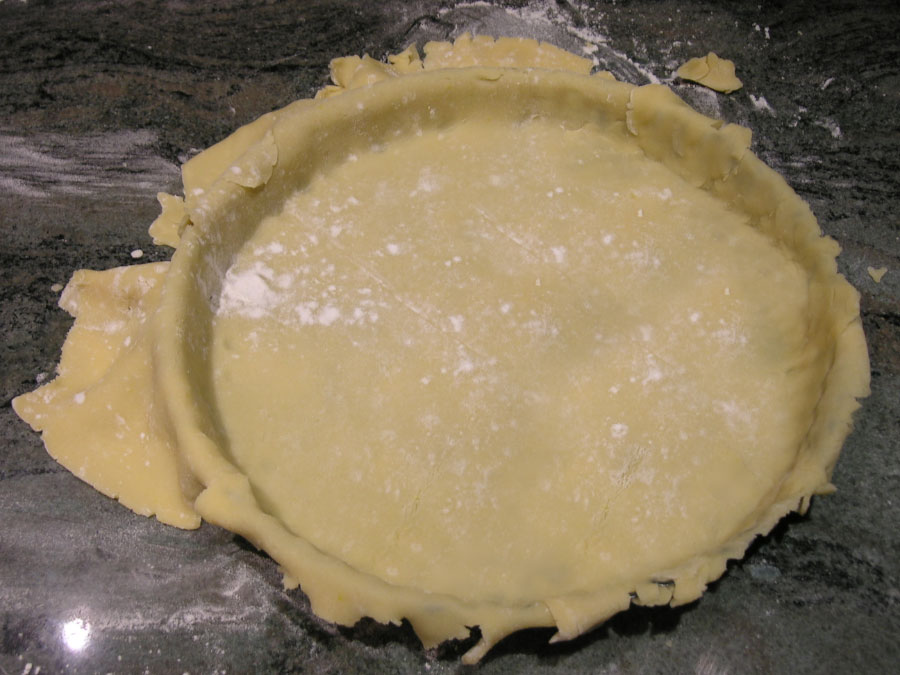
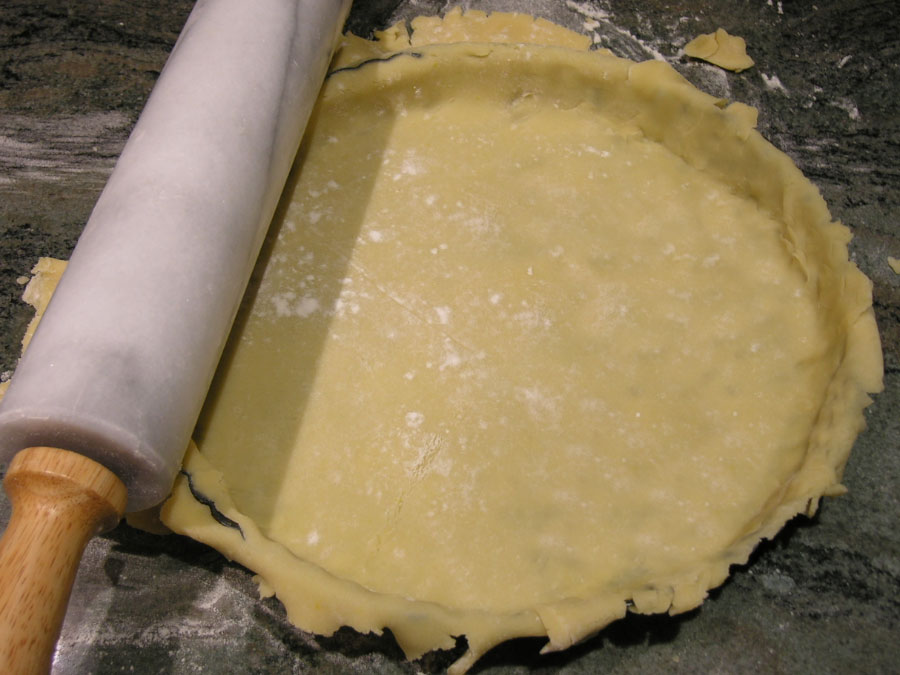
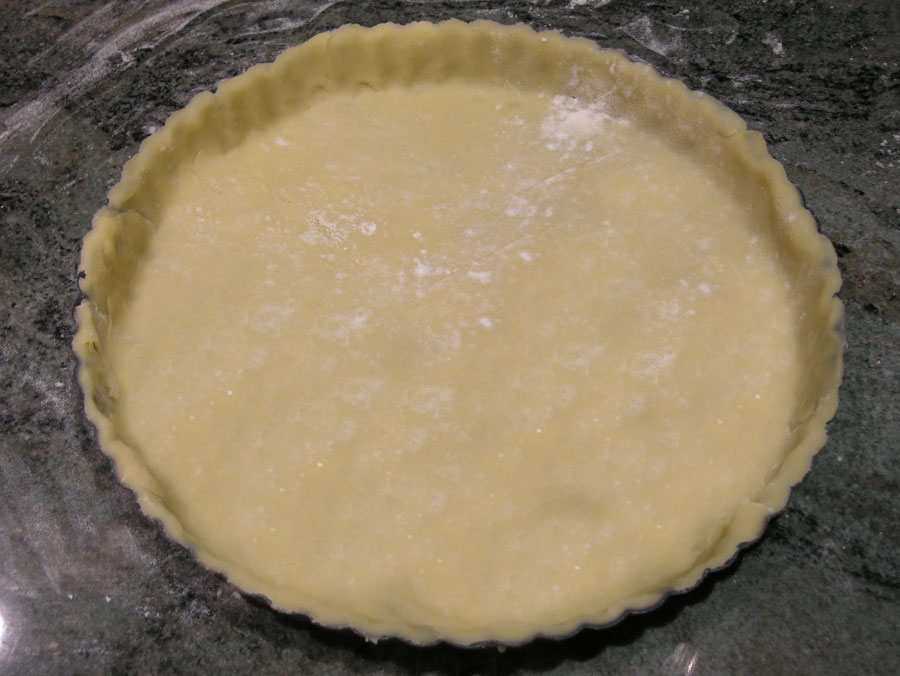
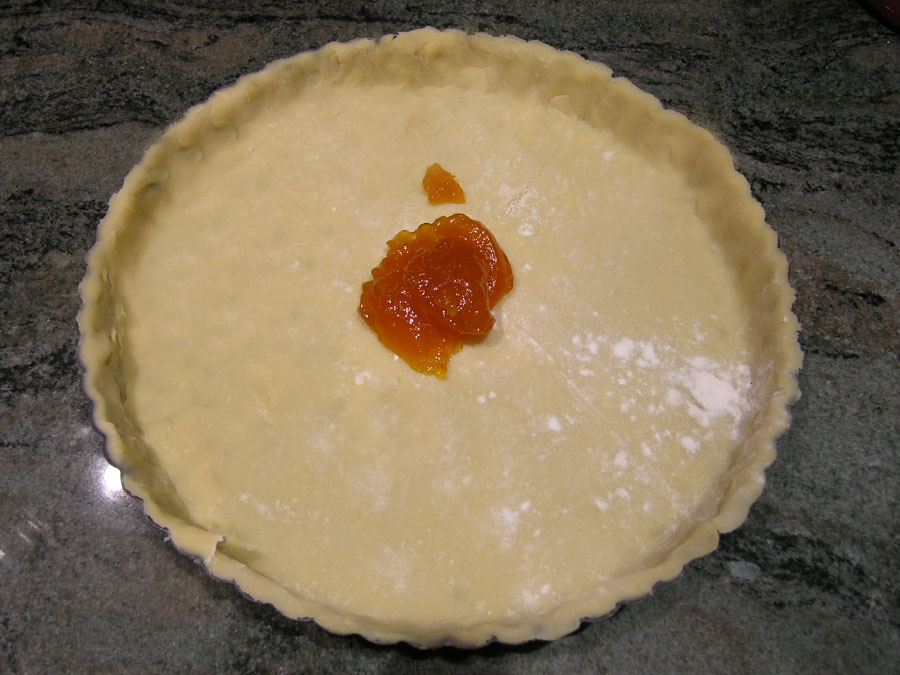
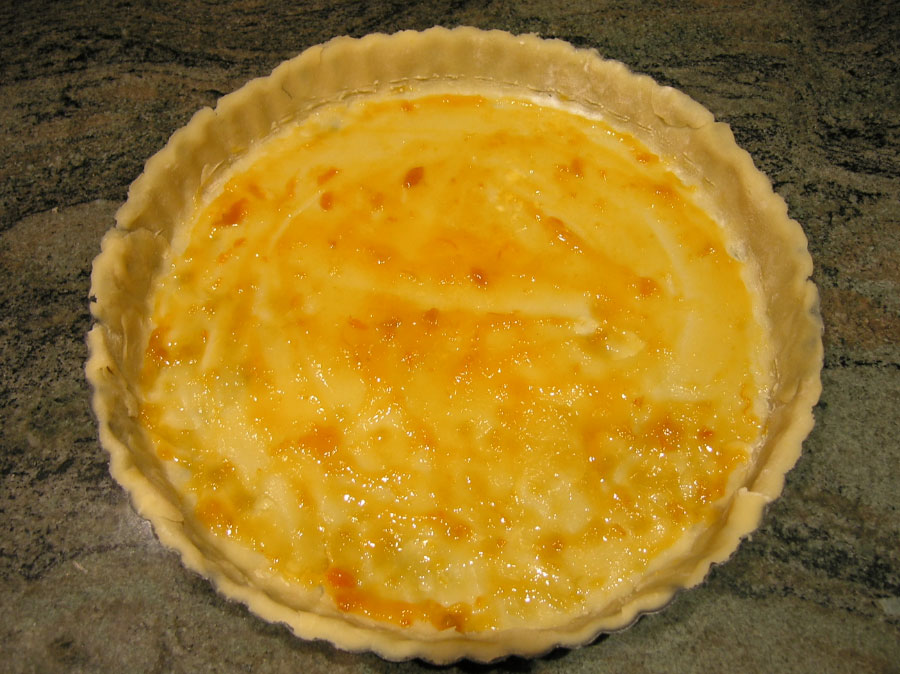
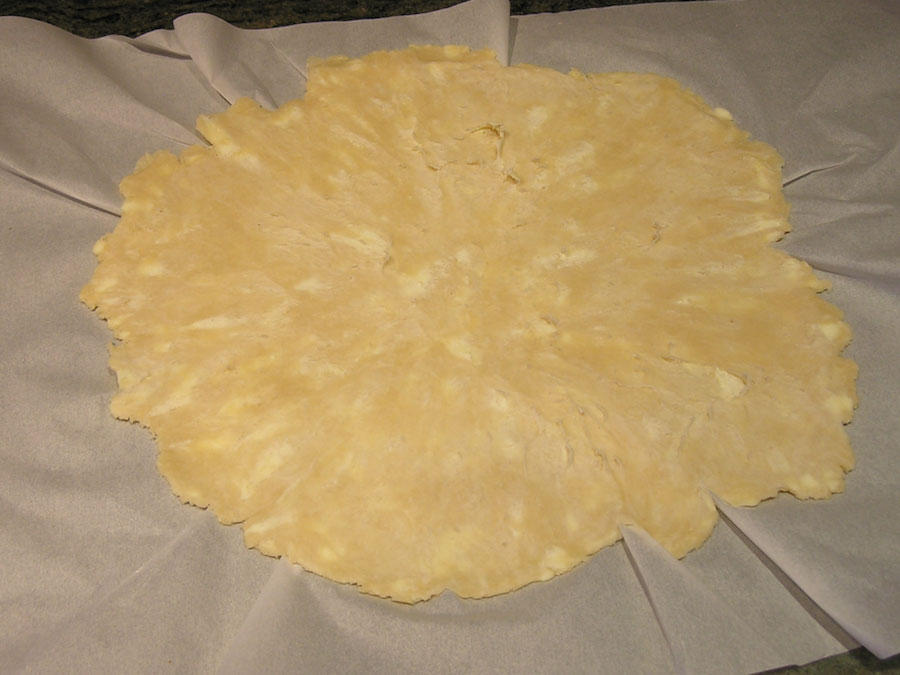
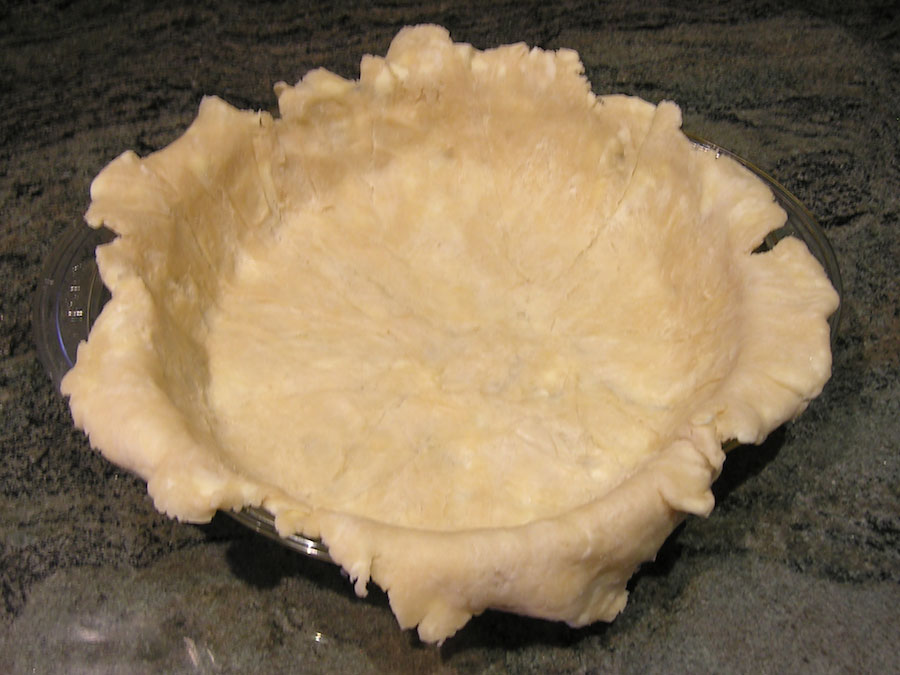
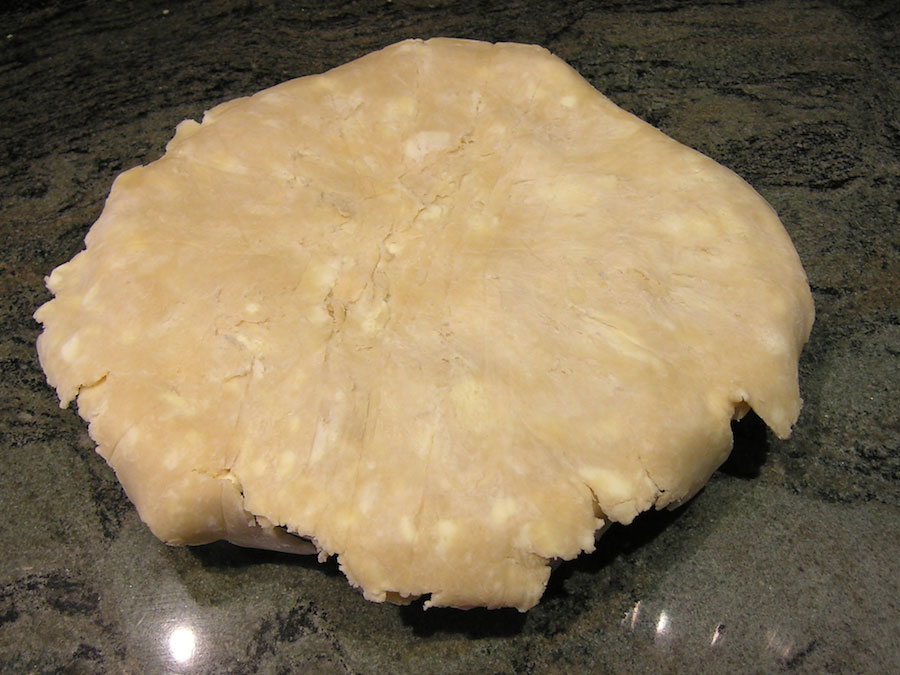
Roll the dough between two large sheets of parchment paper to a 12-inch circle. Transfer the dough to a nine-inch pie plate by rolling the dough around the rolling pin and unrolling over the pan. Working around the circumference of the pan, ease the dough into the pan corners by gently lifting the edge of the dough with one hand while gently pressing into the pan bottom with the other. Leave the dough that overhangs the lip of the pie plate in place and refrigerate until needed.
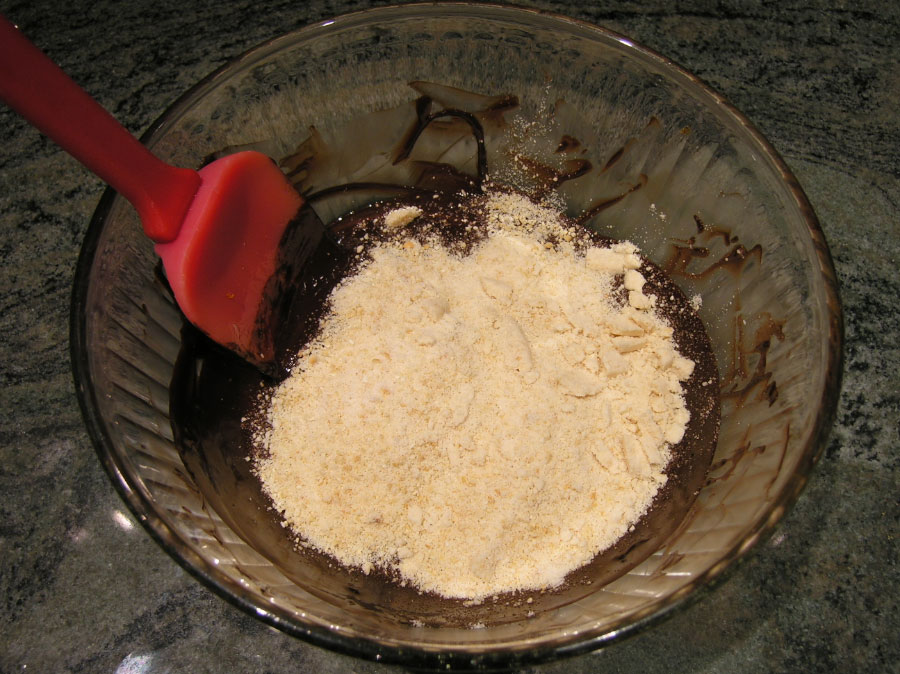
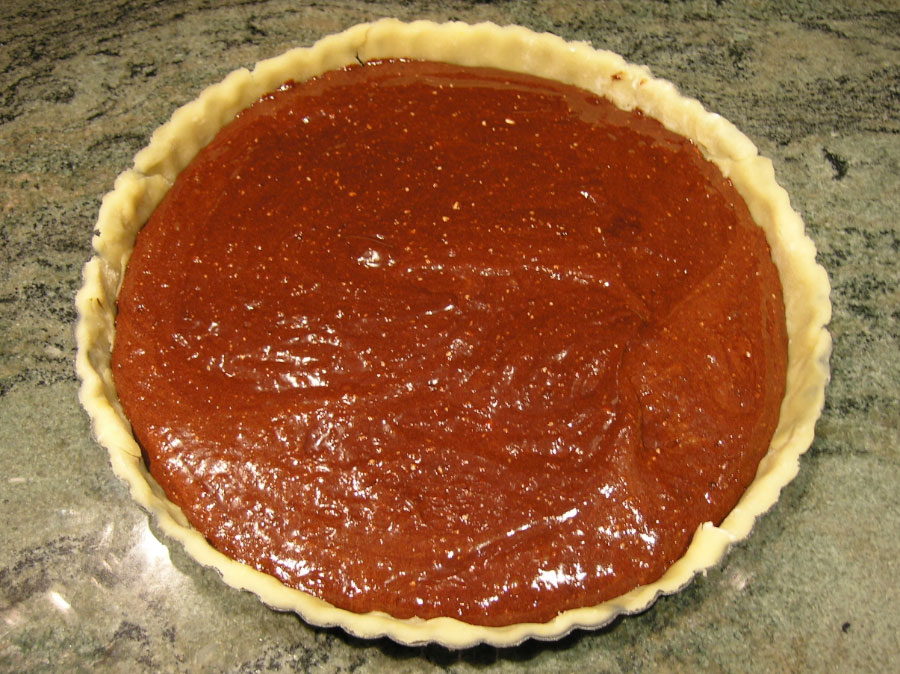
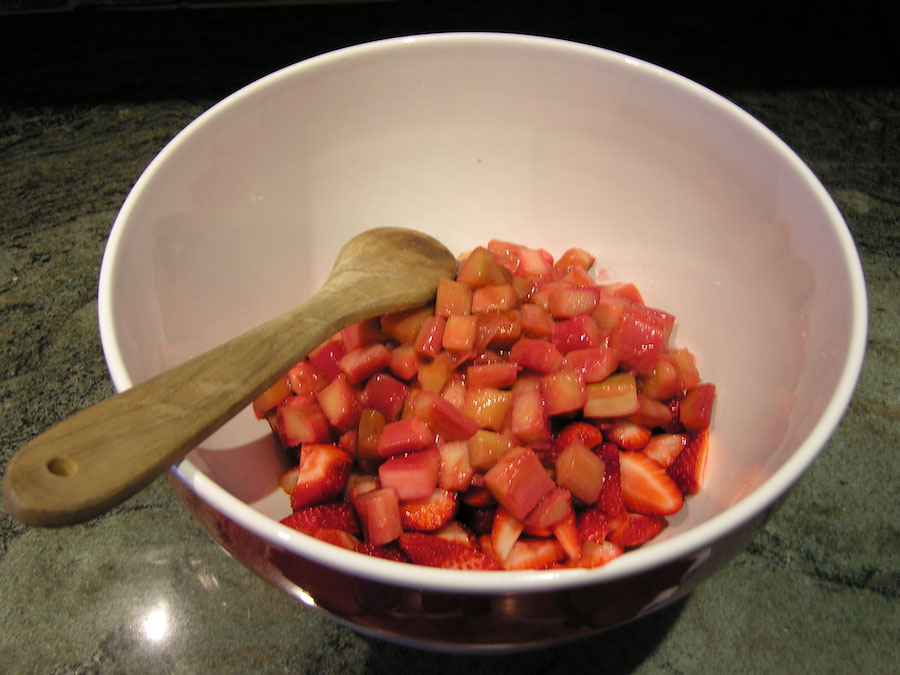
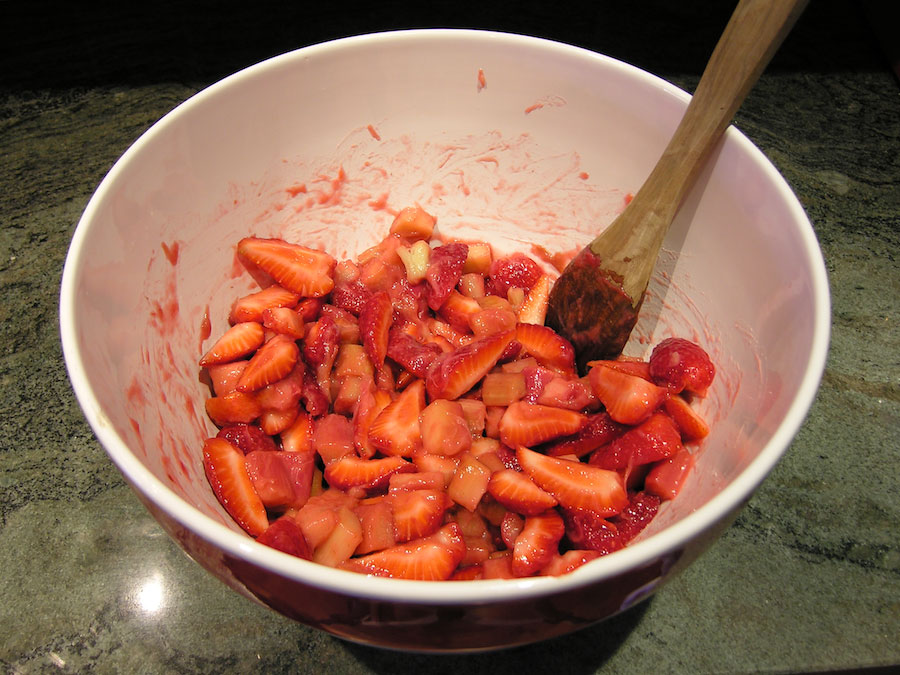
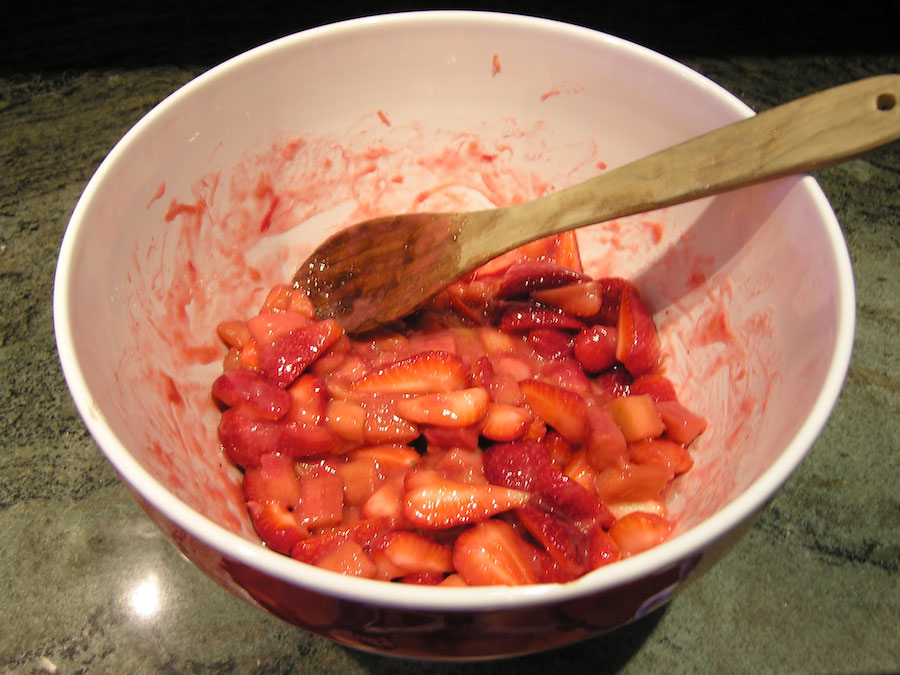
In a small bowl, mix together 3/4 cup of the sugar, the arrowroot, and salt. In a large bowl, toss together the strawberries, cooled rhubarb, and vanilla.
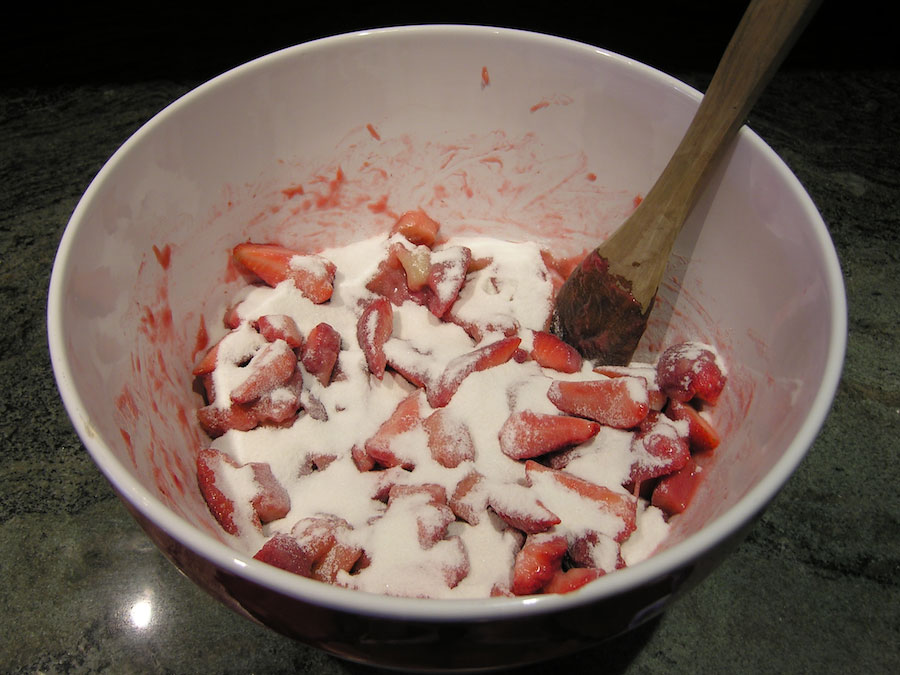
Sprinkle the sugar mixture over the top and stir to combine. Spoon the fruit evenly into the pie shell and pack lightly.
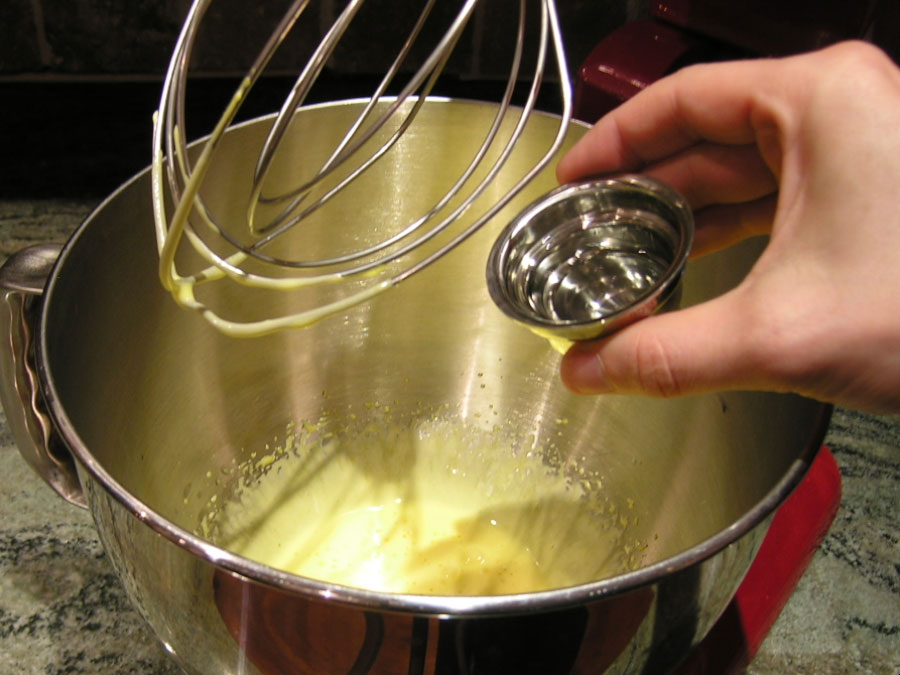
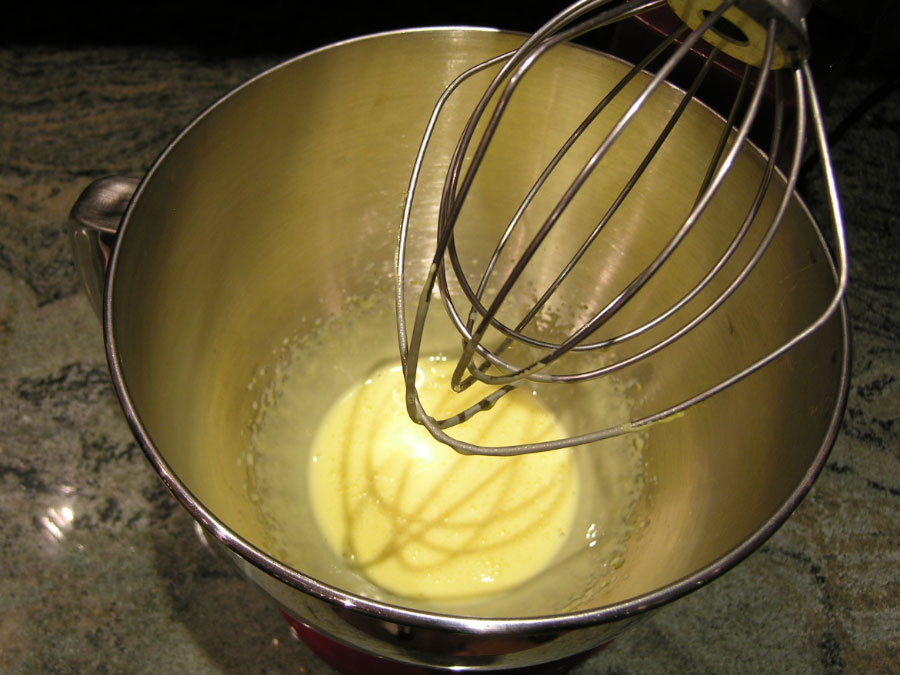
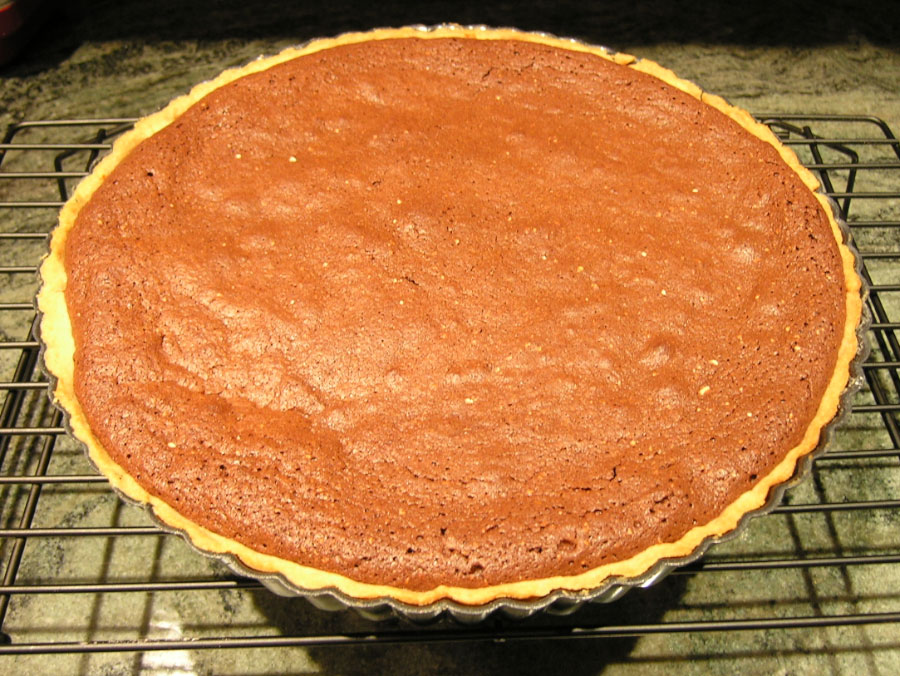
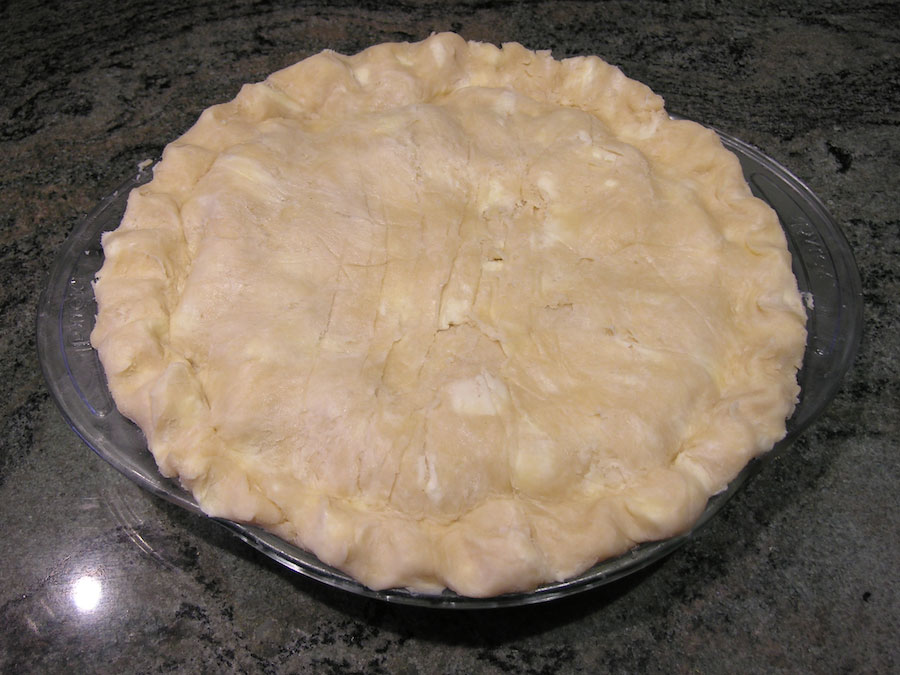
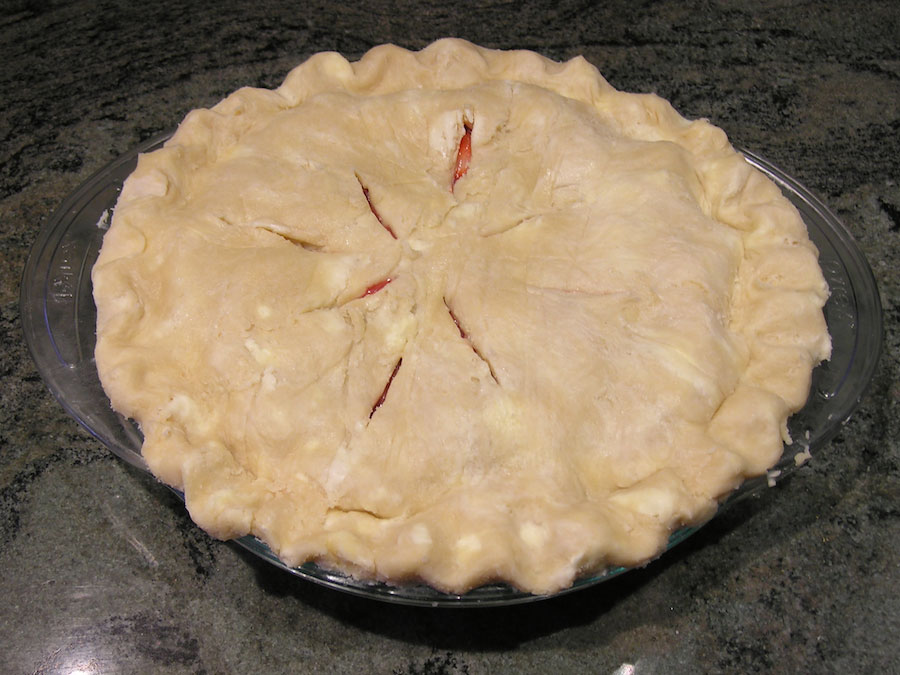
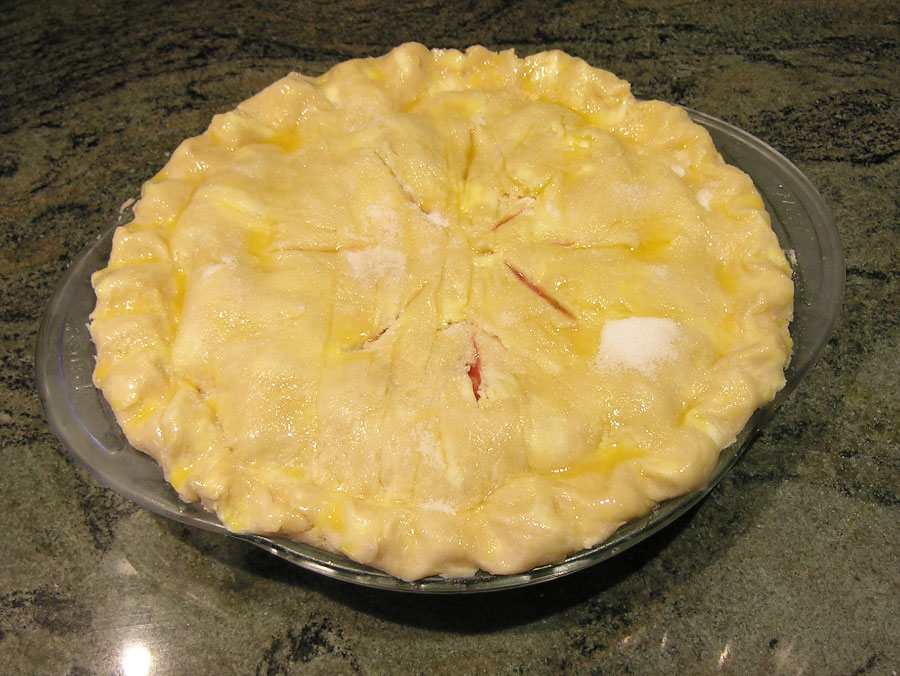
Roll out the second piece of dough to a 12-inch circle and place it over the filling. Trim the edges of the top and bottom dough layers and tuck the rim underneath itself so that the folded edge is flush with the pan lip. Flute the edges or press with a fork. Cut eight slits in the dough top (make sure they are large enough that they will not come back together when baked). Place the pie in the freezer for ten minutes. Brush the top of the crust with the beaten egg and sprinkle evenly with the remaining tablespoon of sugar.
Place the pie on the hot baking sheet and lower the oven temp to 425°. Bake until the top crust is golden, about 25 minutes. Rotate the pie from front to back and reduce the temp to 375°. If it looks like your slits have come back together, use a knife to separate them again. Continue baking until the juices bubble and the crust is deep golden brown, 30 to 35 minutes longer. Cool on a wire rack until room temperature; three to four hours before serving.

Recipe: Strawberry Rhubarb Pie
Adapted from Baking IllustratedPrint Recipe
Yield: One Nine Inch Pie
Crust
Ingredients
- 2 1/2 cups unbleached all-purpose flour, plus more for dusting
- 1 teaspoon salt
- 2 tablespoons granulated sugar
- 1/2 cup vegetable shortening, chilled
- 12 tablespoons cold unsalted butter, cut into 1/4 inch pieces
- 6-8 tablespoons ice water
Instructions
- Process flour, salt, and sugar in a food processor until combined. Add the shortening and process until the mixture has the texture of coarse sand. Scatter the butter pieces over the flour mixture; cut the butter into the flour until the mixture is pale yellow and resembles coarse crumbs, with butter bits no larger than small peas.
- Turn the mixture into a medium bowl. Sprinkle six tablespoons of the ice water over the mixture. With a rubber spatula, use a folding motion to mix.
- Press down on the dough with the broad side of the spatula until the dough sticks together, adding up to two more tablespoons of ice water if the dough does not come together.
- Divide the dough into two balls and flatten each into a four-inch disk. Wrap each in plastic and refrigerate at least one hour before rolling.
Pie FIlling
Ingredients
- 2 teaspoons vegetable oil
- 1 1/2 pounds rhubarb, ends trimmed and cut into 1-inch pieces (about 5 cups)
- 1 cup plus 1 tablespoon granulated sugar
- 3 tablespoons arrowroot
- Pinch of salt
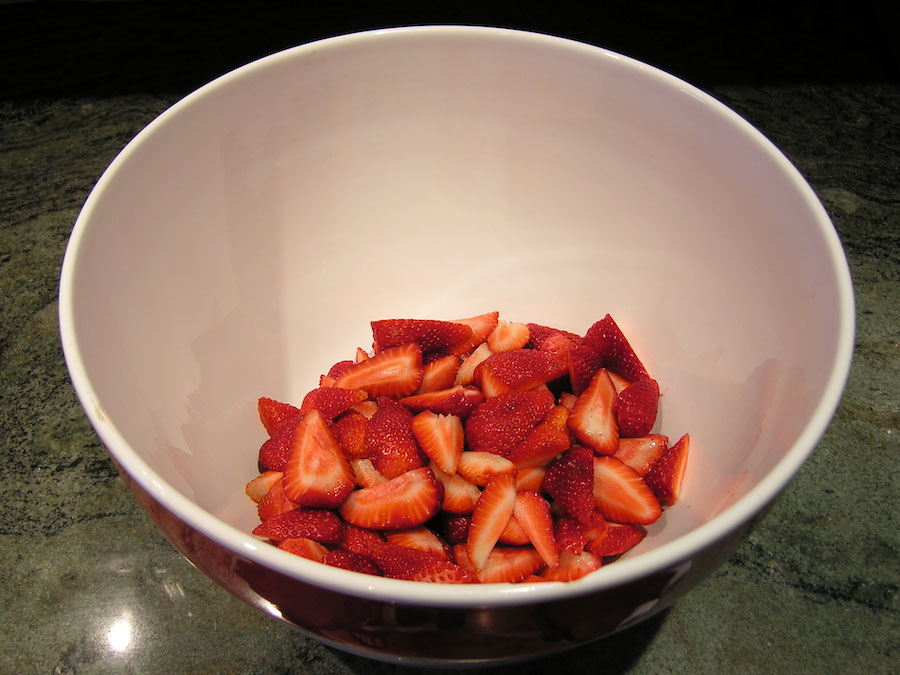
- 1 1/2 lbs strawberries, hulled and quartered
- 1/2 teaspoon vanilla extract
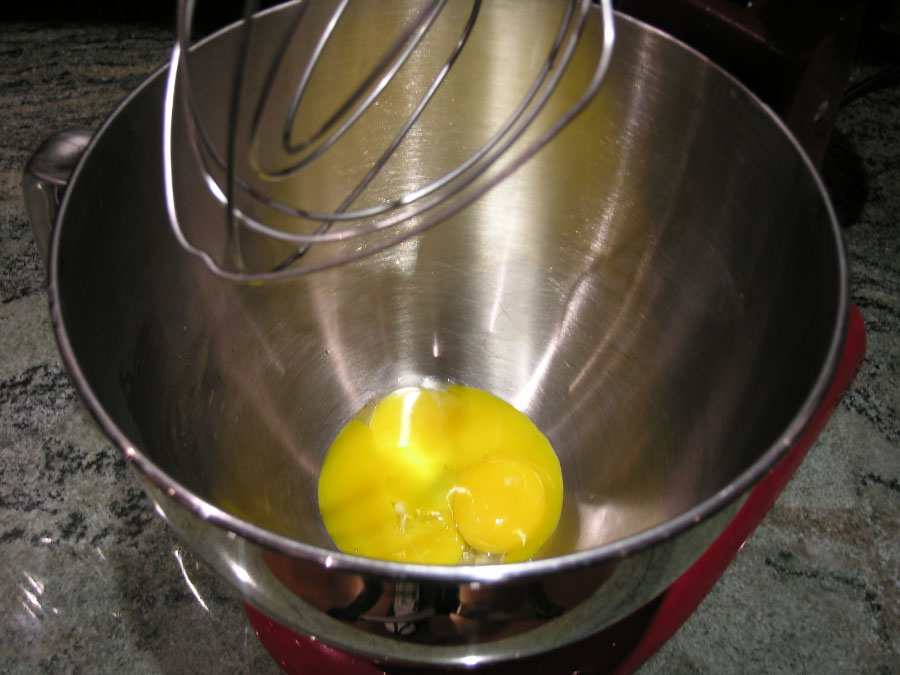
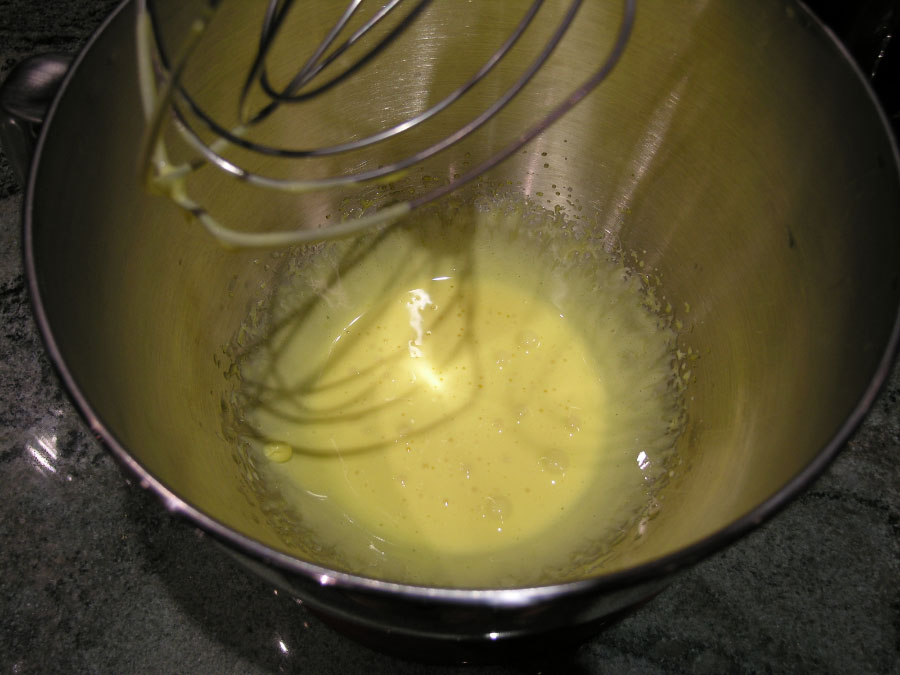
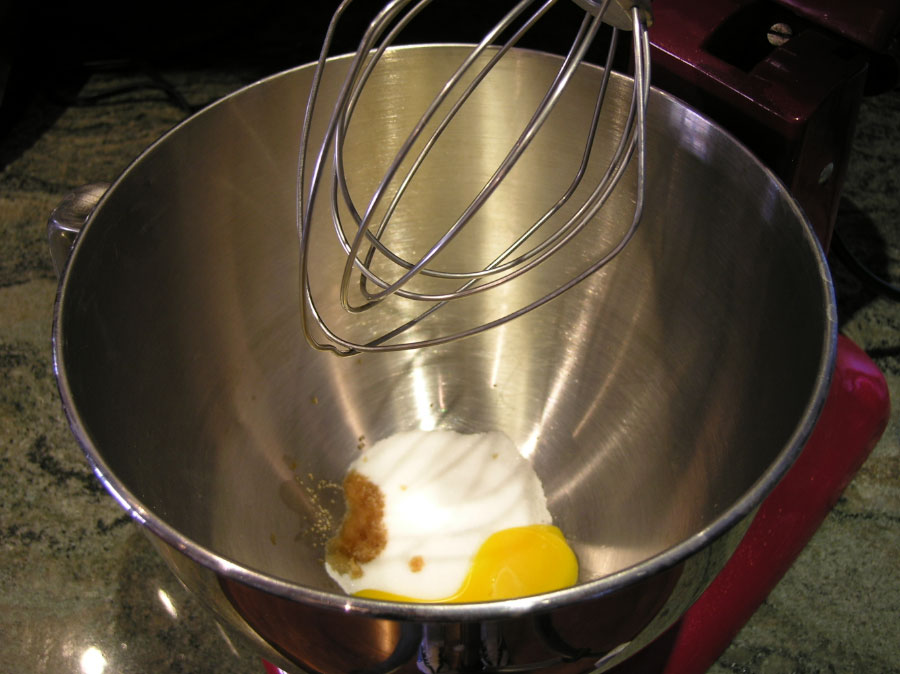
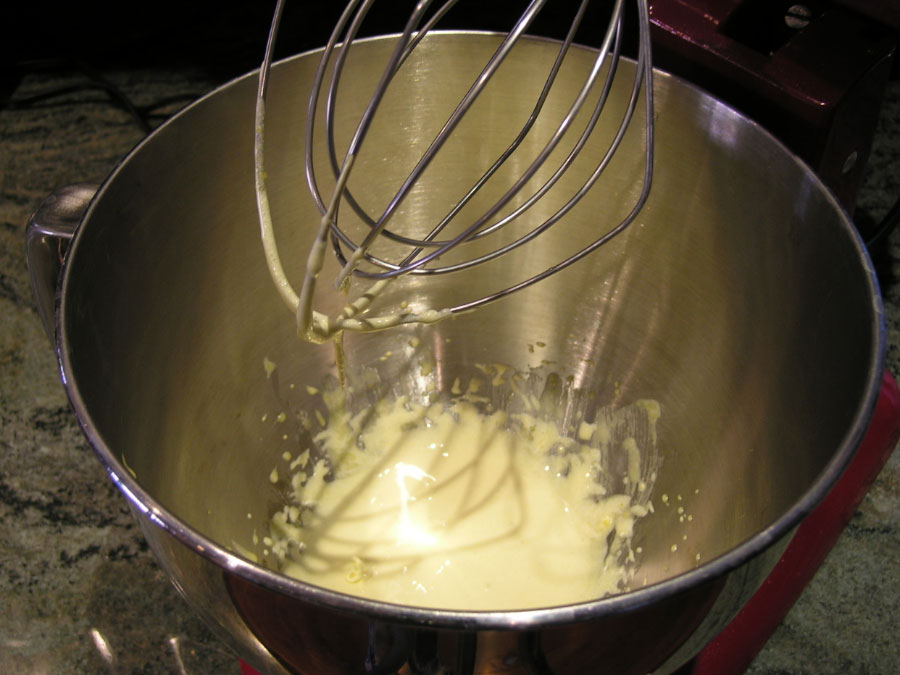
- 1 egg, lightly beaten
Instructions
- Heat the oil in a large skillet over medium-high heat until smoking. Add the rhubarb and 1/4 cup of the sugar and cook, stirring frequently, until firm, about five minutes. Transfer to a large bowl and refrigerate until cool.
- Remove one piece of dough from the refrigerator. Roll the dough between two large sheets of parchment paper to a 12-inch circle.
- Transfer the dough to a nine-inch pie plate by rolling the dough around the rolling pin and unrolling over the pan. Working around the circumference of the pan, ease the dough into the pan corners by gently lifting the edge of the dough with one hand while gently pressing into the pan bottom with the other. Leave the dough that overhangs the lip of the pie plate in place and refrigerate until needed.
- Adjust an oven rack to the lowest position, place a rimmed baking sheet on it and heat the oven to 500°.
- In a small bowl, mix together 3/4 cup of the sugar, the arrowroot, and salt. In a large bowl, toss together the strawberries, cooled rhubarb, and vanilla. Sprinkle the sugar mixture over the top and stir to combine. Spoon the fruit evenly into the pie shell and pack lightly. Roll out the second piece of dough to a 12-inch circle and place it over the filling. Trim the edges of the top and bottom dough layers and tuck the rim underneath itself so that the folded edge is flush with the pan lip. Flute the edges. Cut eight slits in the dough top. If the pie dough is very soft, place in the freezer for ten minutes. Brush the top of the crust with the beaten egg and sprinkle evenly with the remaining tablespoon of sugar.
- Place the pie on the hot baking sheet and lower the oven temp to 425°. Bake until the top crust is golden, about 25 minutes. Rotate the pie from front to back and reduce the temp to 375°. Continue baking until the juices bubble and the crust is deep golden brown, 30 to 35 minutes longer. Cool on a wire rack until room temperature; three to four hours before serving.


 Focaccia with Herbed Garlic Oil
 Pita
Pita Artichoke Heart Pizza
 Cheese and Herb Pizza
 Eggplant and Roasted Red Pepper Pizza
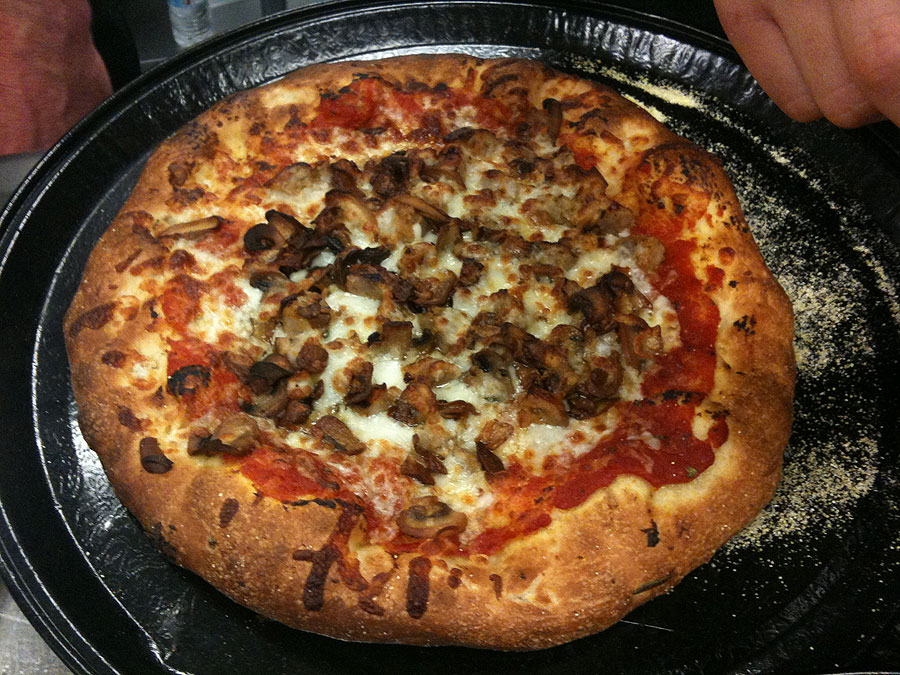 Sausage and Mushroom Pizza


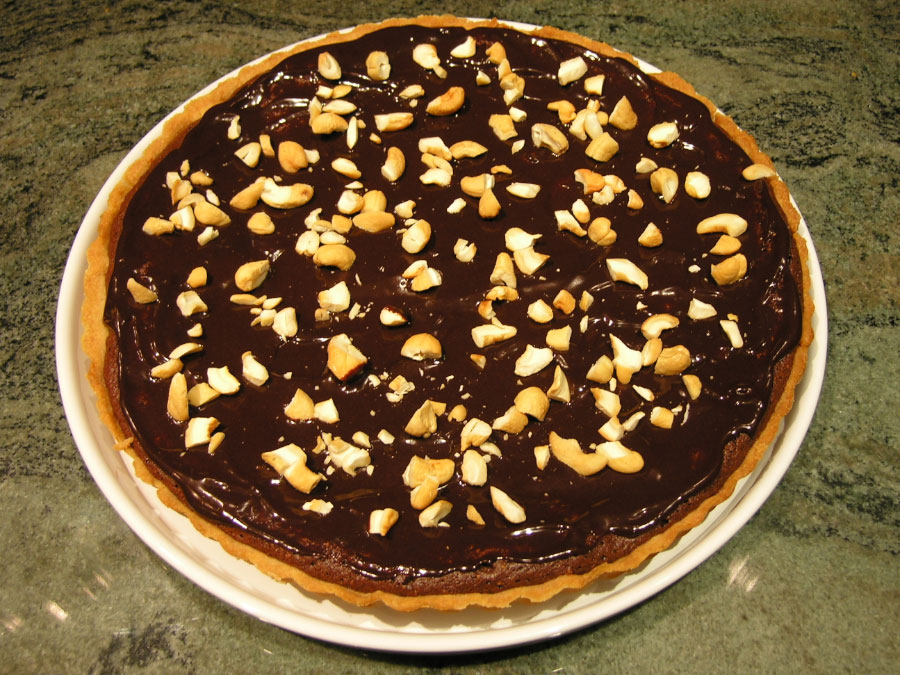
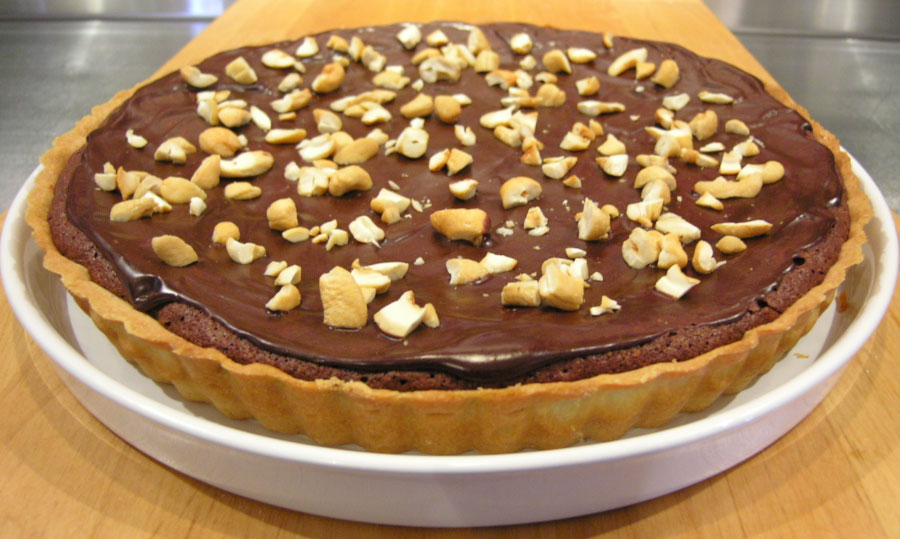
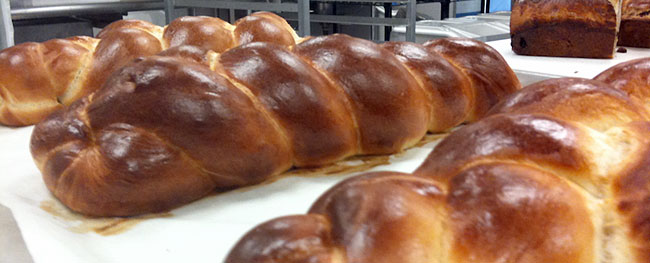
 Challah
 Milk Rolls – Cloverleaf
 Milk Rolls – Lip Shaped
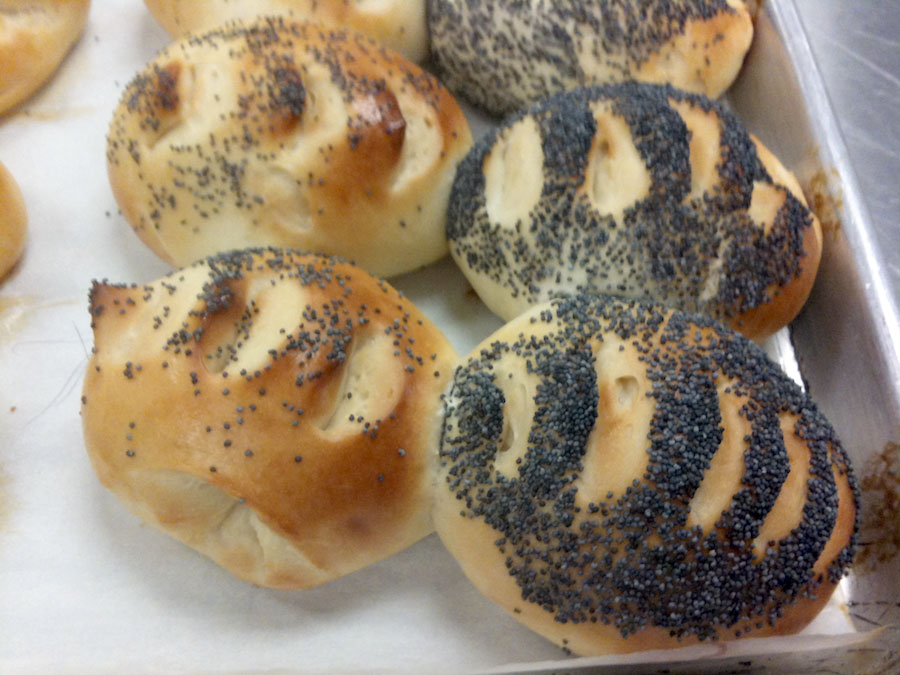 Milk Rolls – Shark’s-tooth
 Raisin Bread With Cinnamon Swirl


 Fennel Seed-Spanish Olive Bread
 Soft Pretzels
 Whole Wheat Lean Dough – Batard