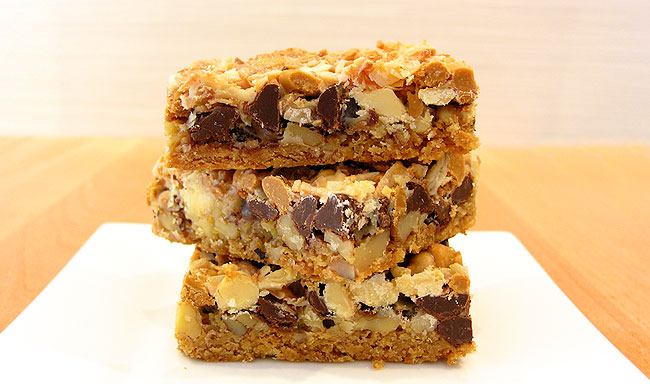
Seven Layer Bars
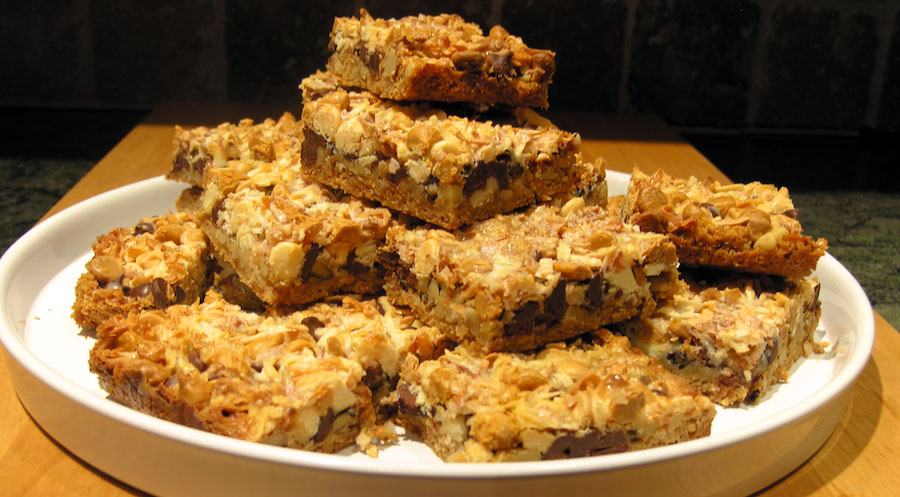
Seven Layer Bars, sometimes called Wonder Bars, are extremely easy to make. The ingredients are readily available, fairly inexpensive and common. One does not need to be an excellent baker to make these, I hesitate to even call this baking, as they are so simple to make. One warning though, they are addictive. You’ll walk by them thinking you will just have a bite, only to return moments later to finish off another piece.
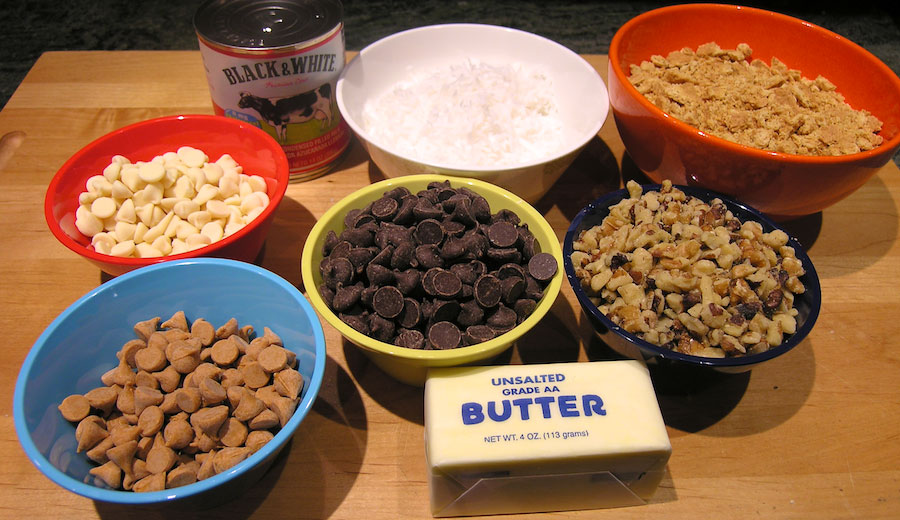
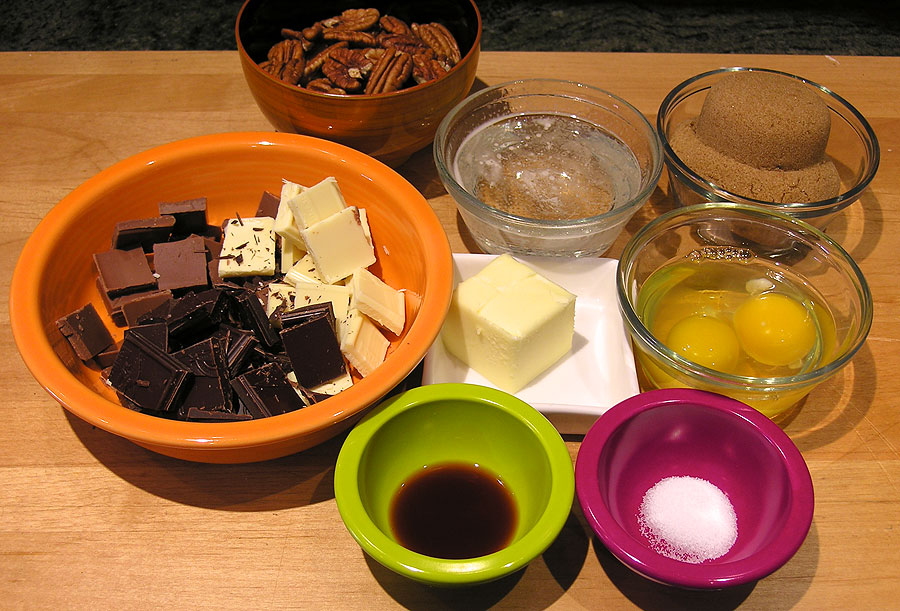
The recipe and detailed instructions are at the end of this post. For this recipe, we need sweetened flaked coconut, graham crackers, unsalted butter, walnuts, semisweet chocolate chips, white chocolate chips, butterscotch chips, and sweetened condensed milk. Looks like we have it all. Ready, set, bake…
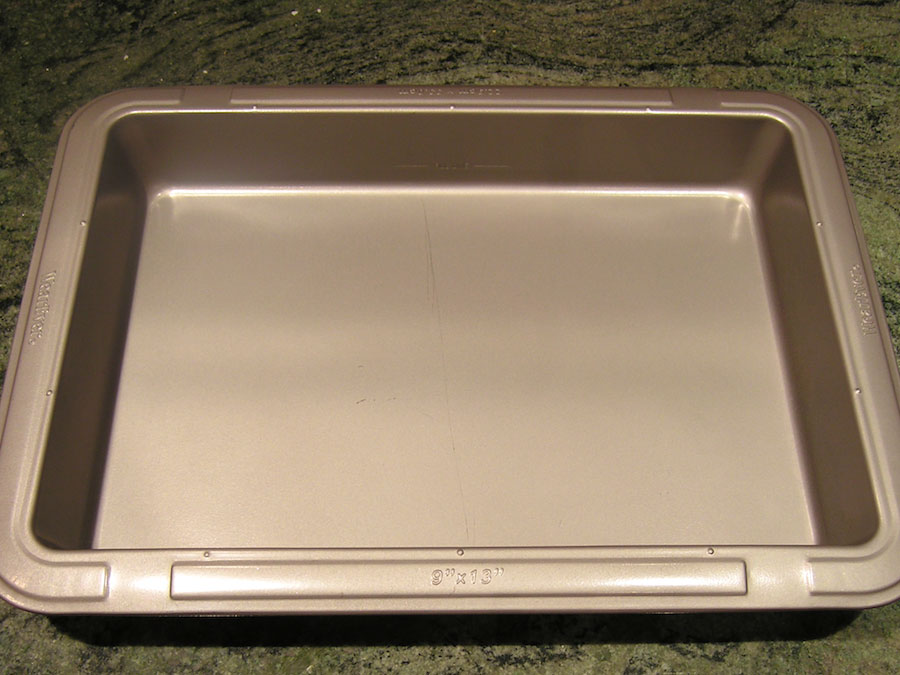
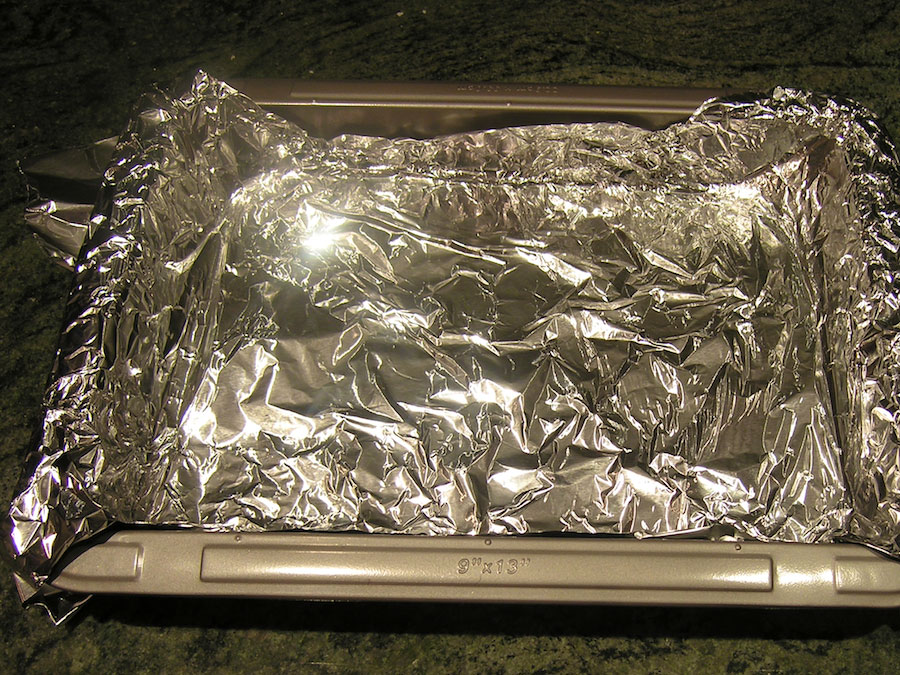
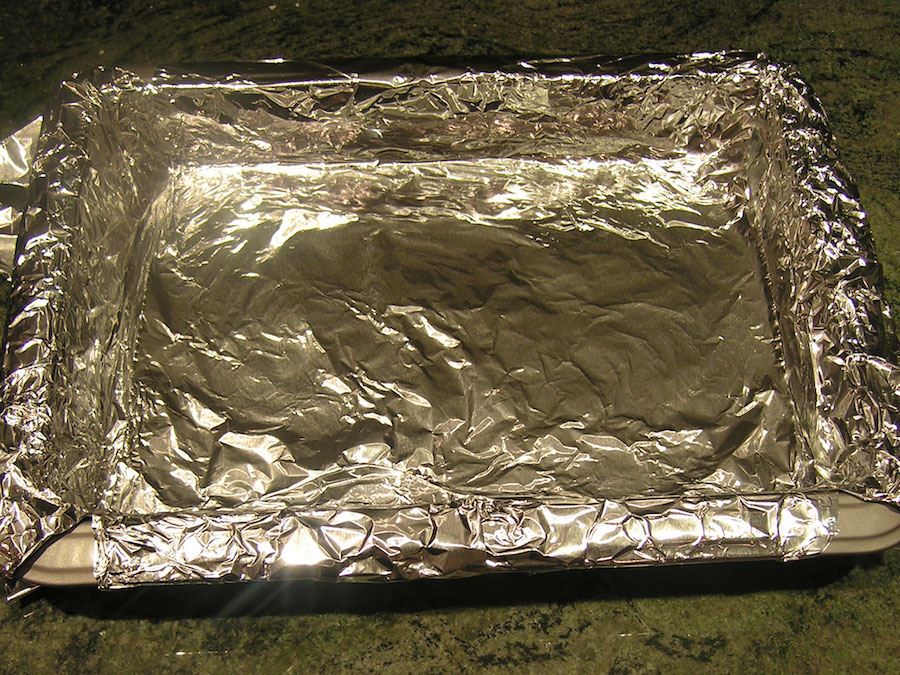

Line a 9×13 inch baking pan with aluminum foil. Place one piece of foil lengthwise and another crosswise, to make a liquid proof covering on the bottom of the pan.
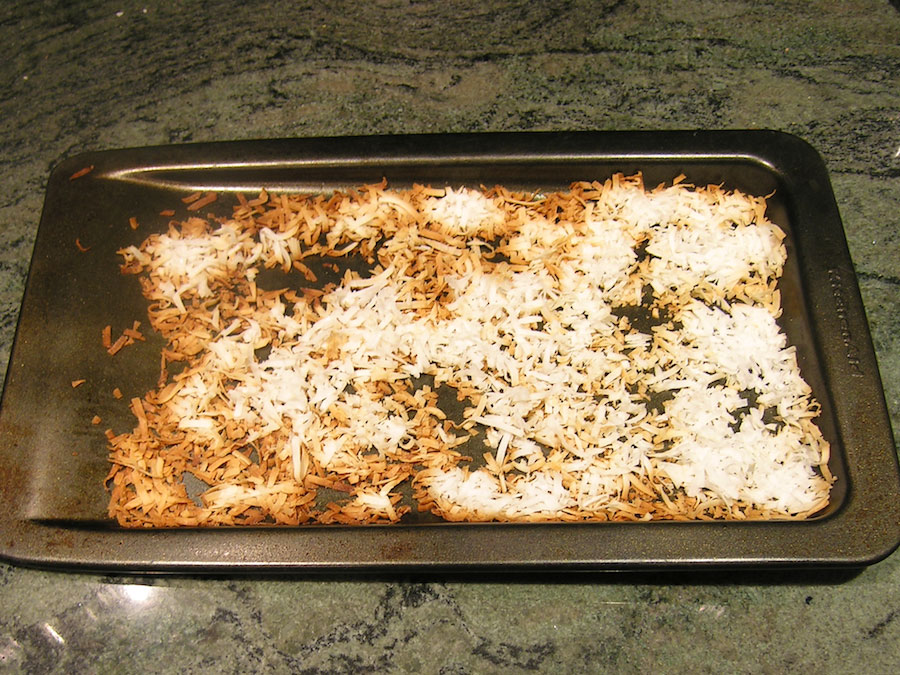
Spread the coconut evenly over a sheet pan.
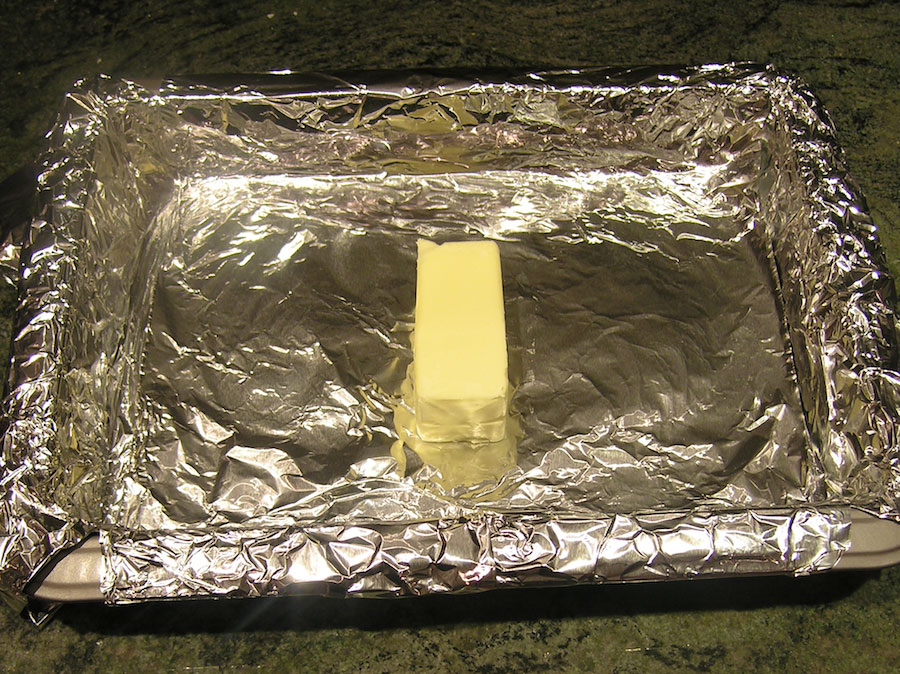

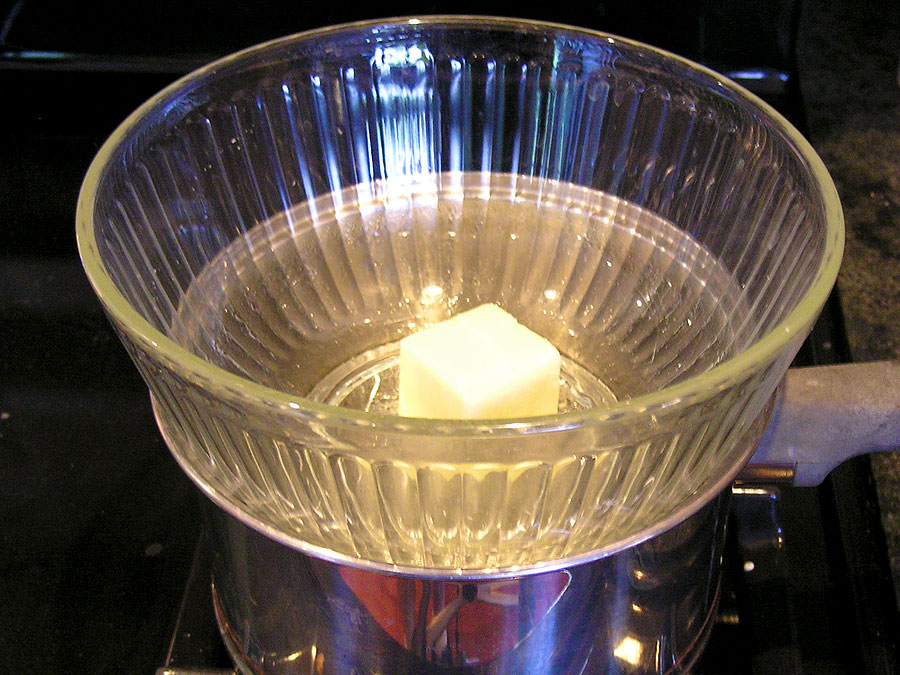
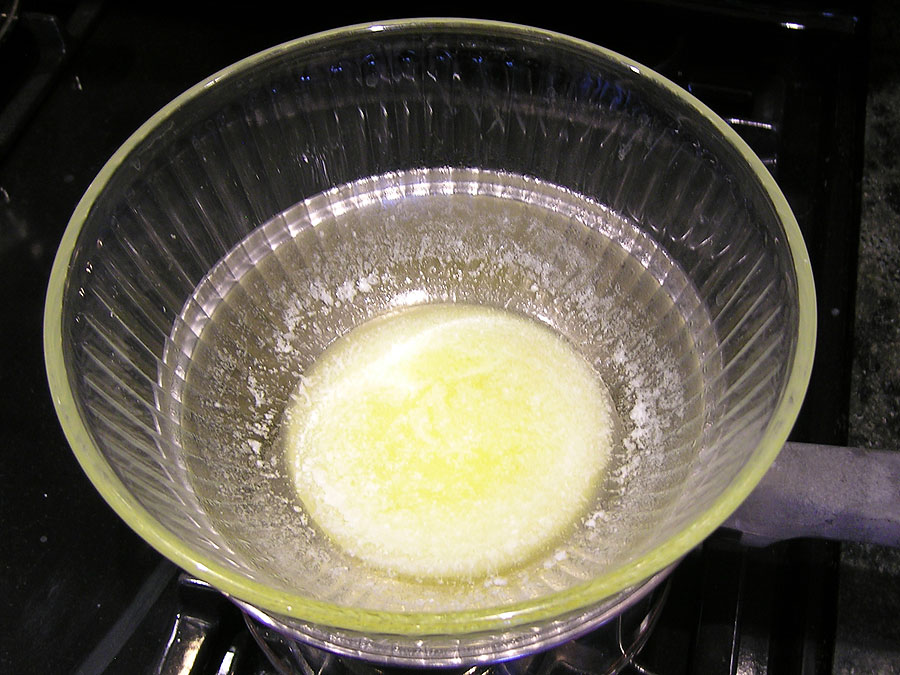
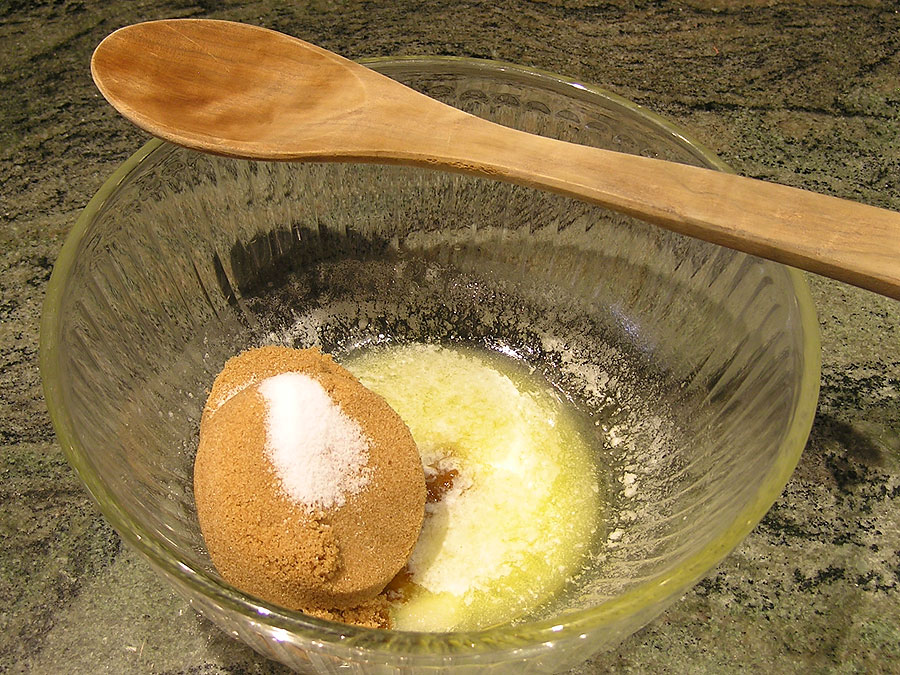
Place the stick of butter in the prepared baking pan. Put the baking pan and the sheet pan with the coconut in the oven for about 6 to 7 minutes. While the butter is melting and the coconut is toasting, crush the graham crackers in a ziplock bag to achieve a mixture of crumbs, bits, and chunks. You will get better flavor with larger chunks, rather than a powder. Spread the graham cracker crumbs over the melted butter.

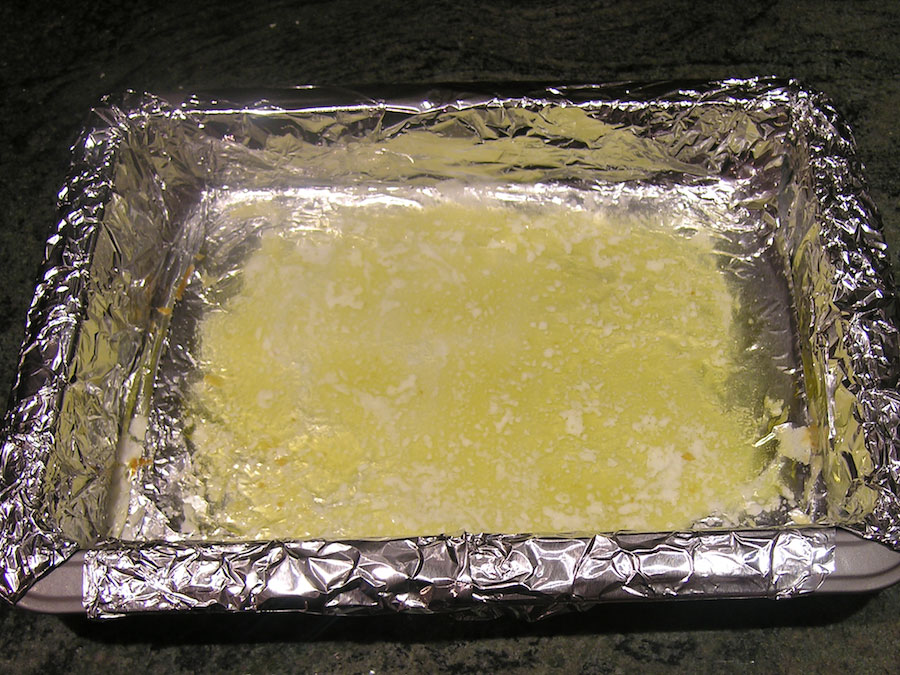
Spread the graham cracker crumbs over the melted butter and toss lightly with a fork, directly in the pan, until all the butter is absorbed and the crumbs are evenly distributed over the bottom of the pan.
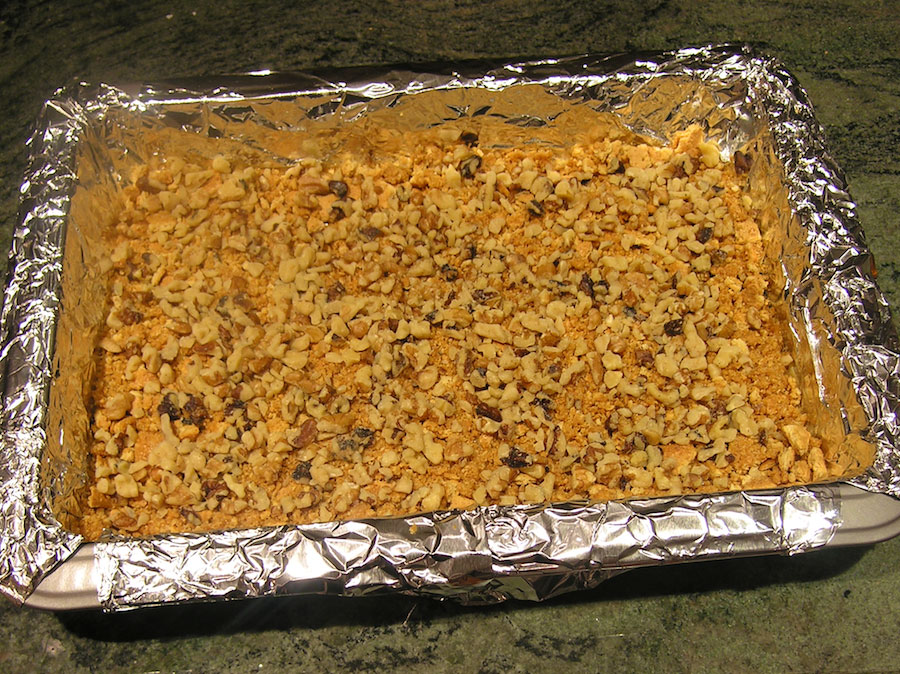
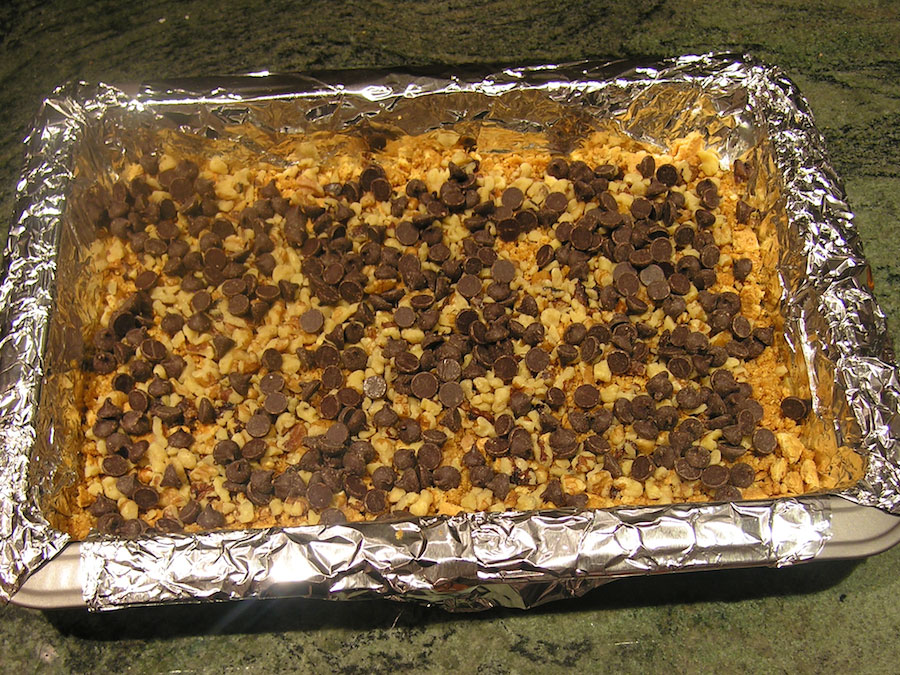
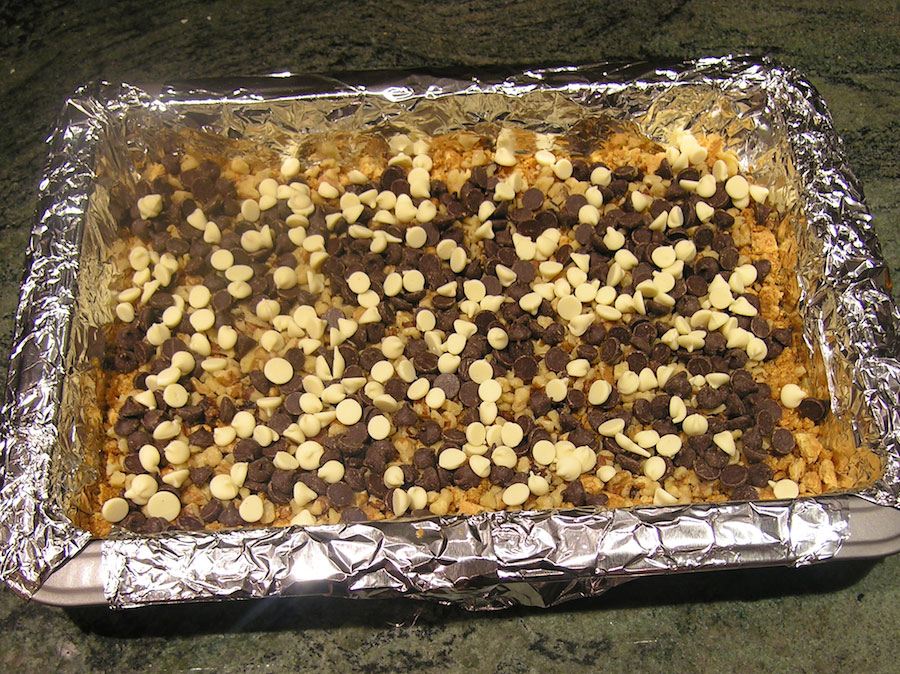
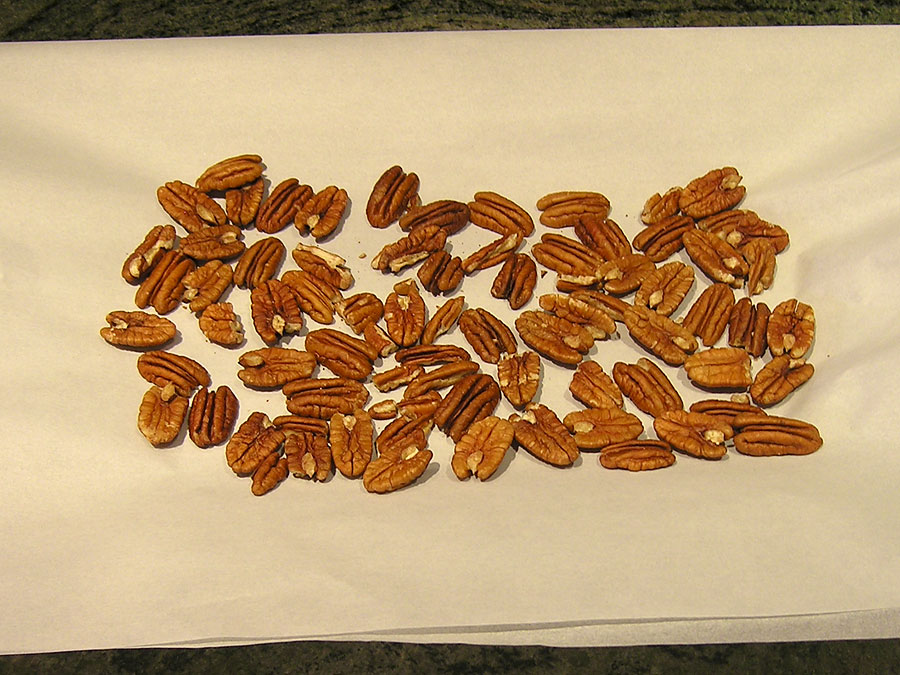
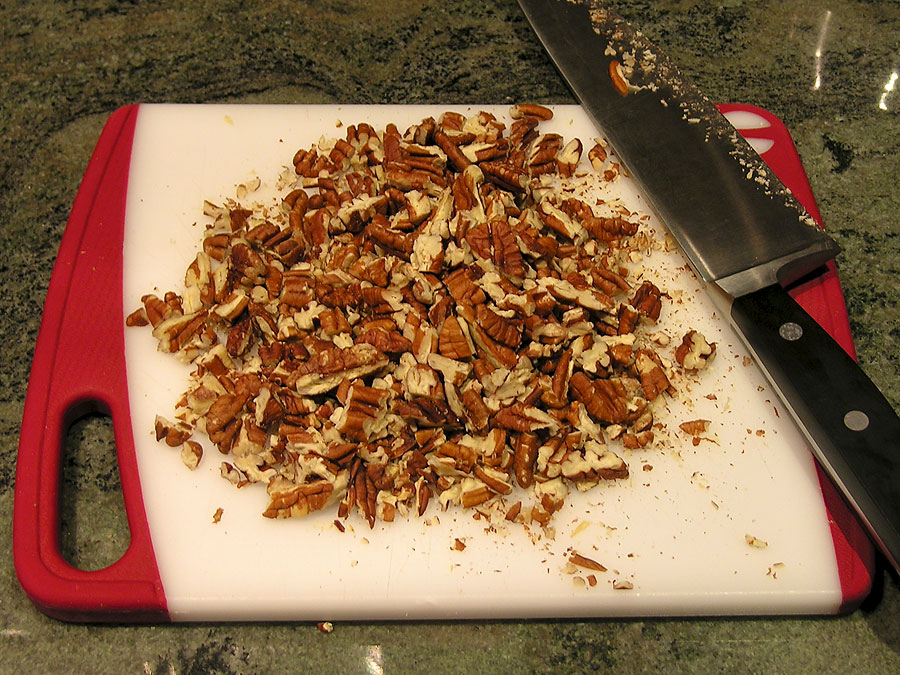
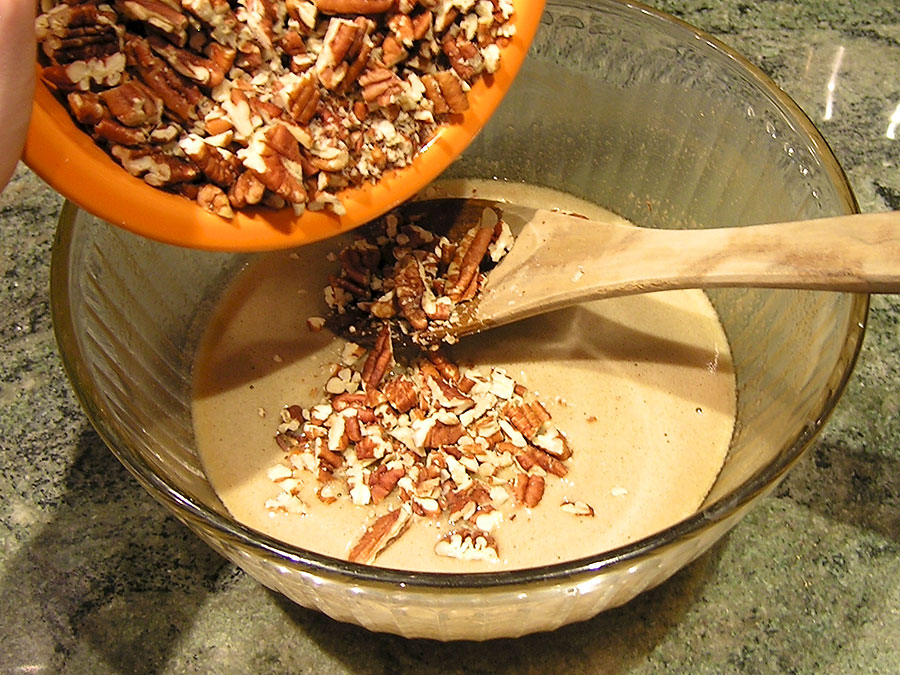
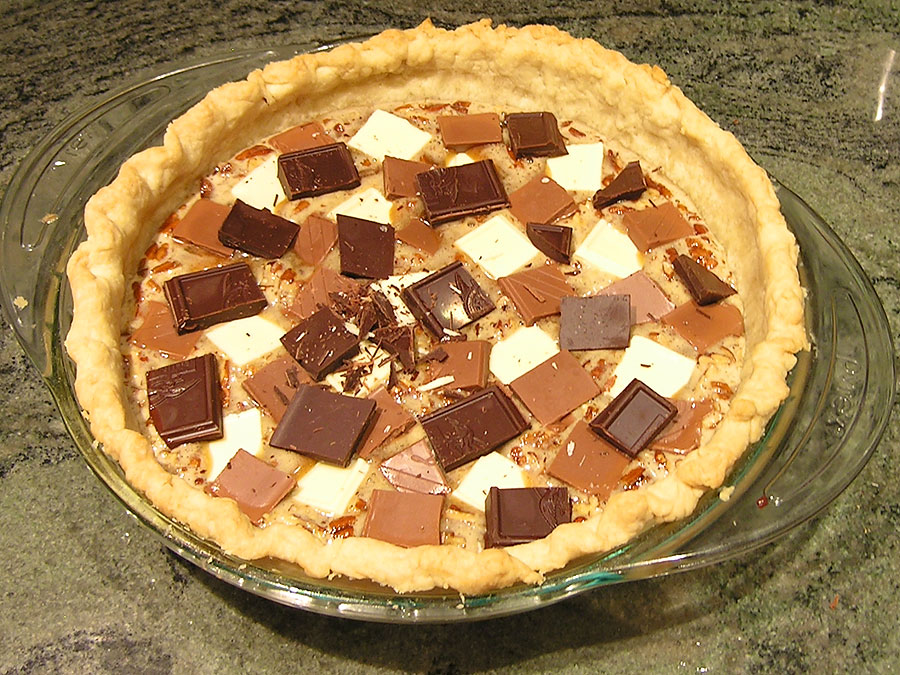
Sprinkle the nuts evenly over the graham cracker crumbs and continue in order with the chocolate chips and the white chocolate chips
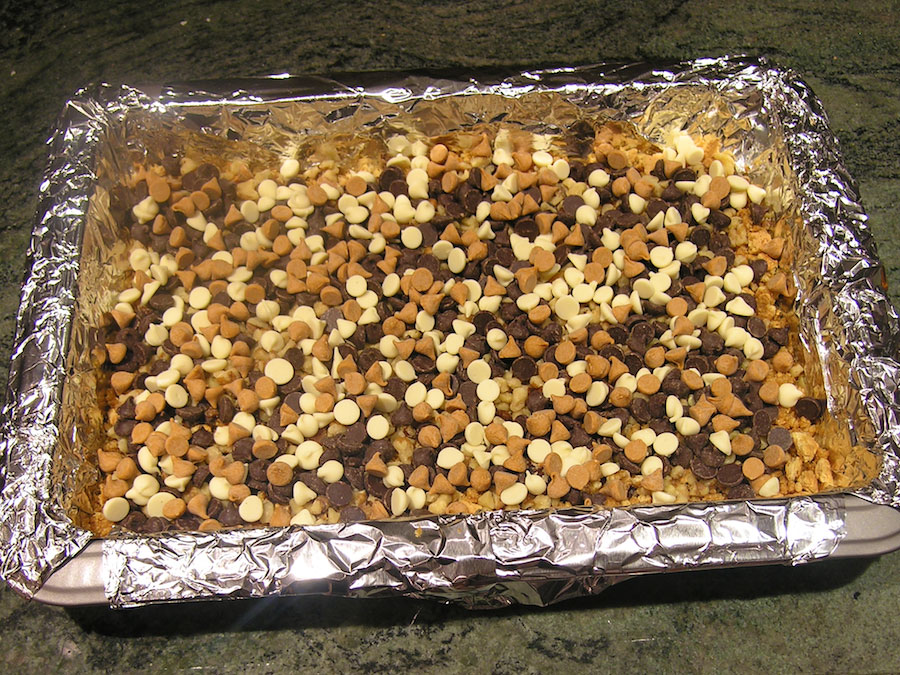
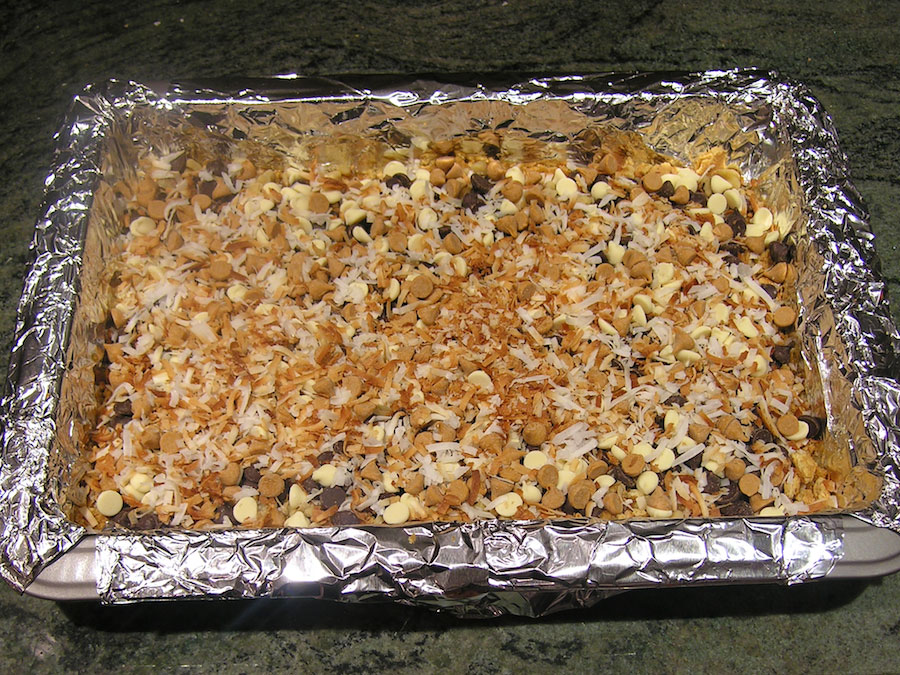

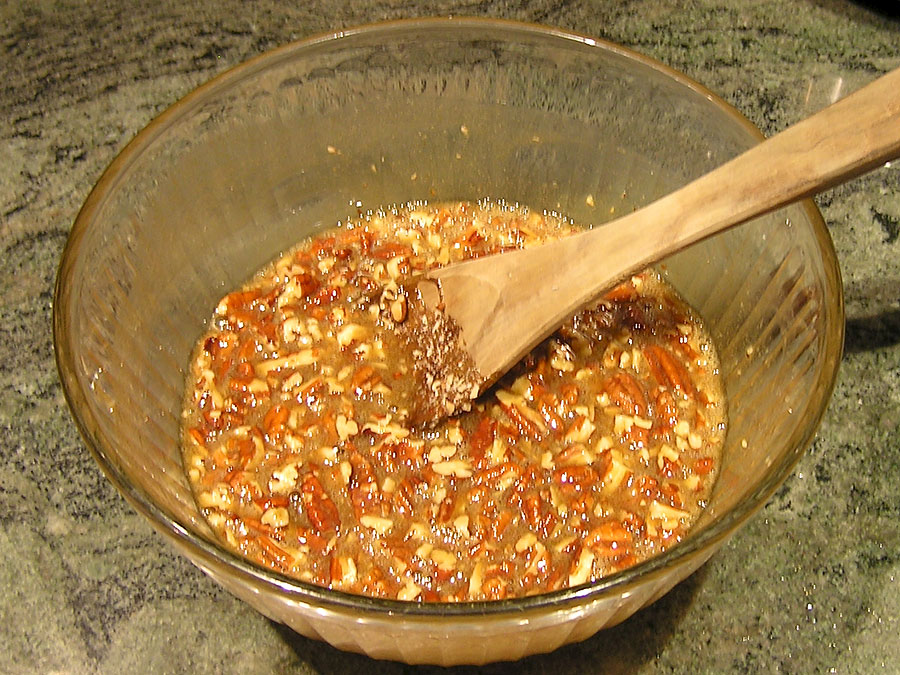
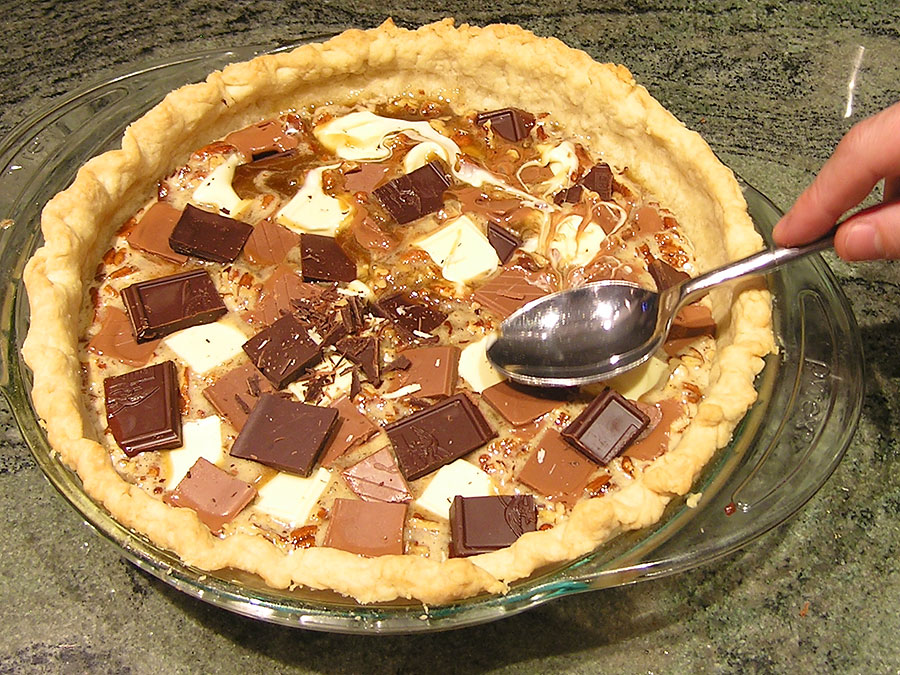
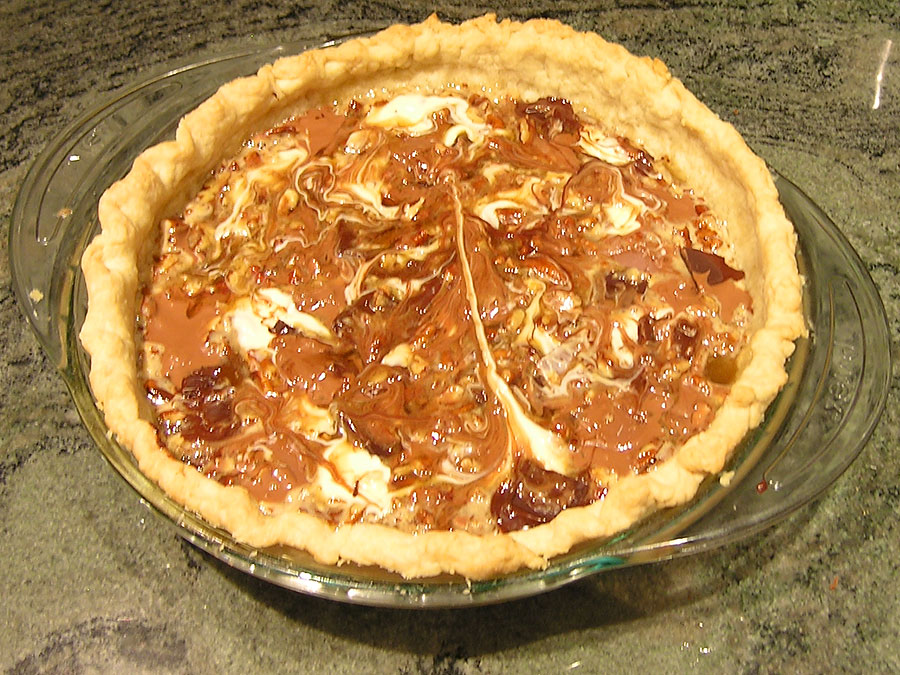
Continue to sprinkle evenly over the previous layers the butterscotch chips, and then the toasted coconut. Pour the condensed milk evenly over the entire dish.
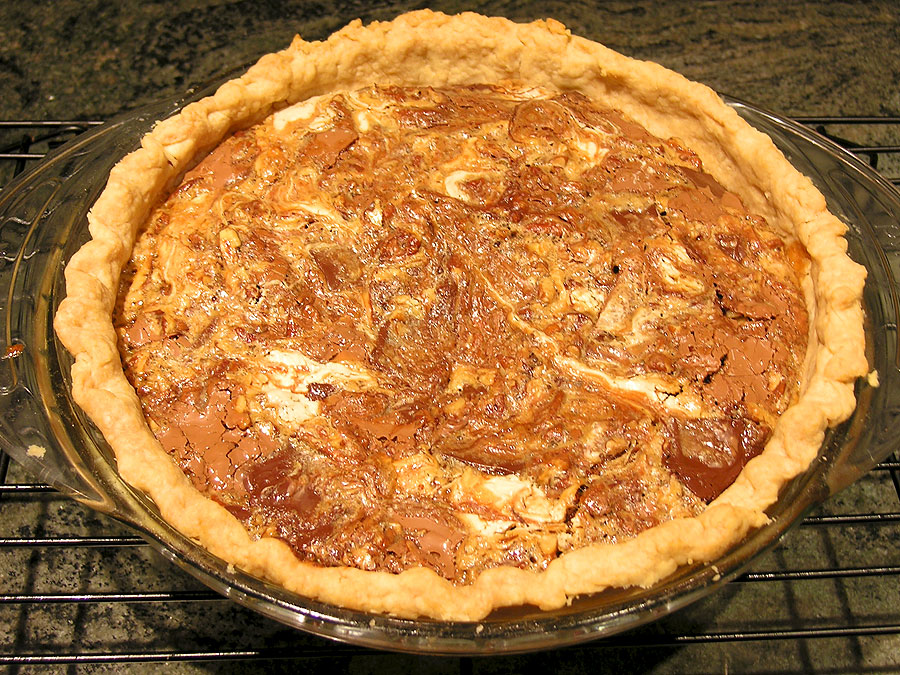
Return the pan to the oven and bake until the top is golden brown, about 25 minutes.


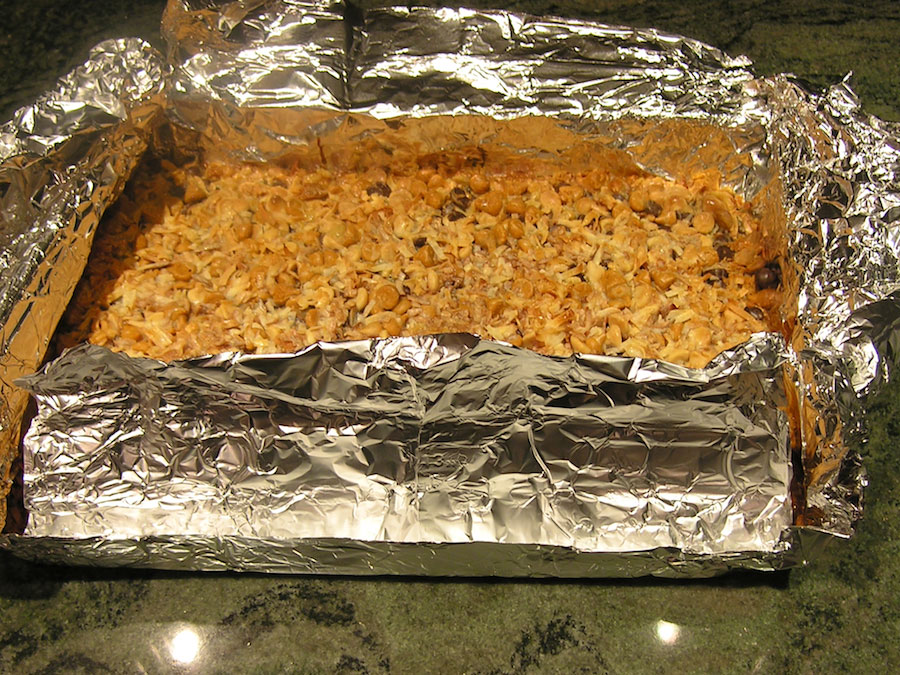
Cool on a wire rack to room temperature, about 2 hours. Remove the bars from the pan using the foil and transfer to a cutting board. Using a sharp knife, cut into bars of your desired size.
Recipe: Seven Layer Bars
Adapted from Baking IllustratedPrint Recipe
Yield: 16 Servings
Ingredients
- 1 cup sweetened flaked coconut
- 5 oz. (one sleeve) graham crackers
- 8 tbsp. (1 stick) unsalted butter
- 1 cup finely chopped walnuts
- 1 cup semisweet chocolate chips
- ½ cup white chocolate chips
- ½ cup butterscotch chips
- 1 (14-oz.) can sweetened condensed milk
Instructions
- Adjust an oven rack to the lower-middle position and preheat the oven to 350° F.
- Line a 9×13-inch baking dish with aluminum foil.
- Spread the coconut over a sheet pan. Place the stick of butter in the prepared baking pan. Put the baking pan and the sheet pan in the oven for about 6 to 7 minutes. The butter should be completely melted and the coconut lightly toasted.
- While the butter is melting and the coconut is toasting, crush the graham crackers in a ziplock bag to achieve a mixture of crumbs, bits, and chunks.
- Spread the graham cracker crumbs over the melted butter and toss lightly with a fork, directly in the pan, until all the butter is absorbed and the crumbs are evenly distributed over the bottom of the pan.
- In order, sprinkle the nuts, chocolate chips, white chocolate chips, butterscotch chips, and toasted coconut over the graham cracker crumbs. Pour the condensed milk evenly over the entire dish.
- Return the pan to the oven and bake until the top is golden brown, about 25 minutes. Cool on a wire rack to room temperature, about 2 hours. Remove the bars from the pan using the foil and transfer to a cutting board. Using a sharp knife, cut into bars of your desired size.
 Lime Mango Sorbet
 Pear and Blackberry Crostata with Cornmeal Crust
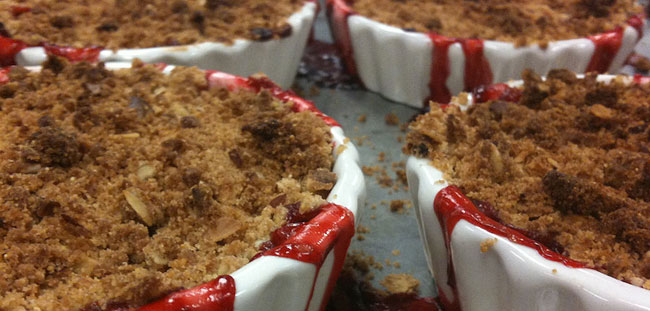
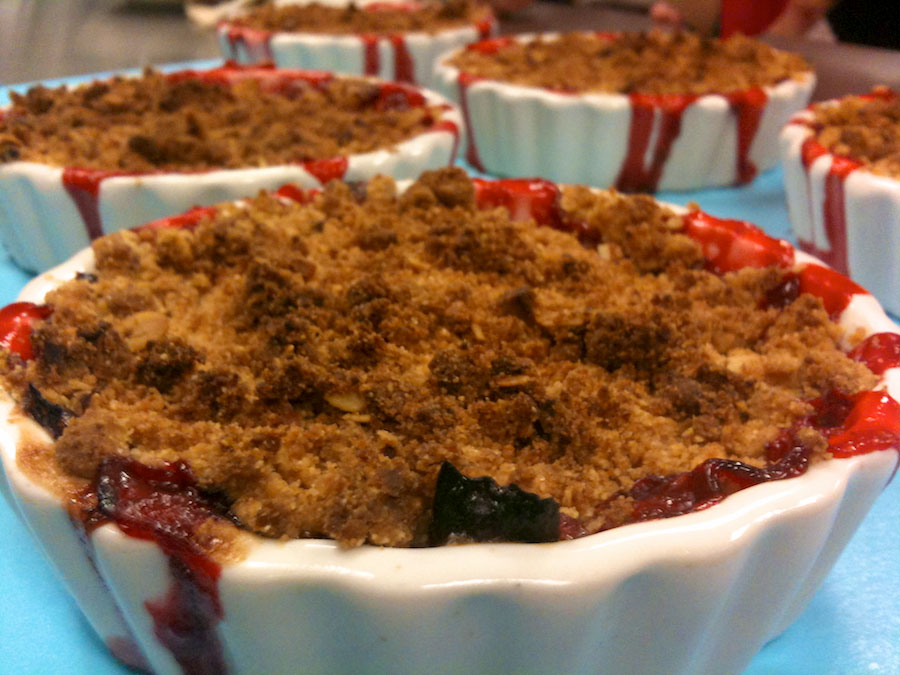 Strawberry Rhubarb Crisps


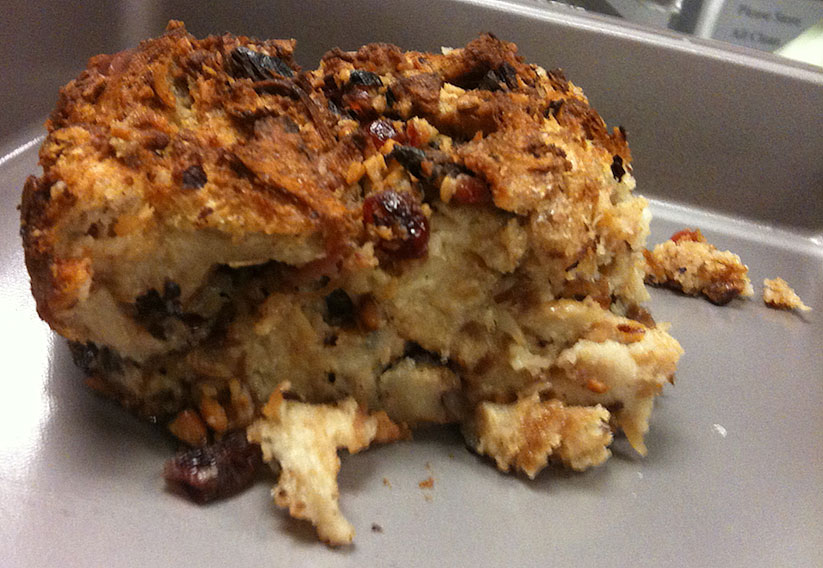 Bread Pudding
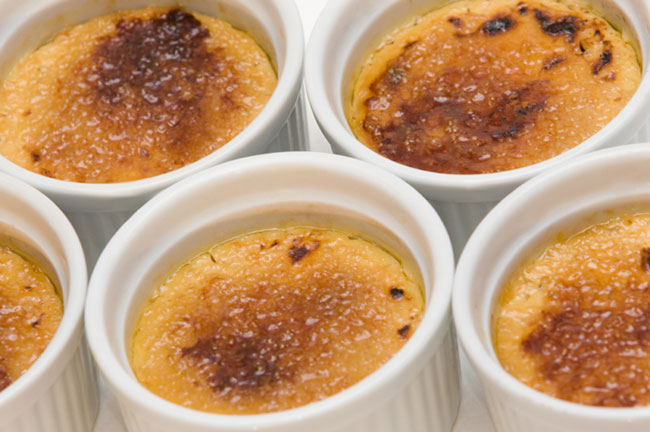
 Creme Brulee
 Pot de Creme
 Rice Pudding


 Angel Food Cake
 Lemon-Meringue Tart
 Marshmallows
 Meringue Cookies