Pies/Strudel
This week in baking class we covered Pies and Strudel.
A pie is usually made of a pastry crust that holds a filling. The filling can be made with many different ingredients, from sweet to savory, from fruit to meat, cheese or even fish. The filling is placed on top of a bottom crust. An additional crust can cover the top of the pie, as a solid piece or a cutout design with openings.
A strudel is a layered pastry, like phyllo dough, with a sweet filling. Often they are served with confectioners sugar and cream.
We discussed these different pie dough methods:
- Crustada
Prepared by folding the edges of the dough over the top of the filling on a flat surface (not in a pie pan).
- Pie
- Single Crust – crust is only on the bottom of the pan.
- Double Crust – a solid crust both on the bottom and top of the pie.
- Lattice – a solid crust on the bottom of the pie and a weaved or intricate design with openings on as the top crust.
- Cookie
Crushed Graham Cracker or cookies make up the crust.
The dough making process consists of:
- Cutting the fat(s) into flour
The fat(s) should be cut into the flour using either your hands, a pastry cutter or a food processor until pea-sized pieces of fat remain. The fat(s) must cold to retain shape and release moisture to create the flakiness in the crust during the baking process. The recipe we used in class used two fats, butter for flavor and shortening for texture (flakiness). The water in the butter creates the steam that creates the flakiness by creating air pockets in the dough. There are many different recipes that use different fats and combinations of fats. Don’t overwork your dough or it will come out tough.
- Adding moisture
Usually the liquid is water. This should be ice cold in order to keep your fats from warming to room temperature. Be careful not to get ice into your dough, it will create too much moisture. The flour absorbs the liquid over time so do not add too much liquid – even if the dough seems a little dry.
- Resting the dough
The dough needs to rest under refrigeration for around 45 minutes to an hour in a flat disc shape and then rolled out. The resting enables the liquids to be absorbed by the flour and begin the gluten formation of the dough.
Pies require the dough to be cooked in different manners. Some require raw dough with small poked holes on the bottom crust. This prevents the dough from bubbling up when it’s cooked. The holes are not necessary for pies who’s fillings are heavy enough to hold the dough down as its being baked. Other pies require the crust is partially baked or fully baked. This is usually done in order to keep the bottom crust from becoming soggy or undercooked from a moist filling. Juicy filling will need to have a thickening agent (cornstarch, flour, tapioca) added before cooking so that the bottom crust will cook and not be soggy.
When doing para (partial) baked crust or fully baked crust a method called Blind Baking is sometimes used. With blind baking, rather than punching holes in the bottom crust before baking the crust is filled with weights (beans, rice or even small metal balls) that fills the pie pan and holds down the dough. Its called blind baking because you can not see the baking process of the crust. The weights are removed at 1/2 through the baking time (for both para and fully baked).
When a top crust or lattice is used several different techniques need to be used. For a top crust, the pie must have slats or holes cut in it to allow steam to leave the pie as it bakes. When doing a lattice, which is a common way of baking apple pies, or top crust, the filling should be cooked or partially cooked in order to shrink the filling to the same volume as its finished product. This is so the lattice or top crust does not dome and create an air pocket that crumbles when the pie is cut.
Its a good idea to cook your pie on a baking sheet so that any spillage during the baking process does not drip into the oven. A glass pie pan enables one to see if the crust is done on the bottom – however, a metal pan will brown the crust, a glass one will not brown the crust.
Heres what we made today:
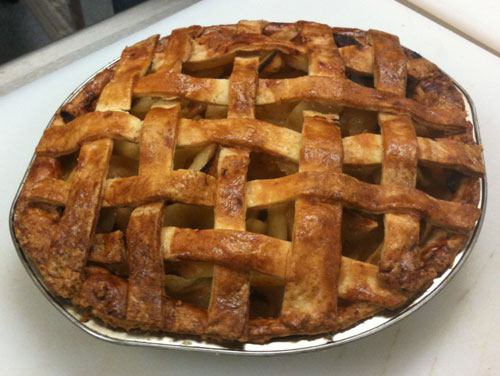 Apple Pie
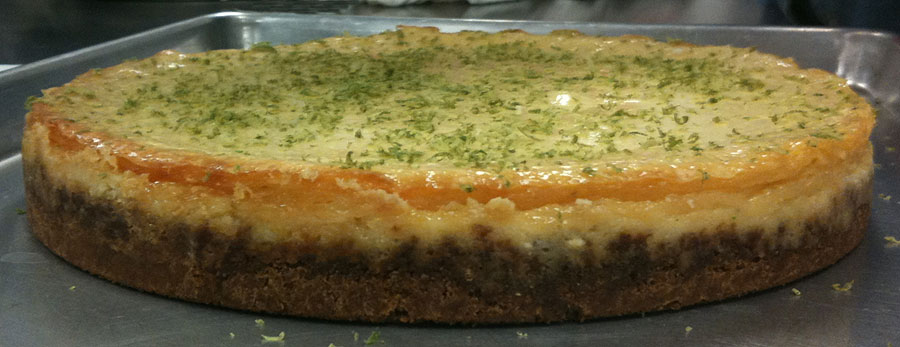
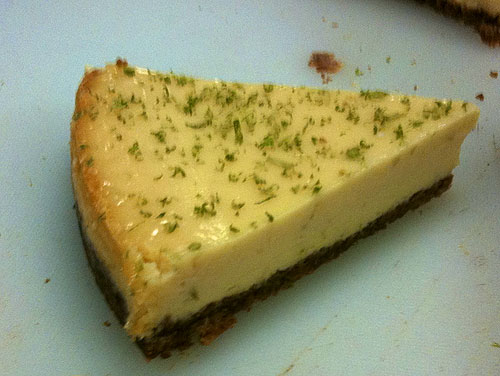 Key Lime Pie
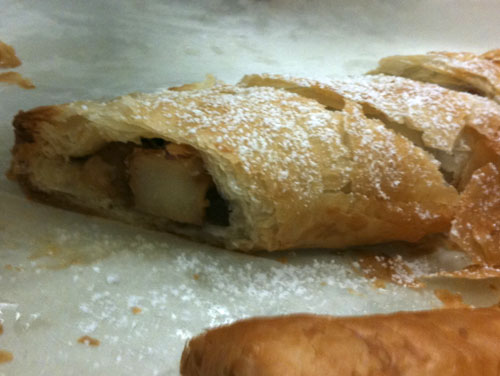 Pear-Cranberry Strudel
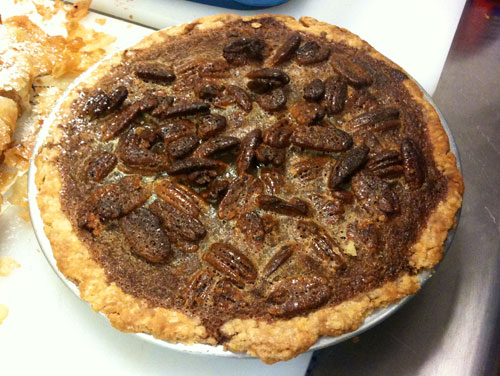 Sweet-Potato-Pecan Pie


 Blueberry Muffins
 Buttermilk Biscuits
 Banana Bread
 Apricot and Cranberry Scones
 Our friends Terry and Karen invited us up for a Superbowl get together. I was leaning towards my dark chocolate cream filled cupcakes, but decided to try a Red Velvet Cupcake instead.


 Spritz Rings
 Coconut Macaroons
 Chocolate Cranberry Biscotti
 Royal Icing on Sugar Cookies
