
Flatbreads were the topic in this weeks class. A flatbread is usually made with flour, water, and salt and then rolled into flattened dough and baked. The lecture in class was very short this week, since most of the knowledge needed is just an expansion of the previous two weeks (lean dough and rich dough).
We discussed freezing bread for later use. Double wrapping the bread will ensure no freezer burn. The best way to reheat frozen bread is in an oven for five minutes at 400°F. Cover the frozen bread with foil for soft bread or leave uncovered for crusty bread. Most frozen bread will keep up to a month in the freezer.
Types of pizza crust very greatly. The key to getting a thin crust that is crispy is to use fewer toppings and minimal sauce. Using too many toppings inhibits the bottom crust from getting crispy, even when baked on a pizza stone. A pizza peel and pizza stone should not be expensive, they are readily available for under twenty dollars. One can also make their own stone using a baking sheet and terracotta titles. The most important thing to remember is to heat the oven with the stone. If a stone is added to a hot oven it is likely to crack.
The Mixing Process
The method used here is similar to lean dough. The exceptions are in the final proofing, the kneading process and the baking.
Scaling Ingredients: measuring out the ingredients.
- Kneading: using a dough hook or by hand. Development of the dough is not critical, usually mixed until just combined. Since its literally flat, the structure provided by the development is not needed.
- Bulk Proofing: Place the dough in a warm moist environment. Be sure to cover the dough so it does not form a skin. The dough should double in size.
- Punching: punch down the dough to develop flavor.
- Repeat steps 3 and 4: depending on the recipe this can be done several times.
- Scale Dough: portion the dough into desired finished product.
- Shaping: This step consists of letting the dough rest to loosen the gluten in order to give your more control of the dough and shaping the dough into the desired shape.
- Proofing: This step is most often skipped all together or shortened when working with flatbreads. Since the doughs need only to rise a little the proofing is not needed.
- Baking: depending on the recipe the bread may be washed with oil, herbs or nothing at all.
- Cooling: if you east your bread before it has cooled sufficiently the texture will be doughy still.
Here is what we made in class:
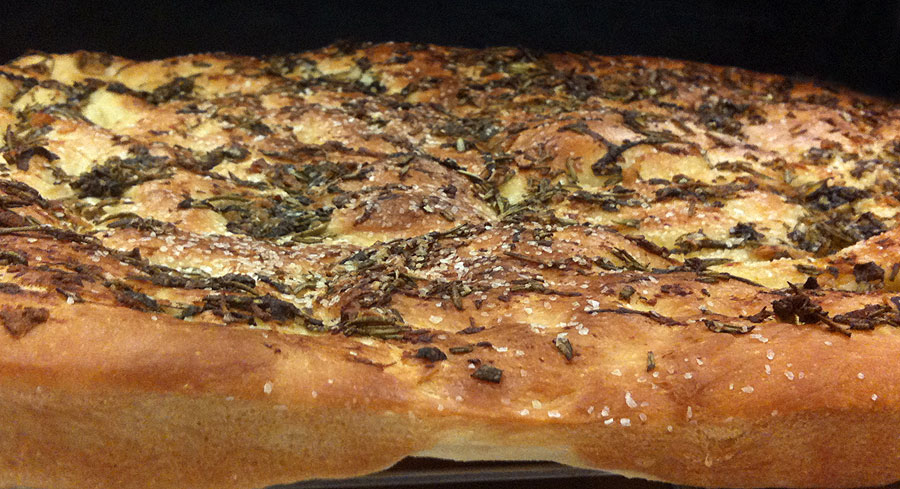
 Focaccia with Herbed Garlic Oil
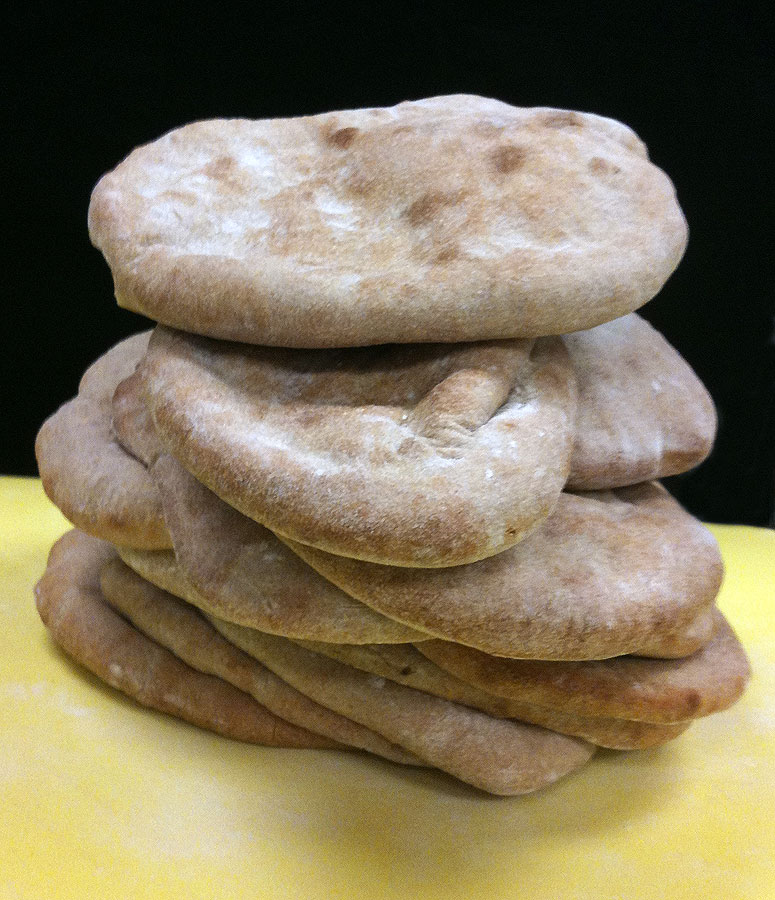 Pita
Pita Artichoke Heart Pizza
 Cheese and Herb Pizza
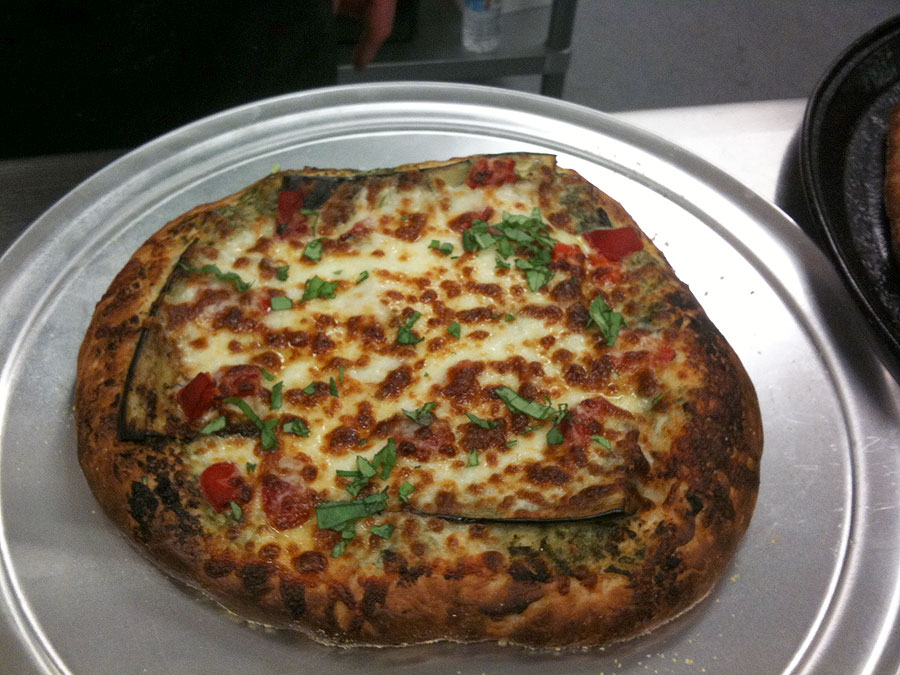 Eggplant and Roasted Red Pepper Pizza
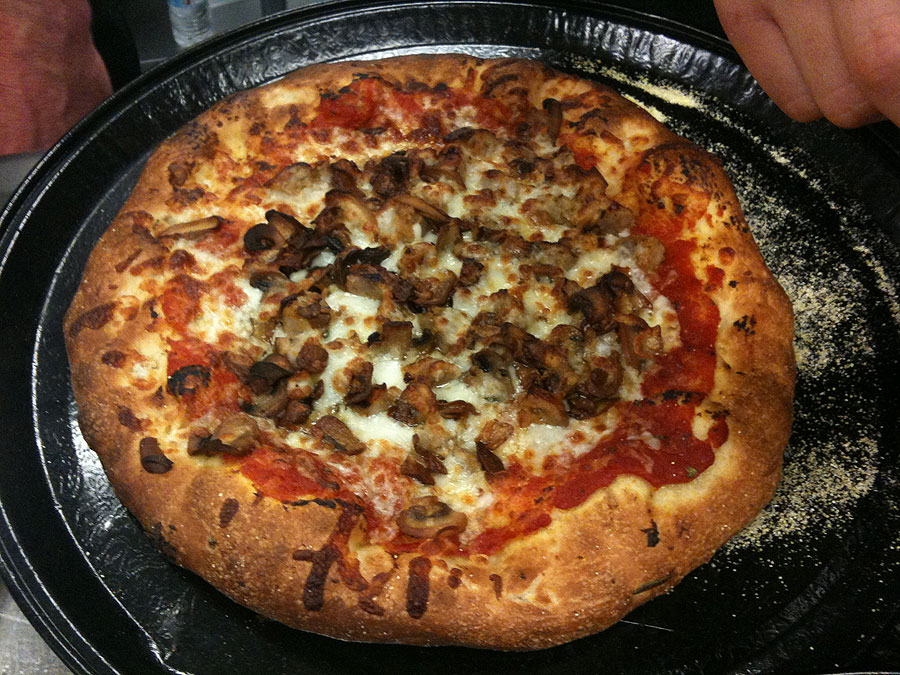 Sausage and Mushroom Pizza