We started our five-week venture into breads in this weeks class. We start with lean doughs. These are doughs that consist of flour, salt, yeast, and water. Lean doughs are distinguished from rich doughs because they lack added fats in the dough. Bread making is a complex process that relies on technique, geography, and ingredients. For example, a San Francisco sourdough bread can only be made in San Francisco because of the natural yeast spores in the air. If one follows the same recipe or even has the same sourdough starter and makes it outside of the San Francisco region the bread will not turn out the same because it will lack these natural yeasts.
There are three main types of yeast used in bread making. Fresh Compressed yeast is a paste that must be devolved in water. This kind of yeast molds easily and has a short, two week, shelf life. As a result, it is not common in commercial stores. Instant Yeast is a yeast that can be added to dry ingredients and does not need to be rehydrated to work. Active Dry Yeast needs to be activated with warm water (100° – 110°). Yeast dies at 140° so it’s important to make sure your proofing and activating is done at the correct temperatures.
Yeast is a living organism that eats the sugars in the dough and produces carbon dioxide (makes the dough rise) and alcohol (flavor). The yeast dies when the internal temperature of the bread reaches 140° which stops any further rising. The alcohol is evaporated as the bread cooks, but the flavor remains. Pounding down the dough, having it raise several times, creates better flavor by getting rid of the carbon dioxide and making more sugars available to the yeast to create more alcohol for added flavor.
Gluten, the protein found in wheat, is formed by agitation and moisture. The more agitation the stronger the gluten strands will be. All purpose flour is not recommended for bread making, it contains less gluten than bread flour and will produce subpar results. The longer one mixes the dough the more gluten will be developed. When making bread with whole wheat it is important to use at least 50 percent white bread flour or the dough will be too dense and not rise as expected.
The Mixing Process
There is a 10 step process used in bread baking. Sometimes some of these steps are skipped in order to shorten the time needed to produce the bread.
- Scaling Ingredients: measuring out the ingredients. Unlike most other baking applications, the ratio here may need to be adjusted due to the humidity in the flour. It’s important to keep the yeast and salt separate before mixing them in the dough after the yeast has been activated or the yeast will be killed.
- Kneading: using a dough hook or by hand. The dough should reach a stage where it is smooth in appearance, elastic and not sticky.
- Bulk Proofing: (also known as rising or fermentation) Place the dough in a warm moist environment (around 80°). Be sure to cover the dough so it does not form a skin. The dough should double in size.
- Punching: punch down the dough to develop flavor.
- Repeat steps 3 and 4: depending on the recipe this can be done several times.
- Scale Dough: portion the dough into desired finished product (rolls, loafs, etc).
- Shaping: This step consists of letting the dough rest to loosen the gluten in order to give you more control of the dough and shaping the dough into the desired shape.
- Proofing: This is the final proof, the dough should rise to one and a half times its original size.
- Baking: this step includes slashing the bread with a razor if needed to allow steam release (the slash will create an opening of 90°), creating steam in the oven if called for (thick crusts), and the actual baking of the dough. Bread is done baking when its internal temperature reaches 180°.
- Cooling: if you east your bread before it has cooled sufficiently the texture will be doughy still.
Here is what we made in class:
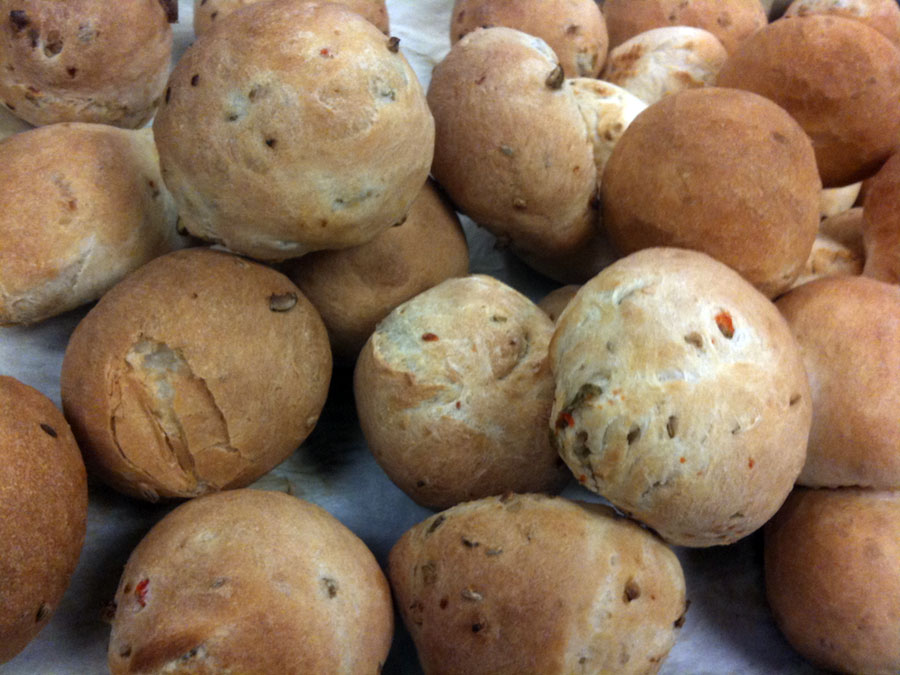
 Fennel Seed-Spanish Olive Bread
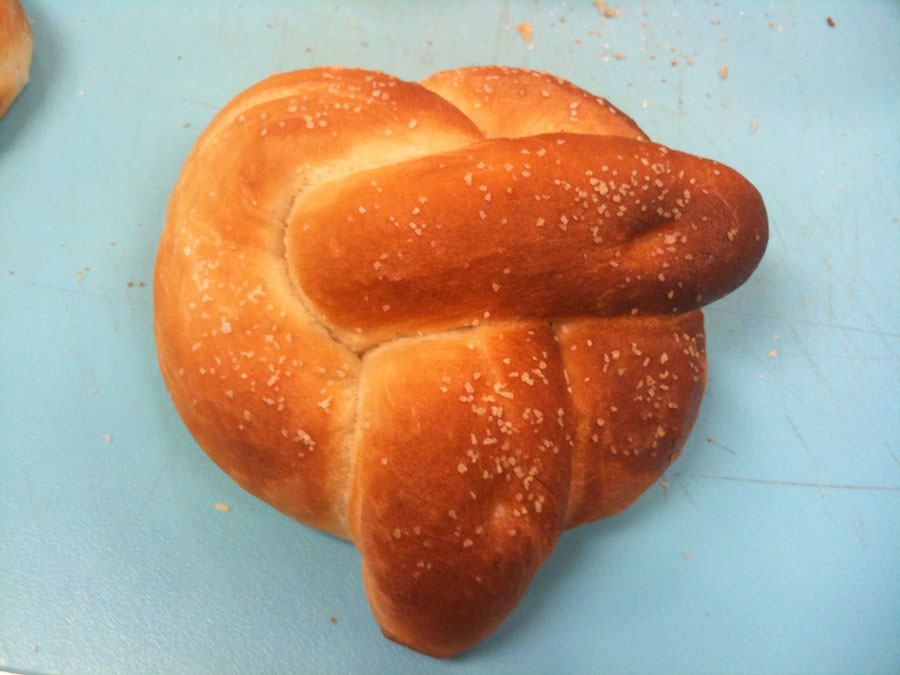 Soft Pretzels
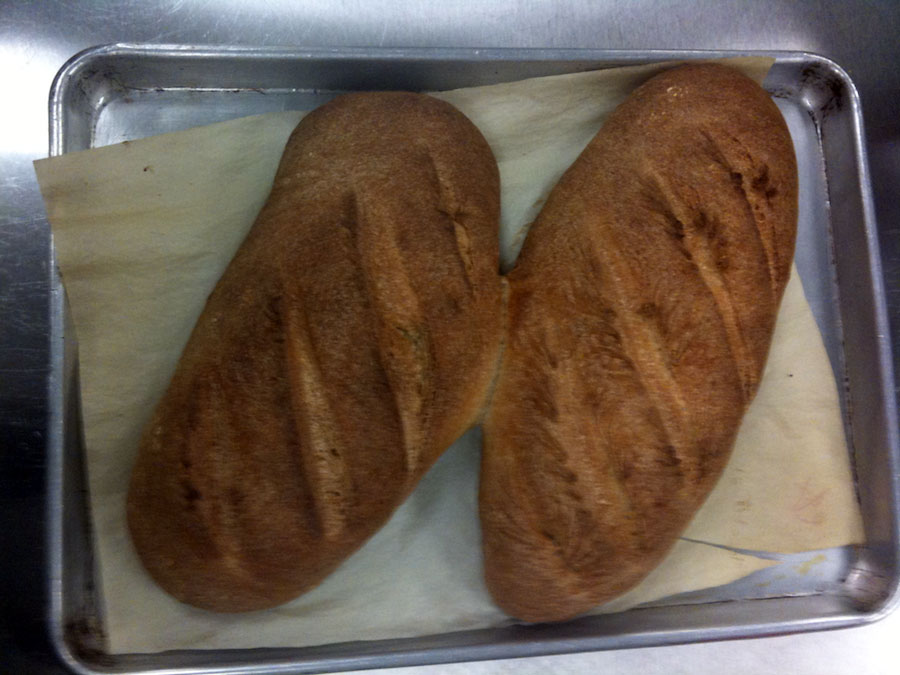 Whole Wheat Lean Dough – Batard