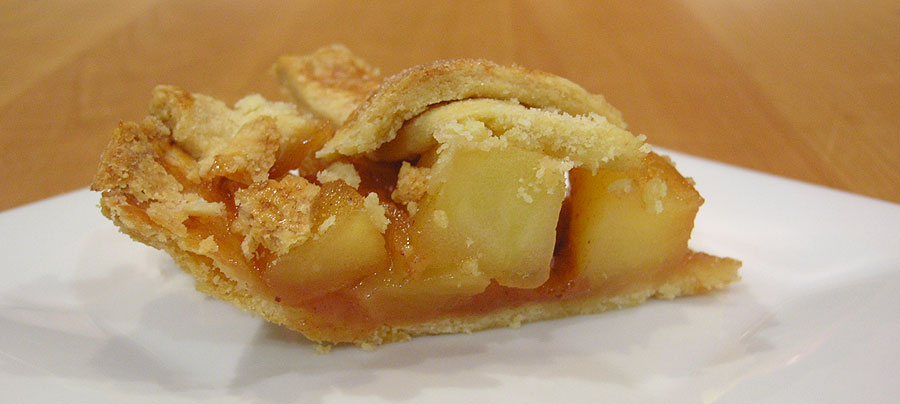
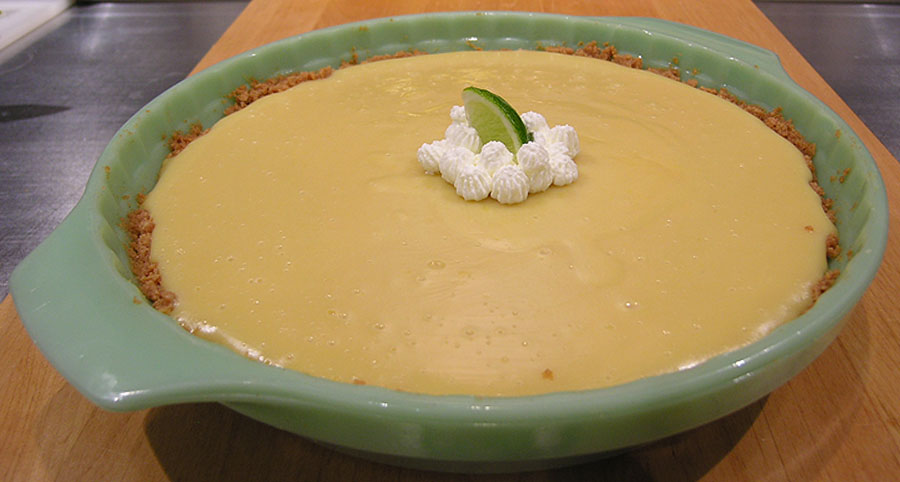
A co-worker asked me to make him the apple pie that was made in my baking class. I’ve made several apple pies in the past – I enjoy them but rarely do I crave them. That all changed with this pie. It is seriously the best apple pie I have ever eaten. I’m glad I took a piece out to photograph and eat before bringing it into work. The crust is amazing and the filling is delicious. I’ll definitely be making this again – and I will not be giving away more than a slice or two. Yes, I’m that selfish.
There are not a lot of ingredients in this pie, but don’t let that simplicity fool you. It is a labor and time intense recipe. It took me nearly two hours to make, not counting the baking time. It’s worth every minute of the time.
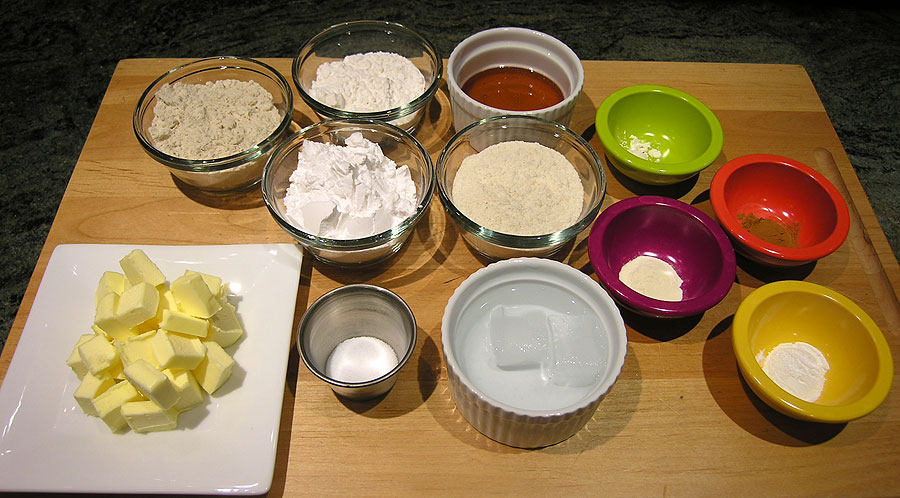
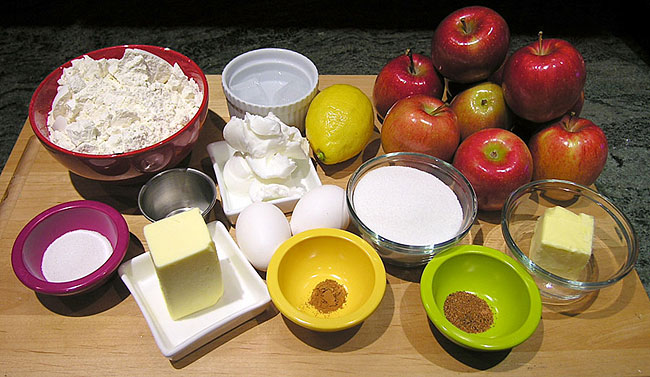
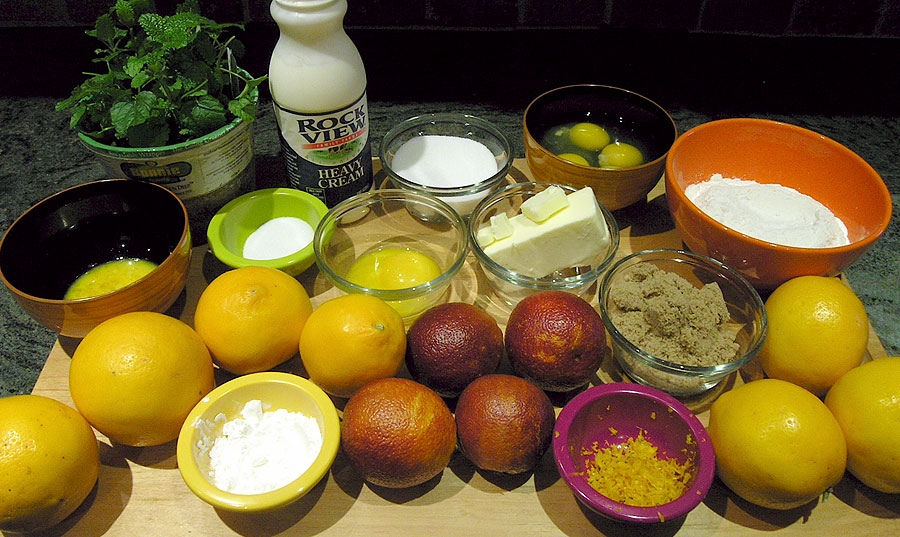
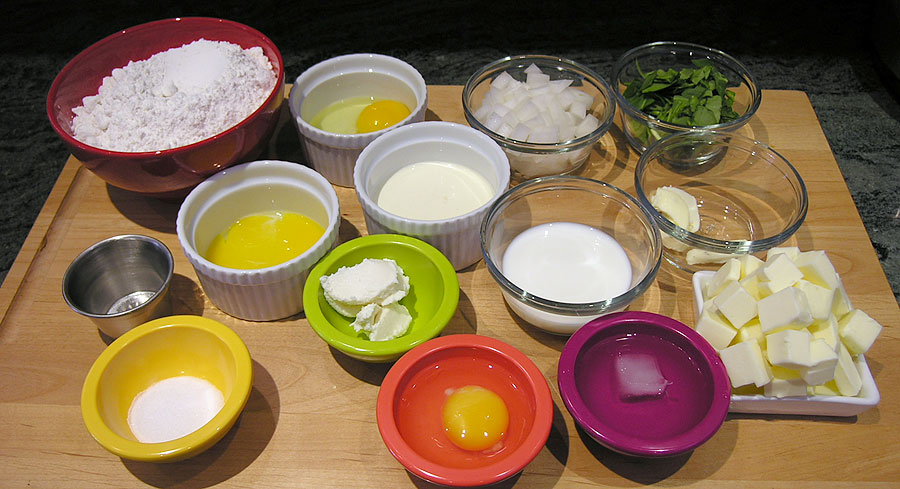
The recipe and detailed instructions are at the end of this post. For this recipe, we need all-purpose flour, sugar, salt, butter, shortening, lemon juice, apples, sugar, cinnamon, and nutmeg. Looks like we have it all. Ready, set, bake…
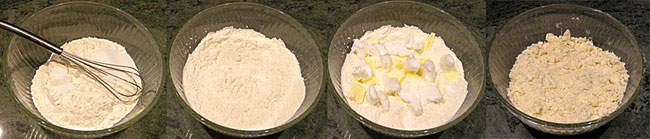
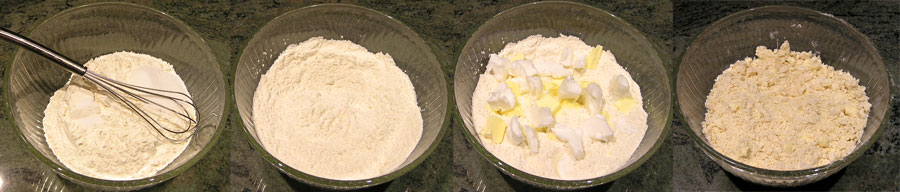
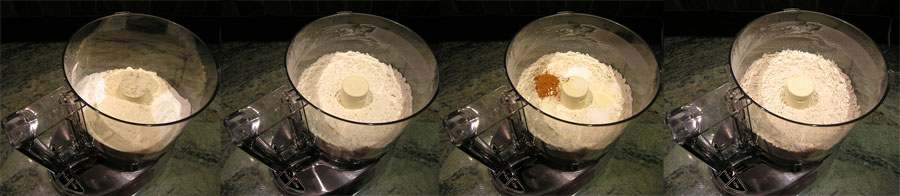
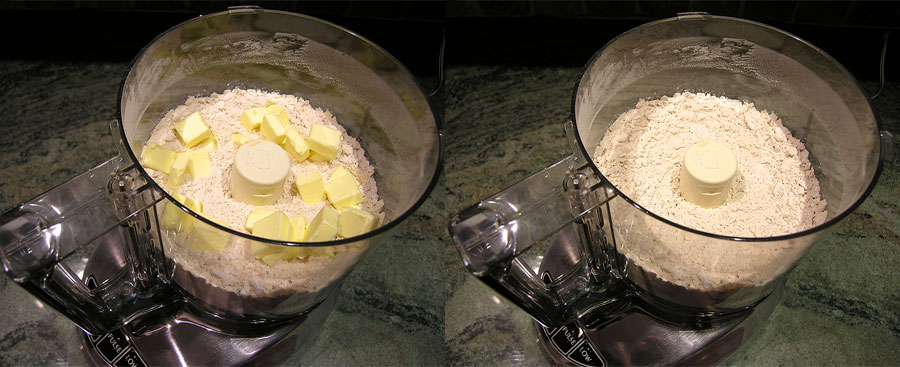
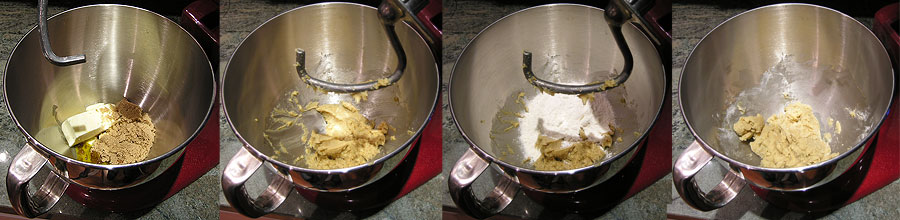
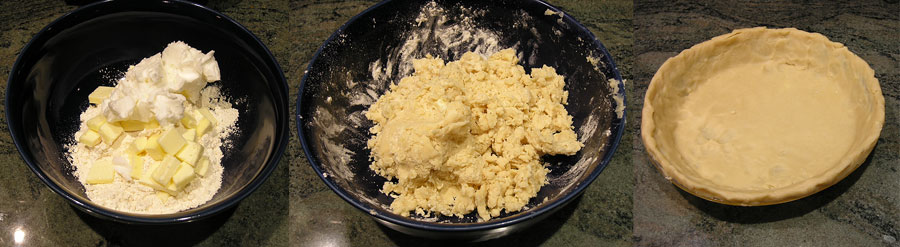
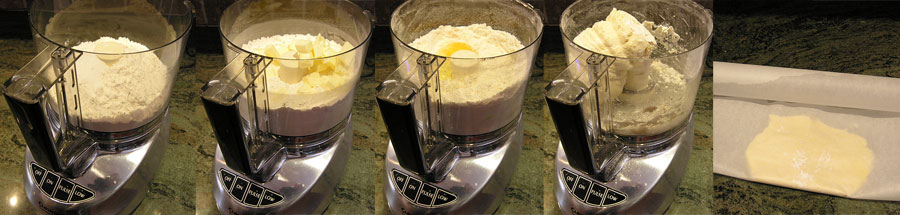
Time to get your hands dirty. In a bowl, whisk together the flour, sugar, and salt. Using your hands, work the butter and shortening into the dry ingredients until it looks like yellow cornmeal mixed with bean-sized pieces of butter and shortening. (If the mixture gets warm, refrigerate it for 10 minutes.)
I used Crisco from a tub. I suggest getting the shortening that is wrapped like butter sticks for pie crust – it would be easier than measuring out. As a rule, I don’t use shortening, partially hydrogenated oil is not particularly good for you, however, I’m thinking I might have to make an exception for some pie crusts. It really made a difference in the texture.

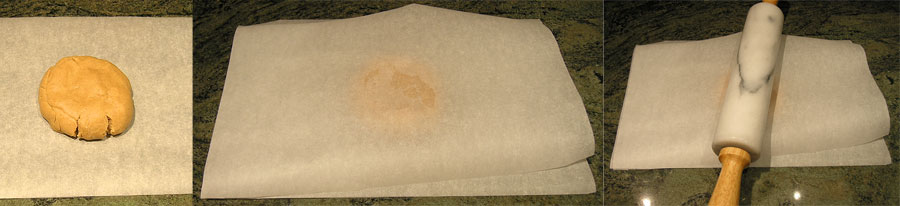
Mix the cold water and egg and beat it together with a fork. Add the egg and water to the dough with a fork or by hand in the bowl. If the dough is dry, sprinkle up with a tablespoon more of cold water over the mixture. Careful about adding to much water here – were going to rest the dough which will allow for the moisture to penetrate the dough better, so you want your dough a little dry at this point. Form the dough into two disks, wrap in plastic wrap and refrigerate until thoroughly chilled, 45 minutes to an hour.

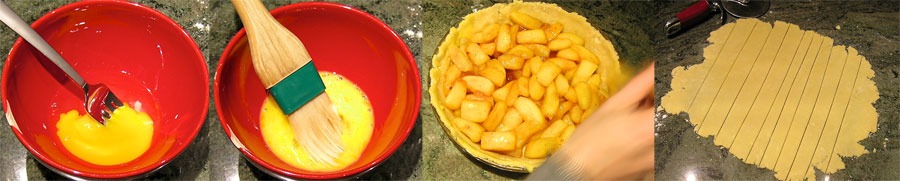
Peel the apples, cut each into about 8 wedges. Place the apples in a medium-sized bowl with the lemon juice. Add the sugar to the apple slices and toss to cover all the apples.
I used Braeburn apples, but any good apple will work. If you have an iPhone or an iPod Touch there is a nice application in the App Store called “Them Apples” (Story | Developers Site) that is a comprehensive index of the most popular and available apples and their best uses. It comes in really handy at the grocery store and best of all its free.

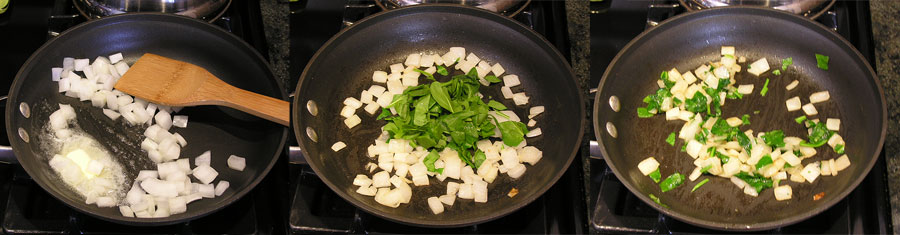
In a skillet, melt the butter over medium heat. Add the apples and stir until the sugar dissolves and the mixture begins to simmer about 2 minutes. Cover, reduce heat to medium-low and cook until the apples soften and release most of their juices, about 7 minutes. Strain the apples in a colander over a medium bowl to catch all the juice. Shake the colander to get as much liquid as possible. This is important if you don’t want a wet pie crust on the bottom. Rather than partially bake or use thickening agents in the baking process, this recipe caramelizes the sugar and liquids from the apples to make a great sauce that will leave your pie bottom dry and perfectly cooked.

Return the juices to the skillet, and simmer over medium heat until thickened and lightly caramelized, about 10 minutes. Toss the apples with the reduced juice and spices. Set aside to cool.

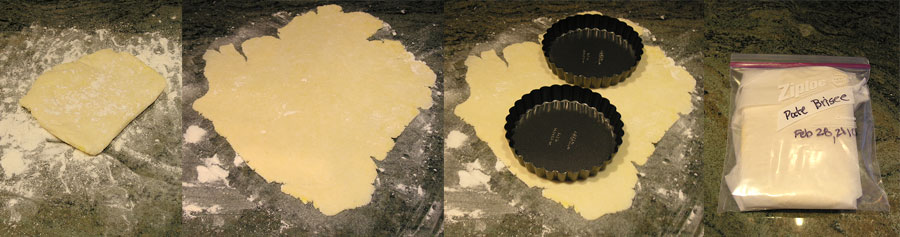
On a lightly floured surface, roll one half of dough into a disc about 11 to 12 inches wide. If the dough cracks just push it back together, no one will see it, since its going to be covered with apples, or return the dough to the fridge to cool it some more. Line the bottom of a 9-inch pie pan with the dough, trimming the sides to about 1/2 inch overhang. Put the apple filling in the pan and mound it slightly in the center.
I used exactly 3 pounds of apples before peeling and coring. If you want a thicker apple pie to get about half to a pound more of apples.

Beat an egg with a fork in a small bowl and brush the top edges of the dough with egg. Roll out the second half of the dough to the same size and thickness as the first. Cut the dough into even strips depending on how thick you want your strips. I used a pie cutter to get clean straight lines but a knife will work too.

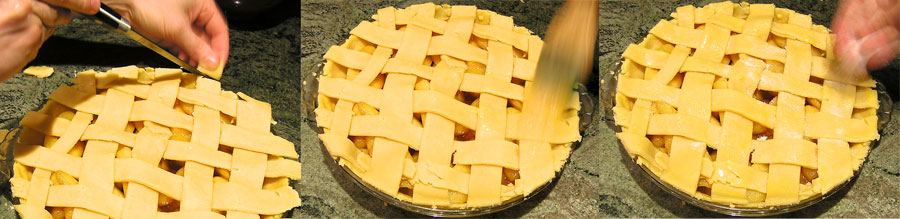
Layout 4 to 7 evenly spaced parallel strips on top of the filling. Fold back every other strip. Place one long strip perpendicular to the parallel. Unfold the folded strips over the perpendicular strip. Take the parallel strips that are running underneath the perpendicular strip and fold them back over the perpendicular strip. Lay down a second perpendicular strip of dough next to the first strip. Unfold the folded parallel strips over the second strip. Continue this process until the weave is complete.
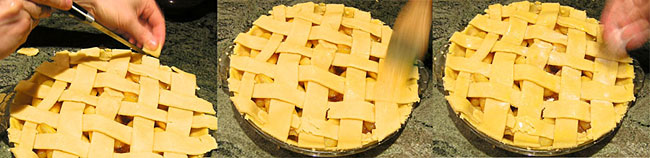
Trim the edges of the strips flush to the underlying dough. Fold back the rim of the shell over the edge of the strips and crimp. Brush the surface of the dough with egg and then sprinkle with sugar.
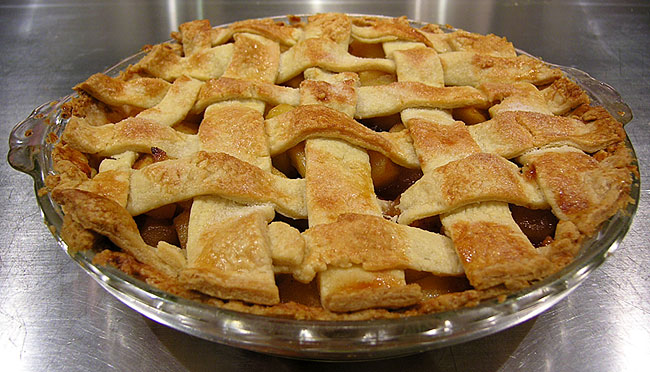
Put pie in the fridge for 15 minutes. Bake the pie until the crust is golden, about 50 minutes. Cool before serving.
Recipe: Apple Pie
Source: Adapted from From Food Network KitchensPrint Recipe
Yield 1 Pie
Ingredients
Dough
- 2 1/2 cups all-purpose flour
- 4 teaspoons sugar
- 1/4 teaspoon salt
- 7 tablespoons cold butter, diced
- 7 tablespoons cold shortening, diced
- 1 large egg, lightly beaten with 2 tablespoons cold water
Filling
- 2 tablespoons freshly squeezed lemon juice
- 3 pounds baking apples like Golden Delicious, Cortland
- 2/3 cup sugar, plus more for sprinkling on the pie
- 1/4 cup unsalted butter
- 1/4 teaspoon ground cinnamon
- Generous pinch of ground nutmeg
- 1 large egg, lightly beaten
Instructions
- Place a rack in the lower third of the oven and preheat the oven to 375° F.
- In a medium bowl, whisk together the flour, sugar, and salt. Using your fingers, work the butter and shortening into the dry ingredients until it resembles yellow corn meal mixed with bean-sized bits of butter and shortening. (If the flour/butter mixture gets warm, refrigerate it for 10 minutes before proceeding.)
- Add the egg and stir the dough together with a fork or by hand in the bowl. If the dough is dry, sprinkle up with a tablespoon more of cold water over the mixture. Form the dough into two disks, wrap in plastic wrap and refrigerate until thoroughly chilled, at least 1 hour.
- Peel the apples cutting each into about 8 wedges. Place the apples in a medium-sized bowl with the lemon juice. Add the sugar to the apple slices and toss to cover all the apples.
- In a large skillet, melt the butter over medium-high heat. Add the apples, and cook, stirring, until the sugar dissolves and the mixture begins to simmer about 2 minutes. Cover, reduce heat to medium-low and cook until the apples soften and release most of their juices, about 7 minutes. Strain the apples in a colander over a medium bowl to catch all the juice. Shake the colander to get as much liquid as possible.
- Return the juices to the skillet, and simmer over medium heat until thickened and lightly caramelized, about 10 minutes. Toss the apples with the reduced juice and spices. Set aside to cool.
- On a lightly floured surface, roll one half of dough into a disc about 11 to 12 inches wide. Line the bottom of a 9-inch pie pan with the dough, trimming the sides to about 1/2 inch overhang. Put the apple filling in the pan and mound it slightly in the center.
- Brush the top edges of the dough with egg. Roll out the second half of the dough to the same size and thickness as the first. Cut the dough into even strips depending on how thick you want your strips. Layout 4 to 7 evenly spaced parallel strips on top of the filling. Fold back every other strip. Place one long strip perpendicular to the parallel. Unfold the folded strips over the perpendicular strip. Take the parallel strips that are running underneath the perpendicular strip and fold them back over the perpendicular strip. Lay down a second perpendicular strip of dough next to the first strip. Unfold the folded parallel strips over the second strip. Continue this process until the weave is complete. Trim the edges of the strips flush to the underlying dough. Fold back the rim of the shell over the edge of the strips and crimp. Brush the surface of the dough with egg and then sprinkle with sugar.
- Put the pie in the fridge for 15 minutes. Bake the pie until the crust is golden, about 50 minutes. Cool before serving.
 Cheesecake in Phyllo Cups
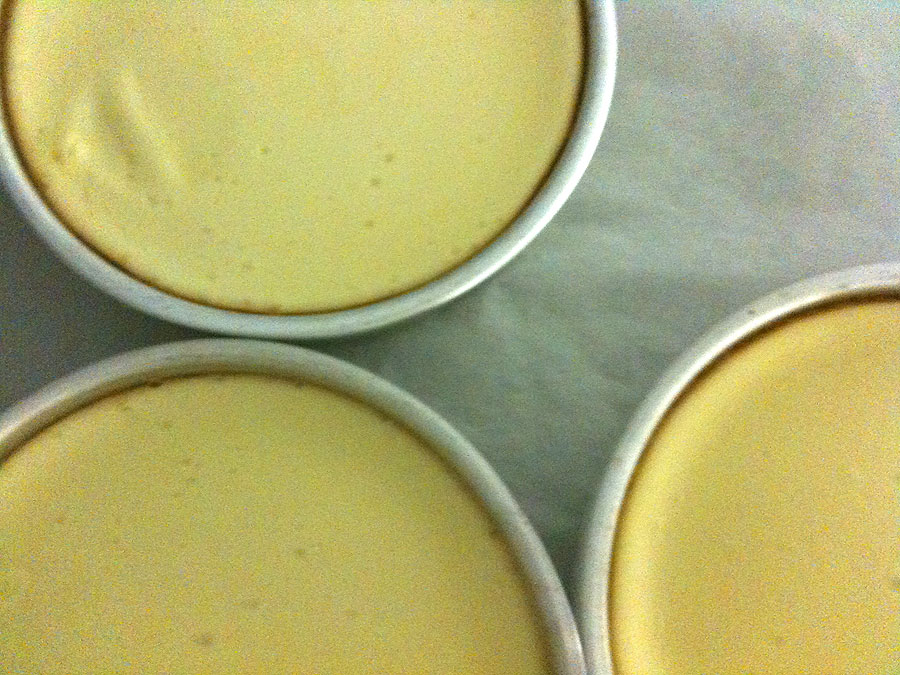 New York Style Cheesecake
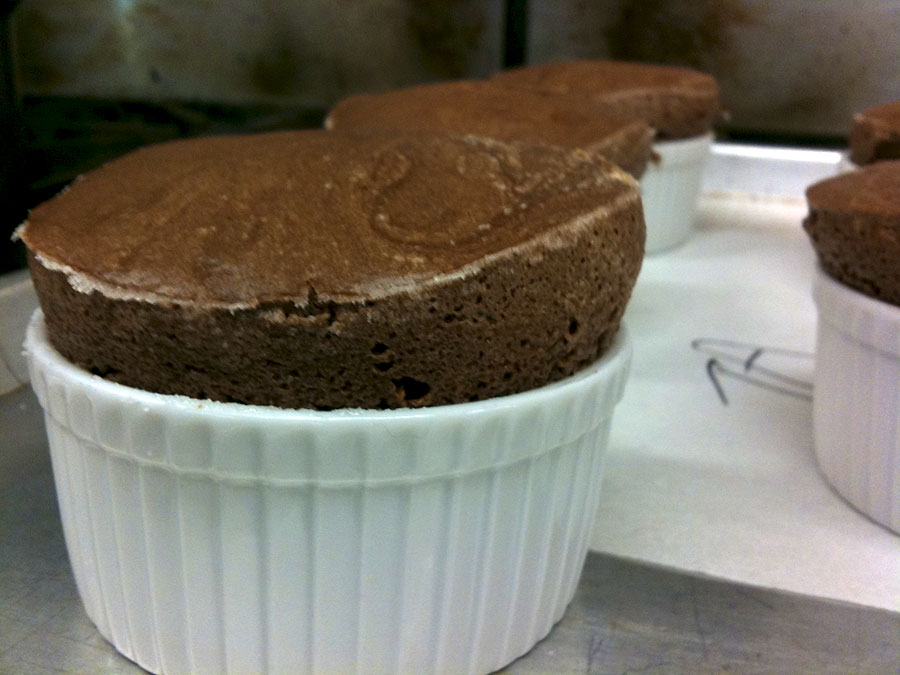 Chocolate Souffle


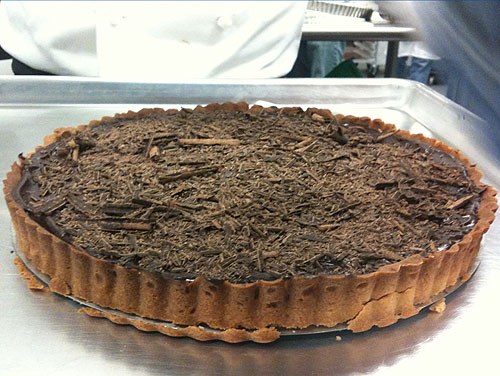 Chocolate Pecan Cajeta Tart
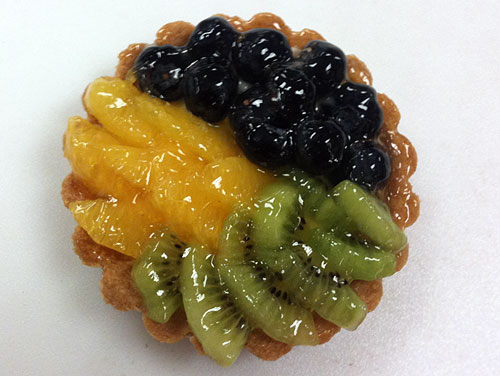 Fresh Fruit Tart
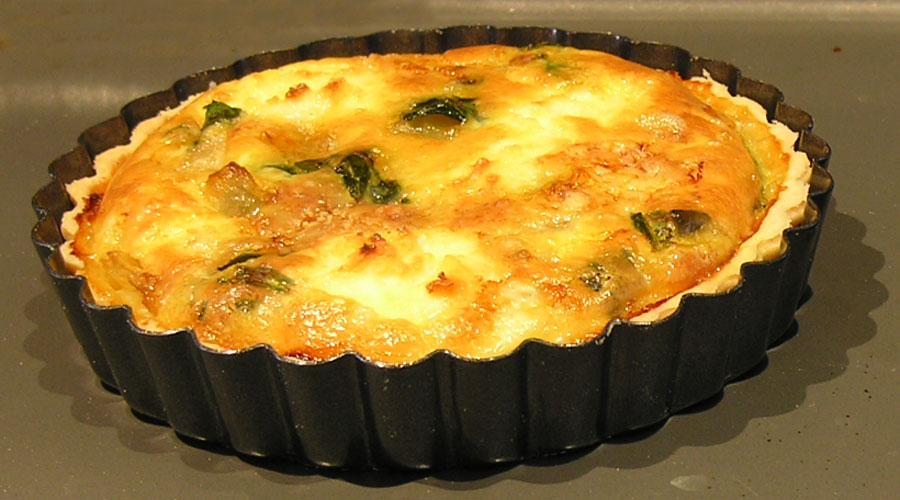
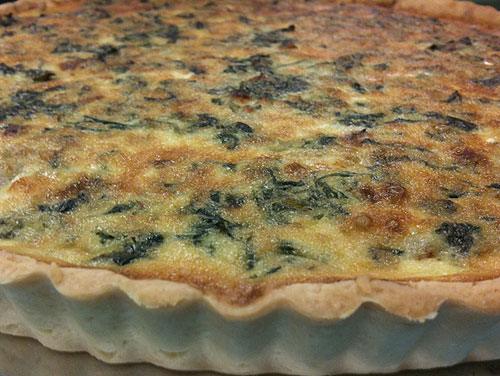 Spinach – Feta Quiche