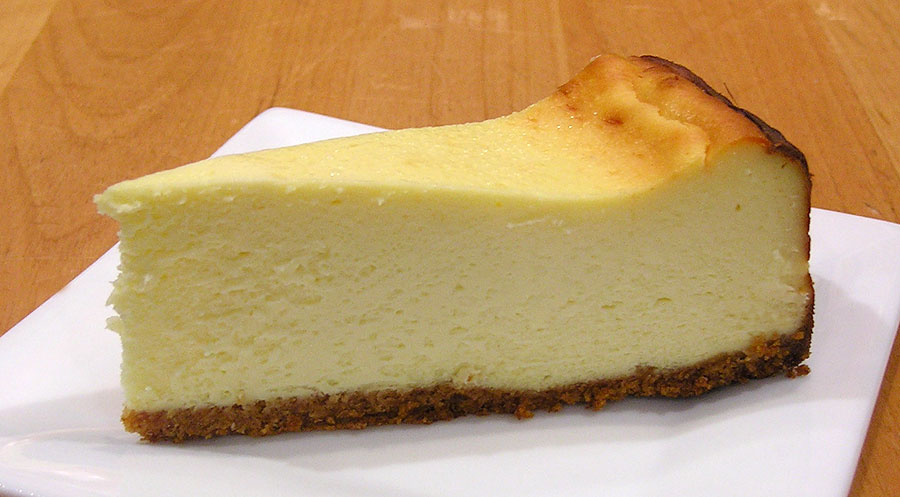
Basque Cake
This style of cake is from the northern region of Spain, known for baking its cakes with the pastry cream layered in the batter, instead of slicing the cake and adding it after baking. By baking the layer of custard into the cake, your left with a moist and flavorful cake. The rum and vanilla permeate the cake as it’s baked. If you don’t cook with rum, you can leave it out, or add a different flavoring in its place. If you do use rum, you can add more than the recipe calls for if you want more flavor.

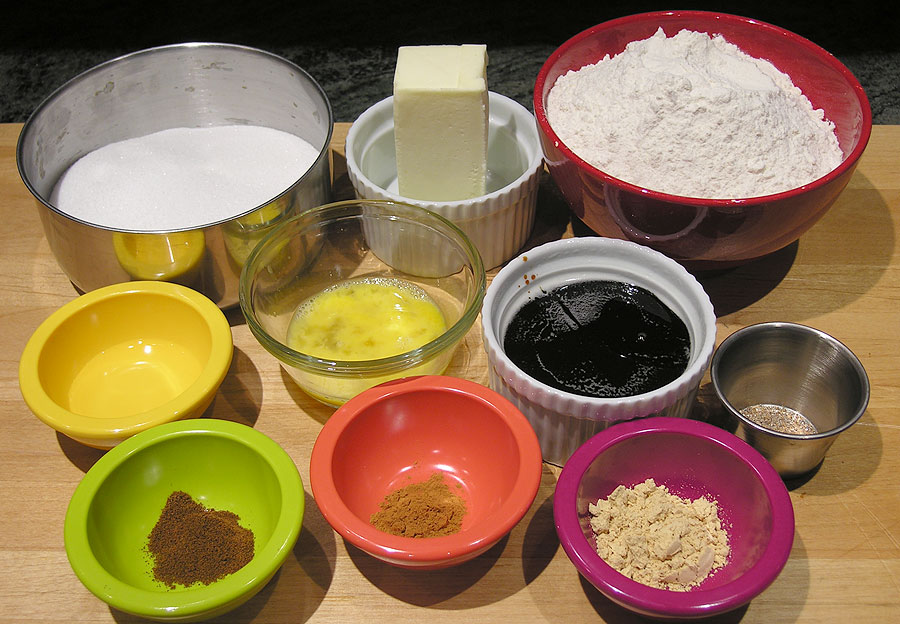
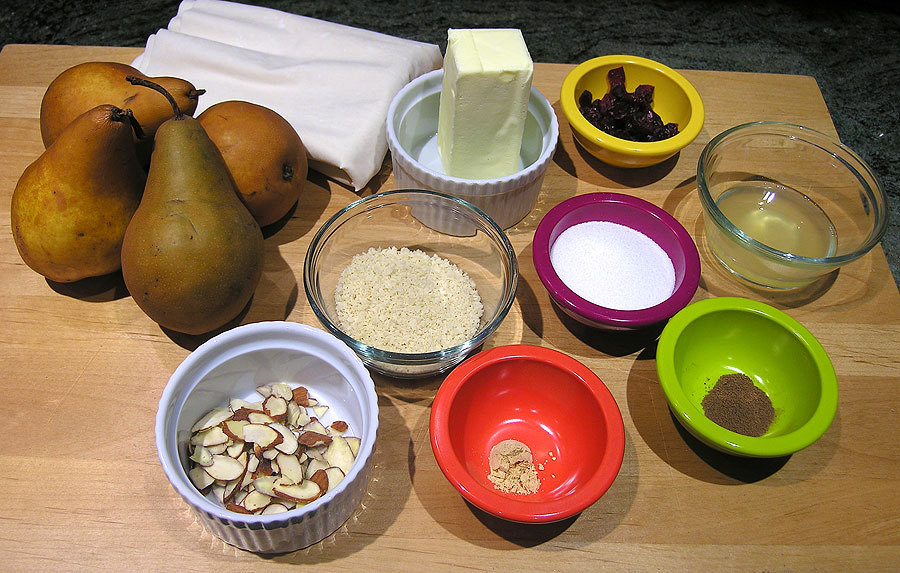
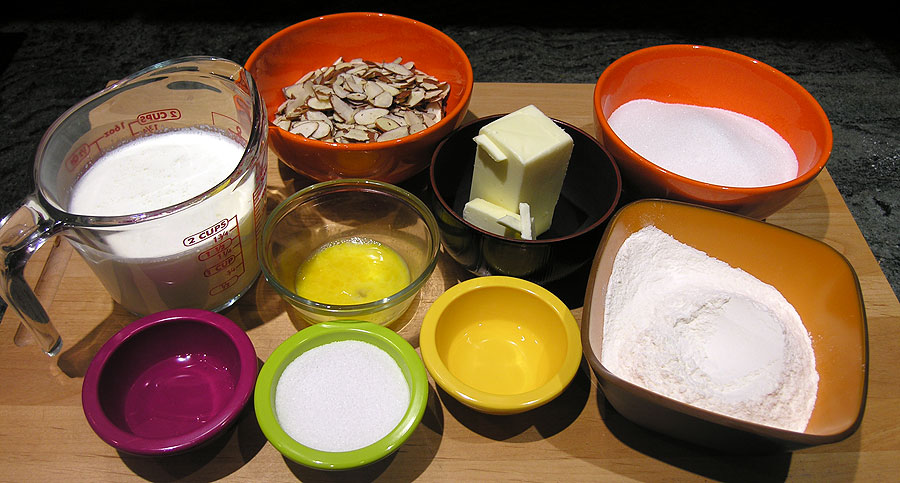
The recipe and detailed instructions are at the end of this post. For this recipe, we need whole milk, vanilla extract, cornstarch, granulated sugar, salt, eggs, butter, cake flour, baking powder, dark rum, almonds, and confectioners sugar. Looks like we have it all. Ready, set, bake…
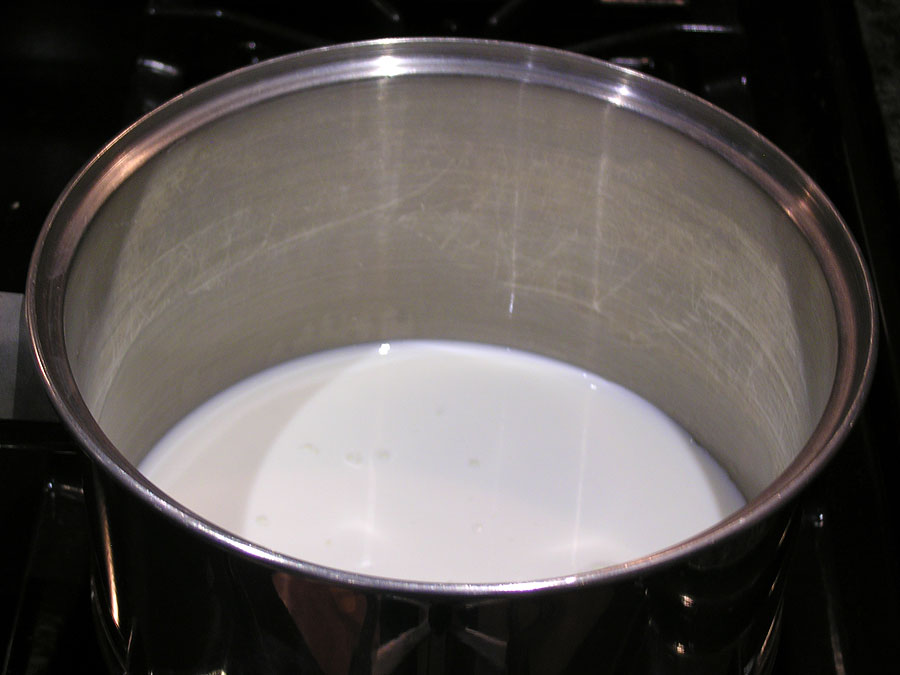
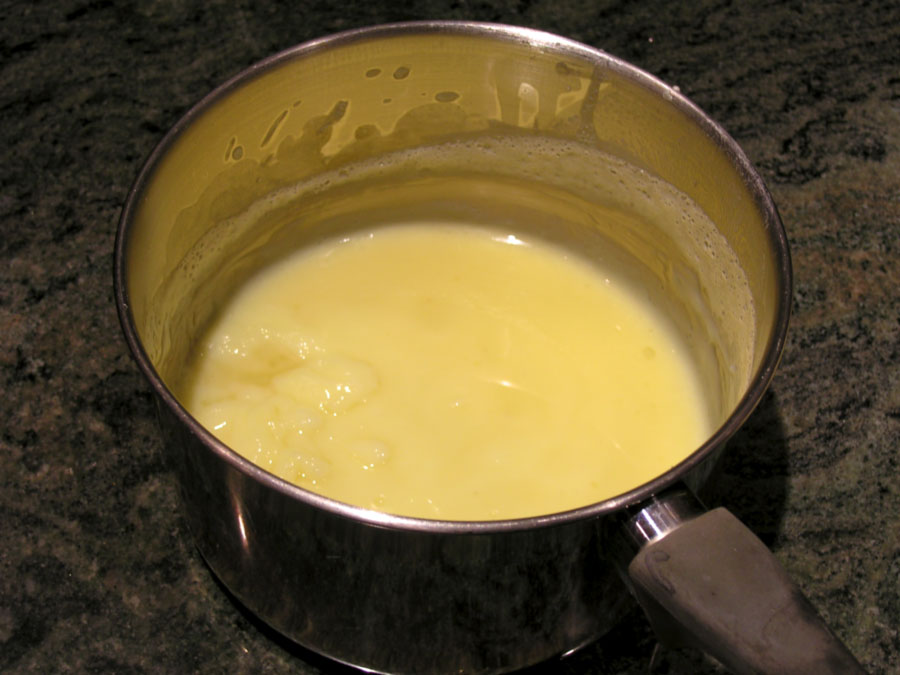
First we’re going to make our pastry cream. I’ve scaled down a much larger recipe, so there are some odd measurements. One more reason to invest $30 – $40 on a scale. Start by placing the milk in a stainless steel saucepan (if it’s aluminum your pastry cream will turn out gray or green). Bring to a boil and quickly turn it down to a simmer.
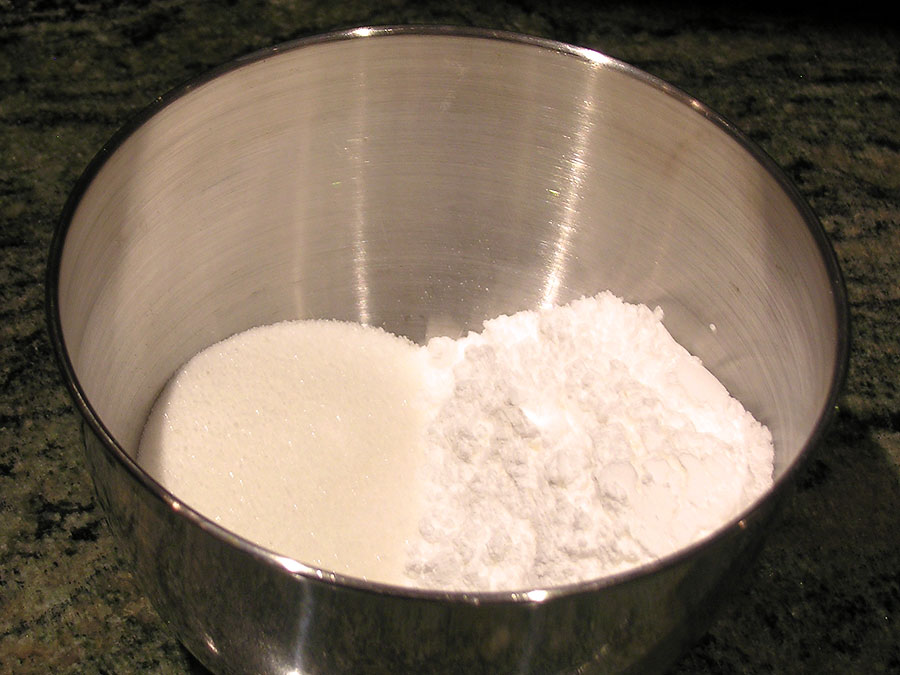
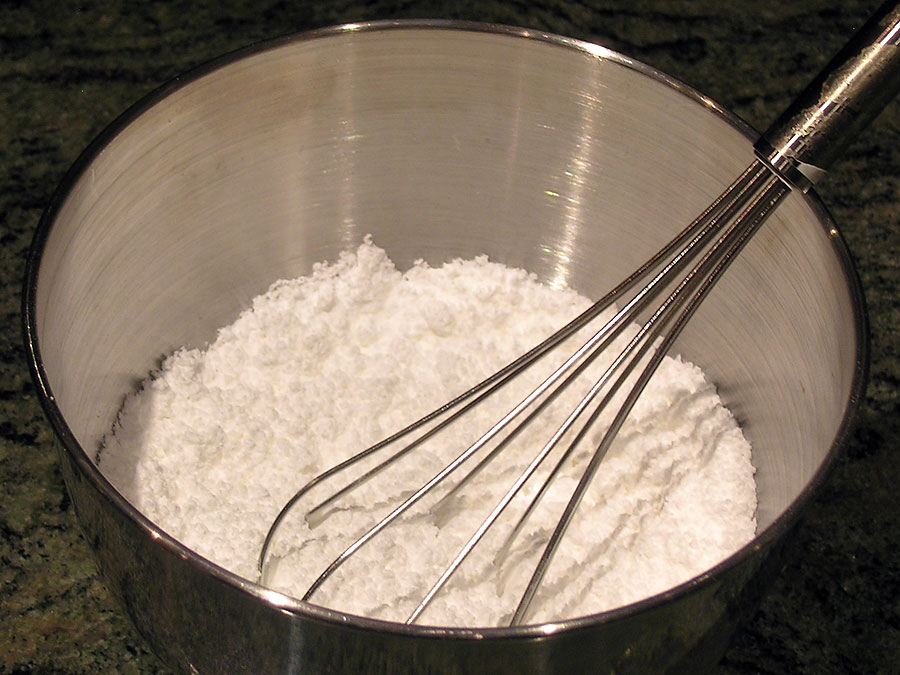
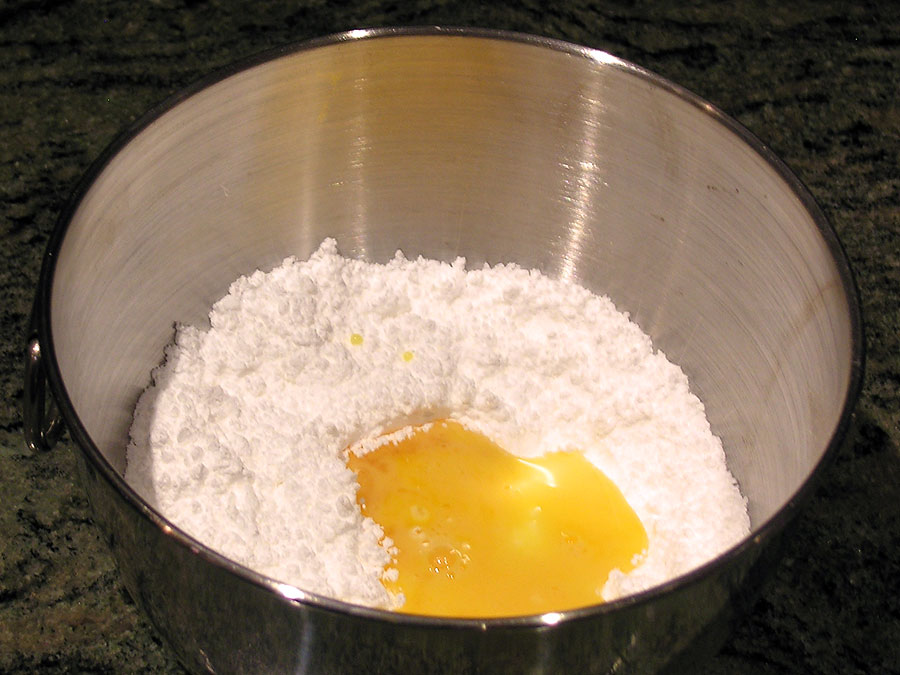
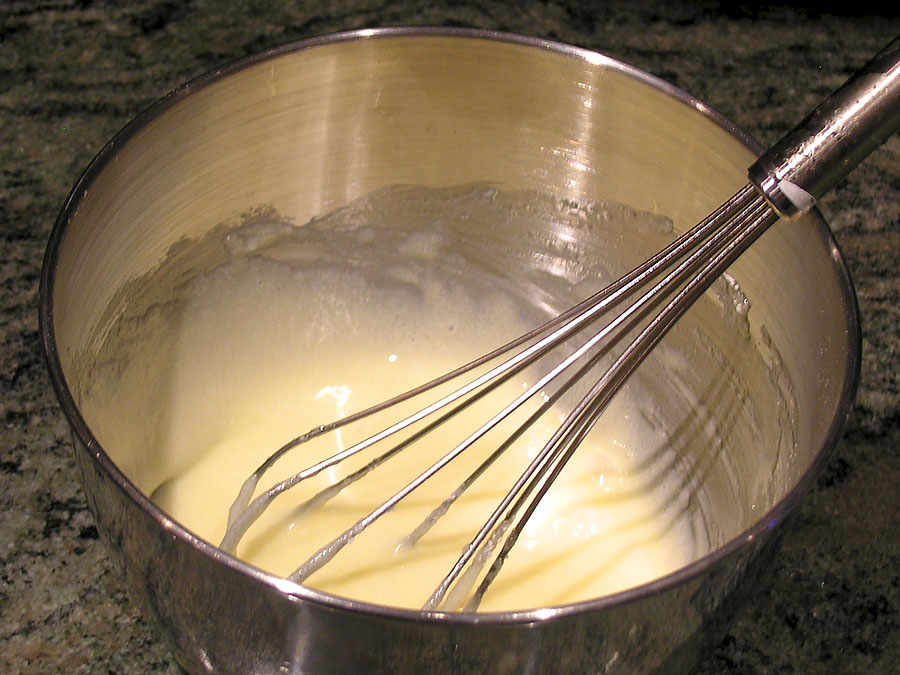
Remember to watch the milk so it does not return to a boil during this next step. Whisk the cornstarch, sugar, and salt together in a bowl. Add the egg and mix until smooth.
Learn from my mistake here, powdered sugar and cornstarch look very much alike. If you pre-measure your ingredients be sure to add the cornstarch and not the powdered sugar to the mixture. It will not thicken up and will be overly sweet if you put the confectioners’ sugar in instead. I quickly made another batch after I caught my error.
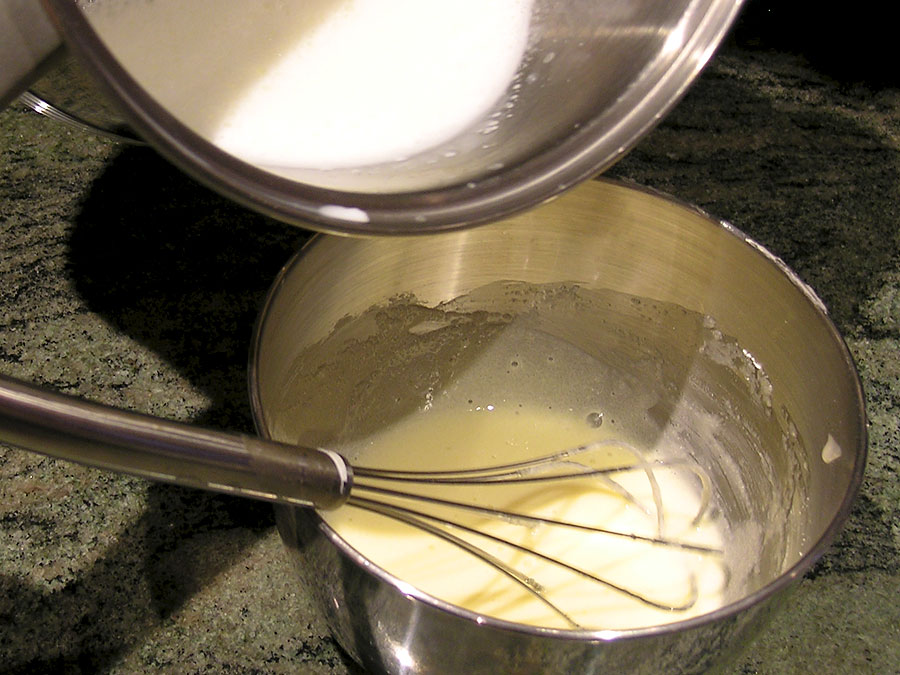

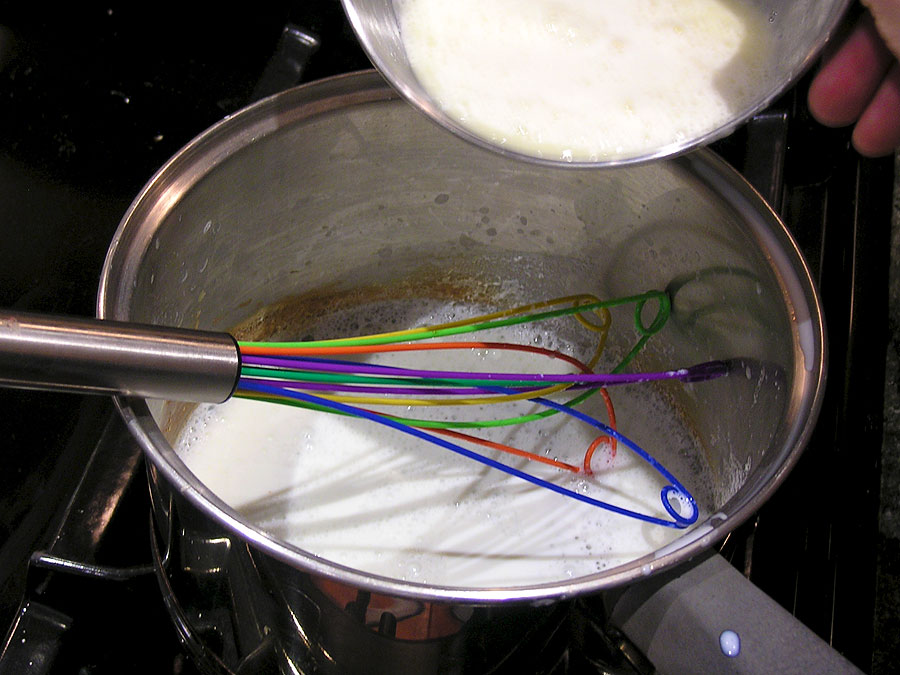
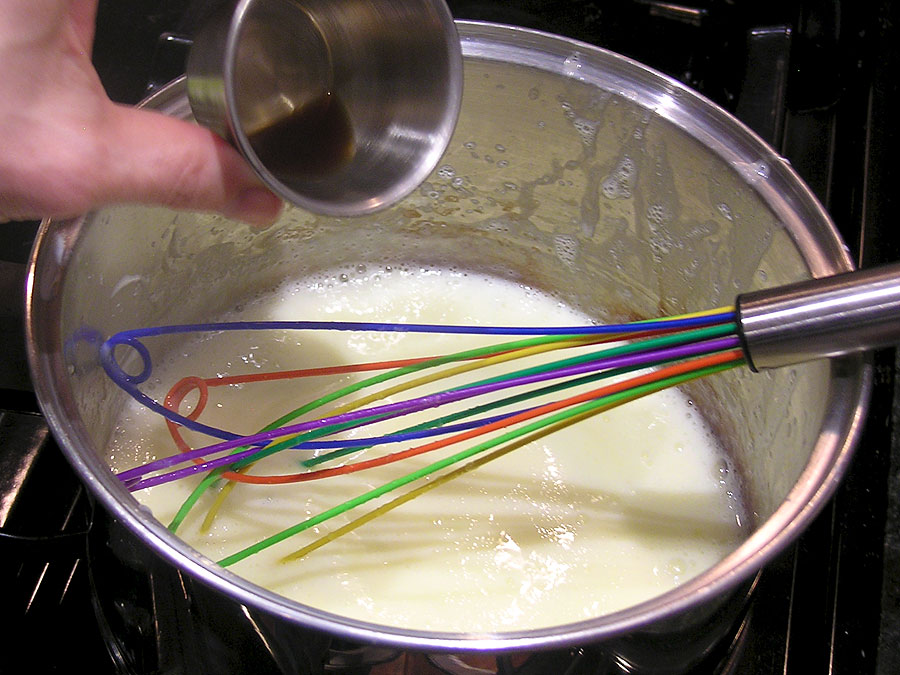
Now to temper the egg mixture with the milk mixture. Slowly add one-third of the hot milk to the egg mixture while whisking rapidly. Pour the tempered egg mixture back into the remaining milk, whisking constantly.
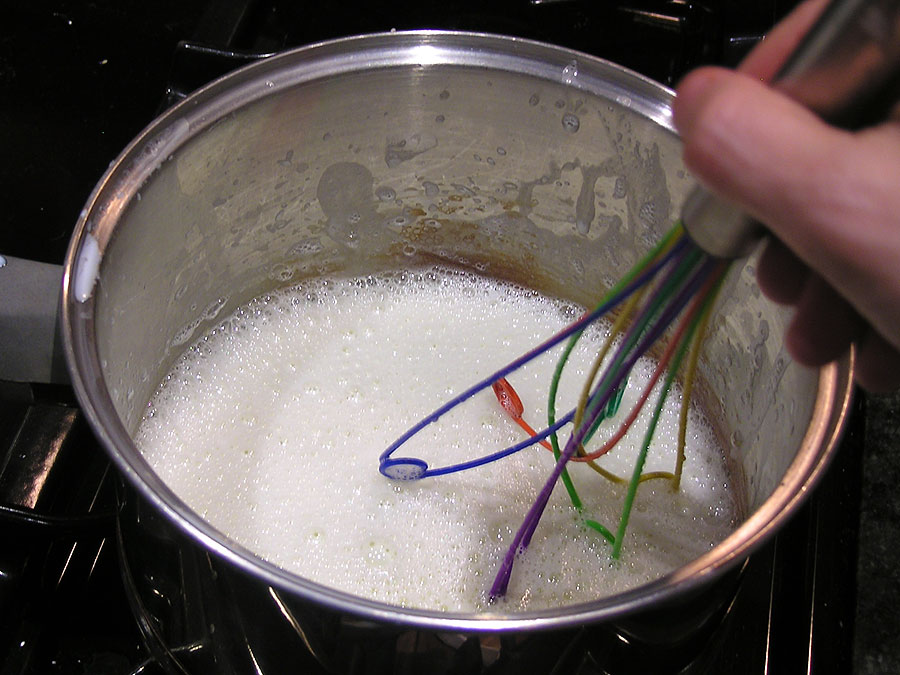
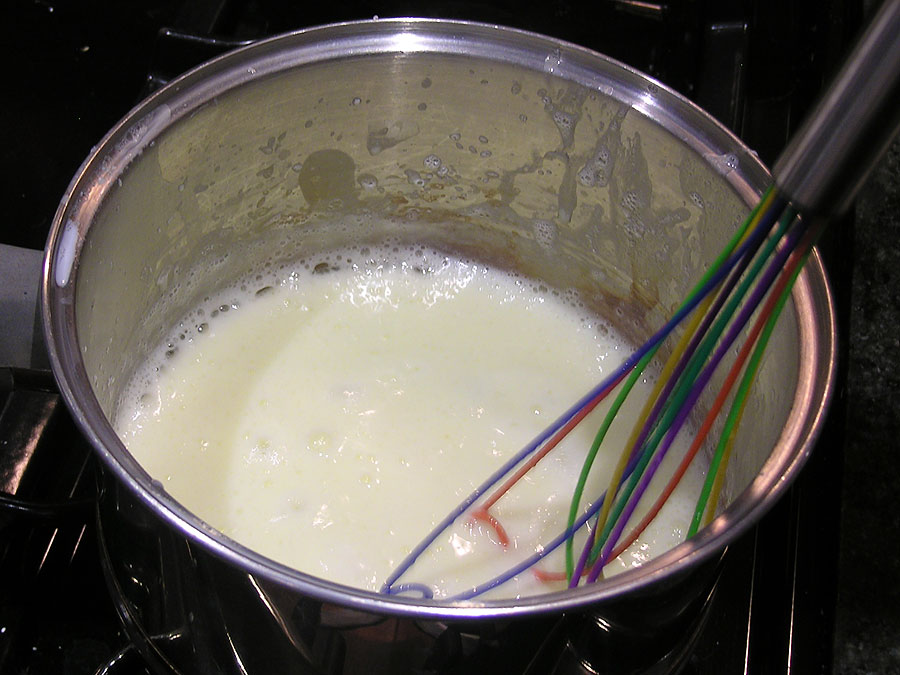
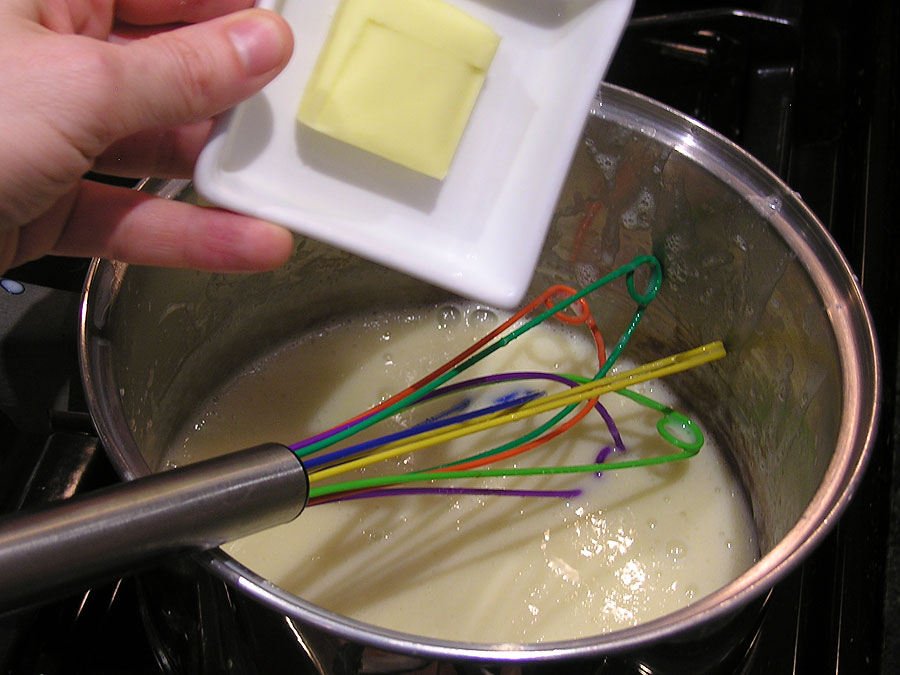
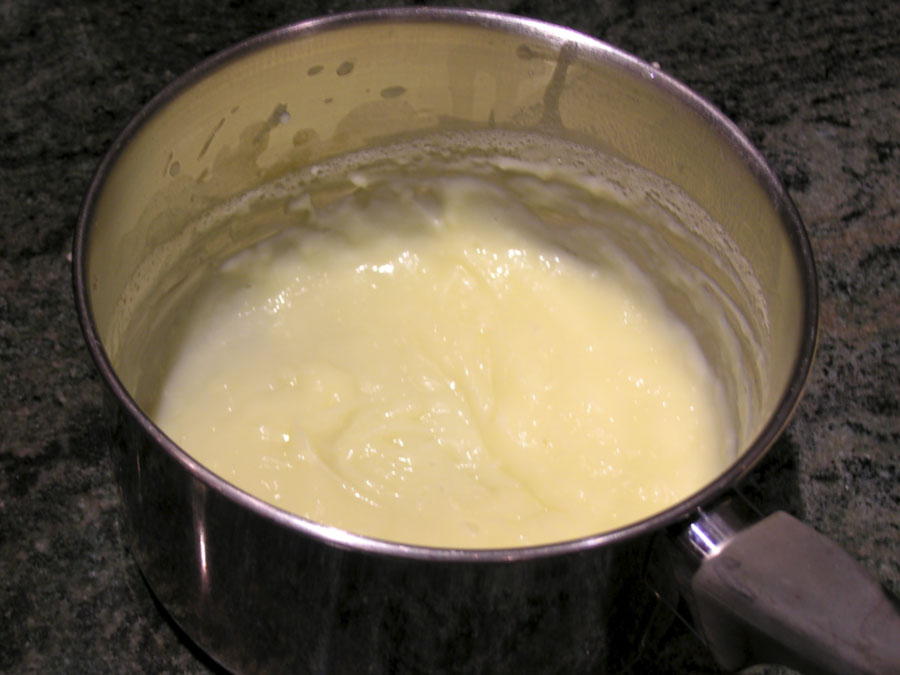
Over medium heat cook the mixture, stirring constantly until the mixture comes to a boil and thickens. Stir in the vanilla extract, then once its incorporated stir in the butter until it is melted and the custard is smooth. Pour the custard into a bowl and cover.
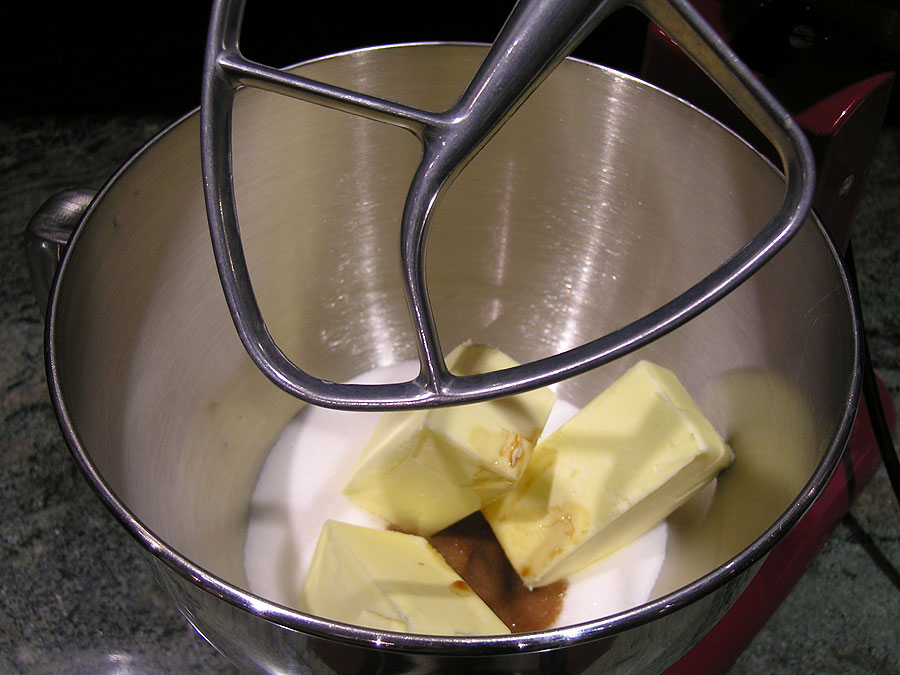


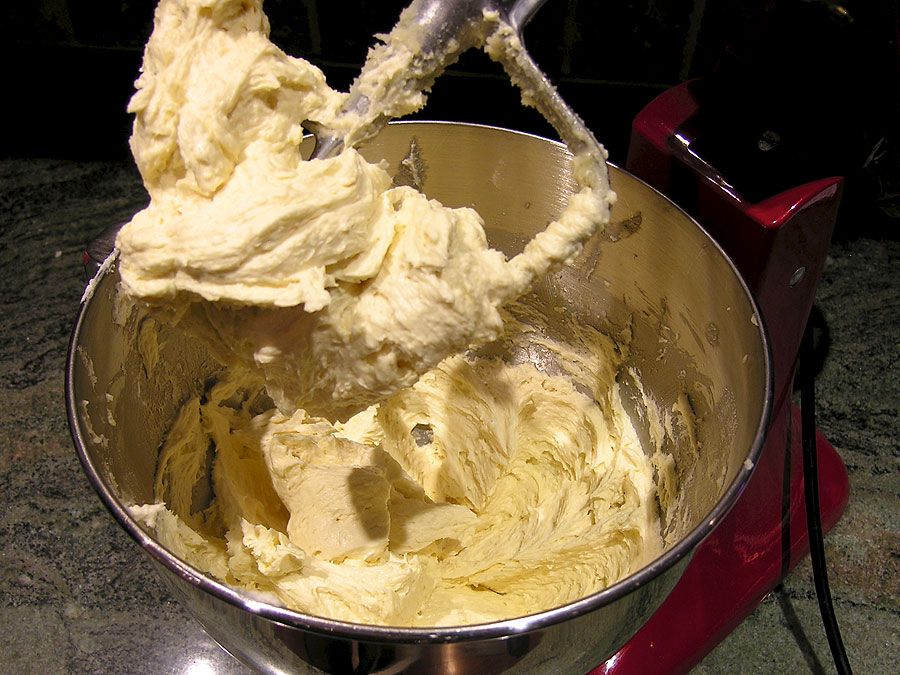
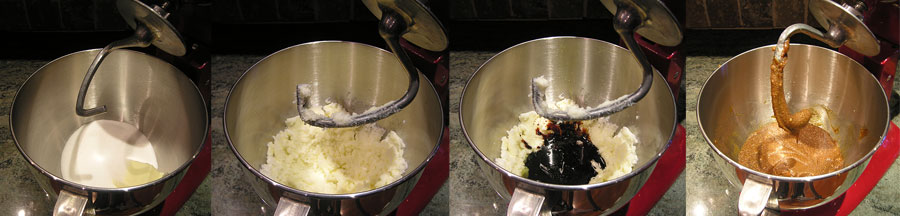
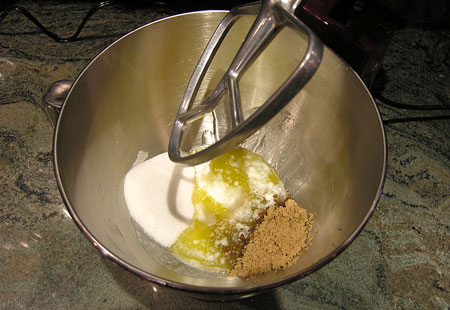
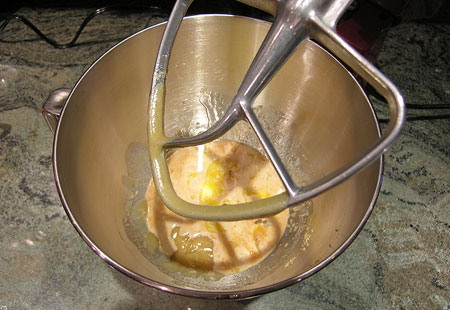
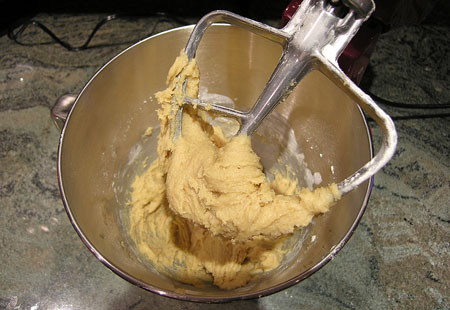
It’s much easier to cream when your butter is at room temperature, so be sure to take your butter out of the fridge 45 minutes to an hour before you begin making the cake. You can always put your butter in the microwave, using 5-second intervals until its come to room temperature. Be careful though, you don’t want to melt the butter making it unusable. Cream together the butter, sugar, and vanilla until light and fluffy. Add the eggs, one at a time, until mixture is smooth.
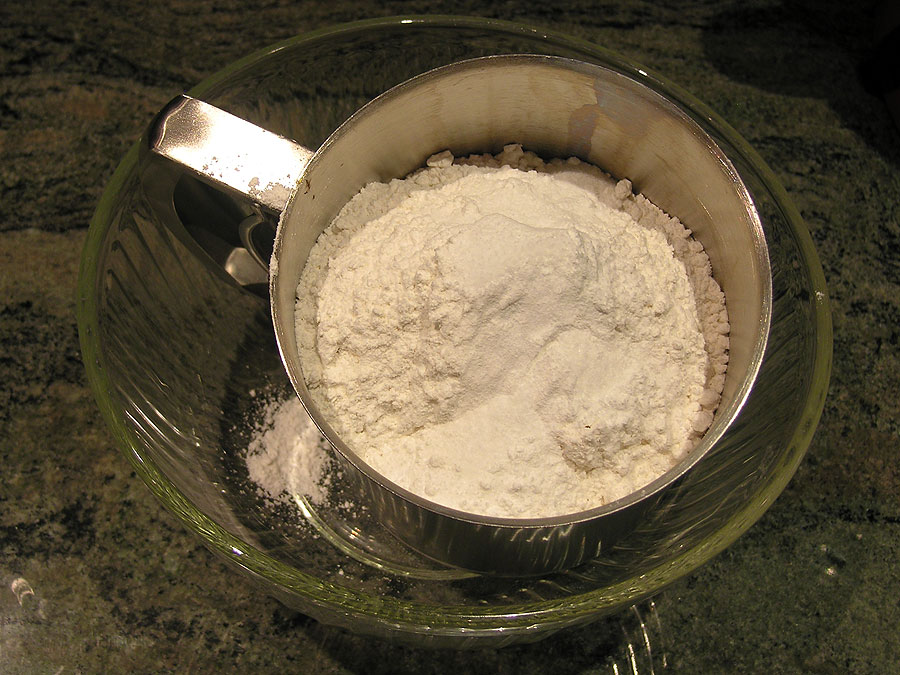


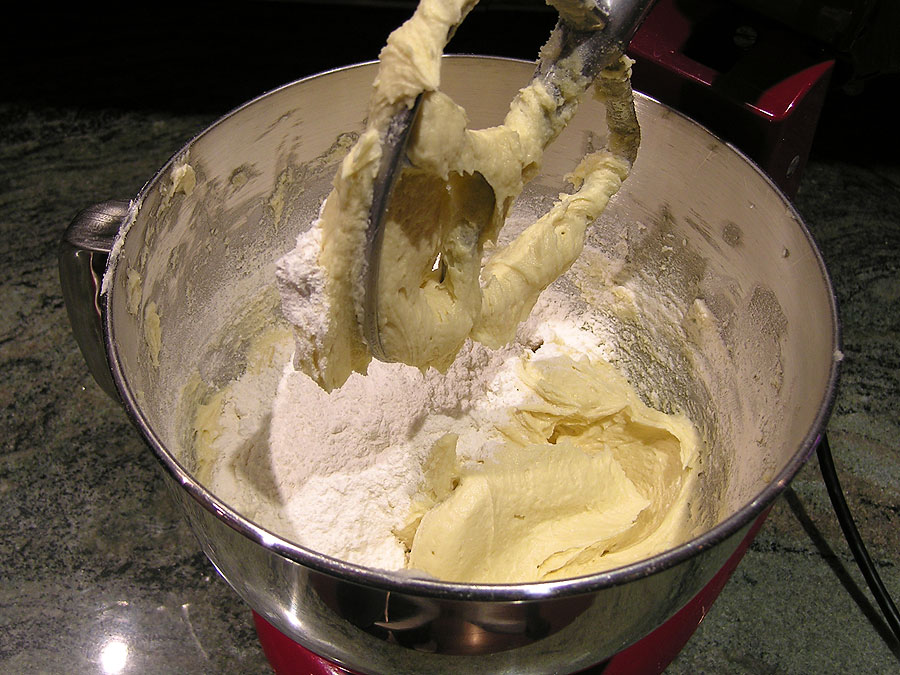
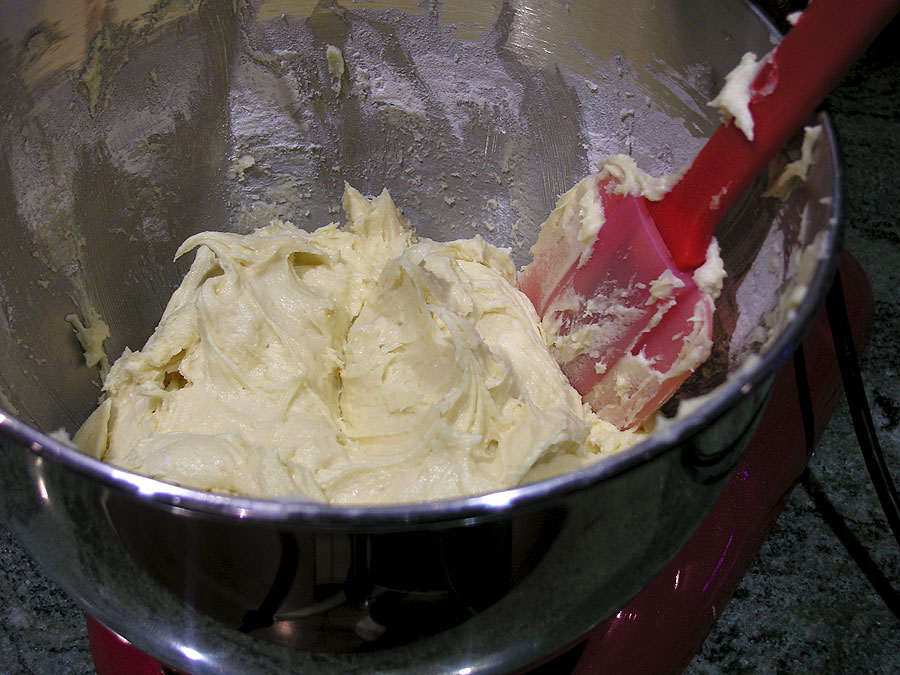
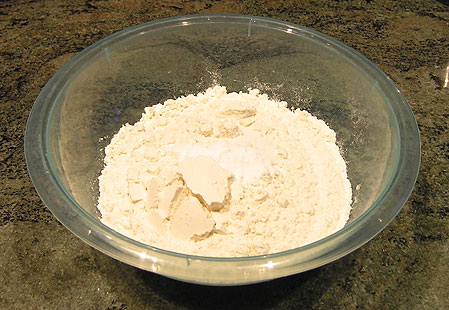
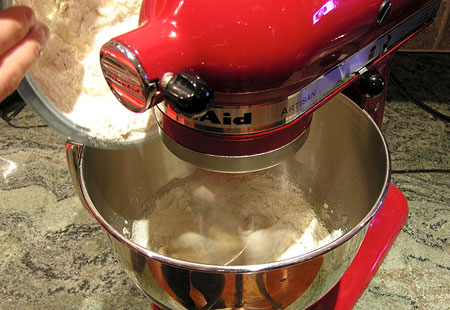
Sift together the flour, baking powder, and salt. Incorporate the dry ingredients into the butter mixture in thirds until just combined. Don’t forget to scrape down the bowl a few times to make sure the ingredients are all getting mixed in.
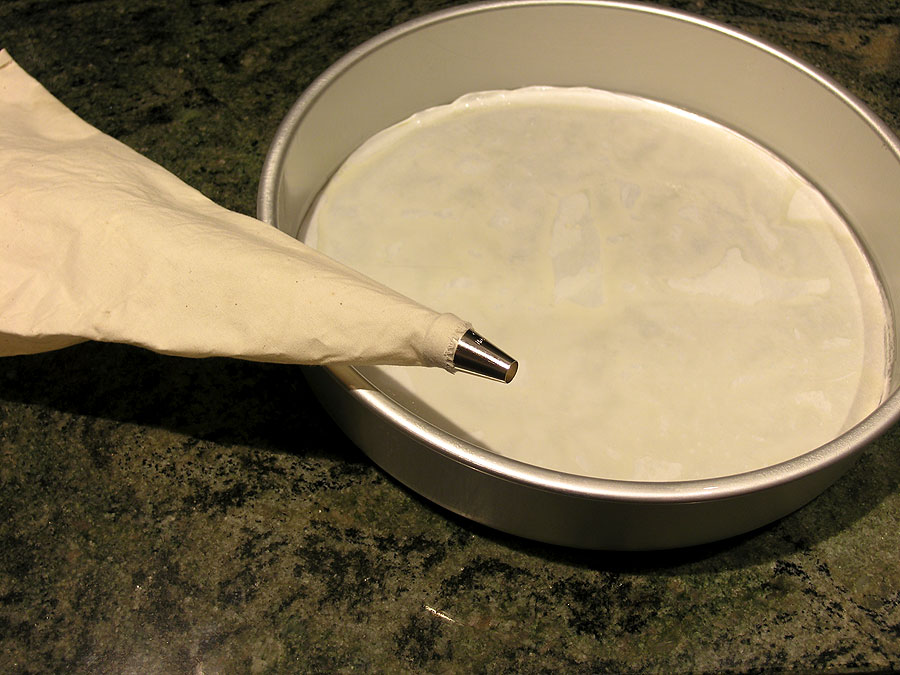
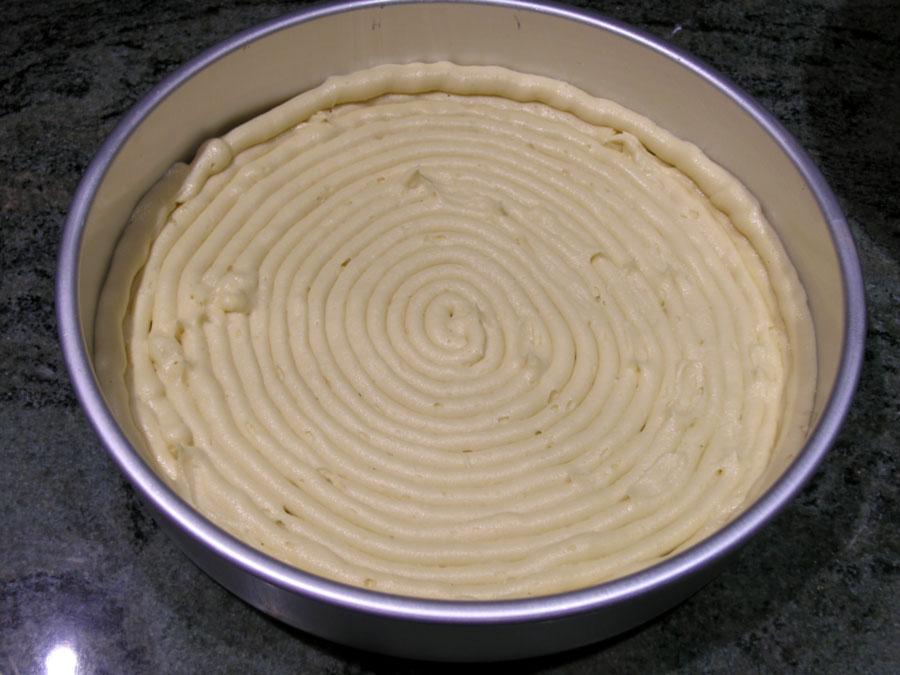
Something new I learned this week, the numbers used in pastry bag tips (No. 1 – No. 9) are half the size of the opening on the tip in millimeters. For example, a No. 9 tip has an 18-mm opening and a No. 2 tip has a 4-mm opening. A pastry bag with a wide tip is used here to get the batter in the cake pan. It does not matter how “pretty” it looks because as it bakes the rings are lost. What is important is that it covers the pan bottom completely.
Grease the inside of a 10 inch (25 cm) cake pan. Place the batter in a pastry bag with a No. 5 (10-mm) plain tip. Pipe the batter in a spiral over the bottom of the prepared cake pan, starting in the center. Pipe an additional ring of batter on top of the ring against the inside perimeter of the pan (you will only use 1/2 the prepared batter in this step).
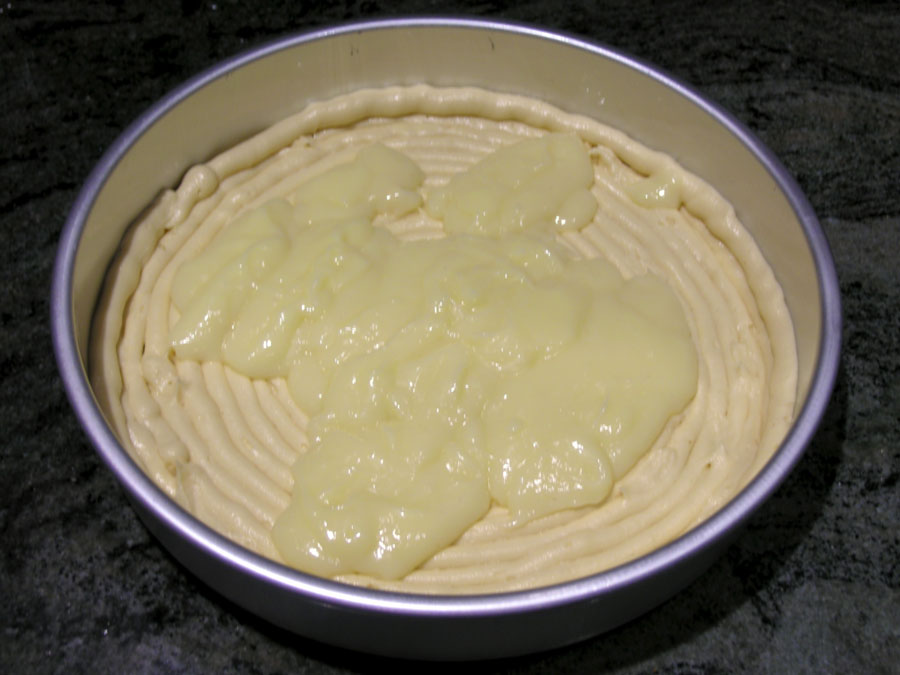
Stir the rum into the pastry cream. Pour the pastry cream in the middle of the cake pan, within the frames made by the outside ring of batter.
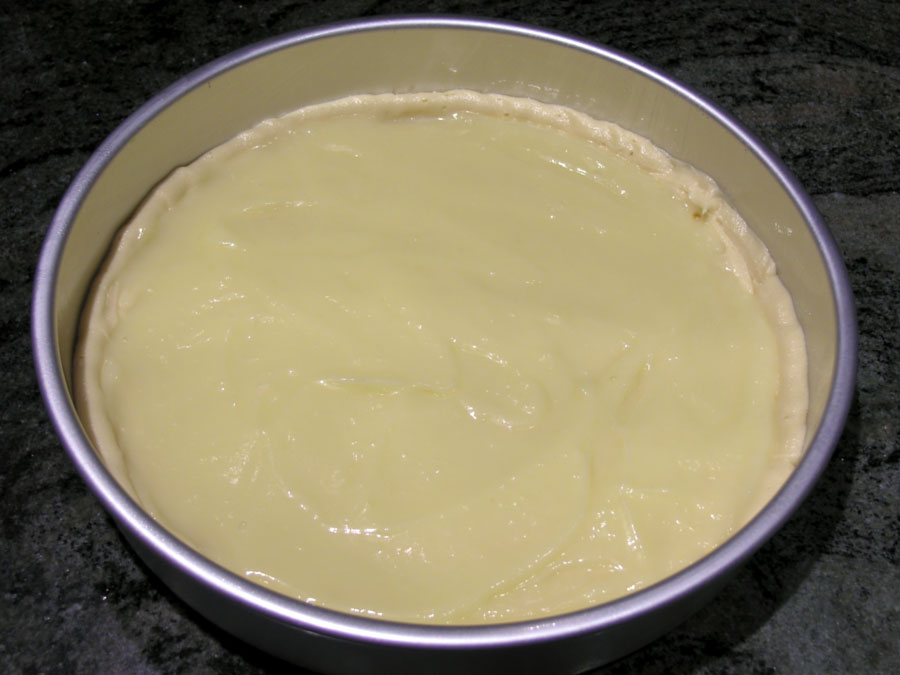
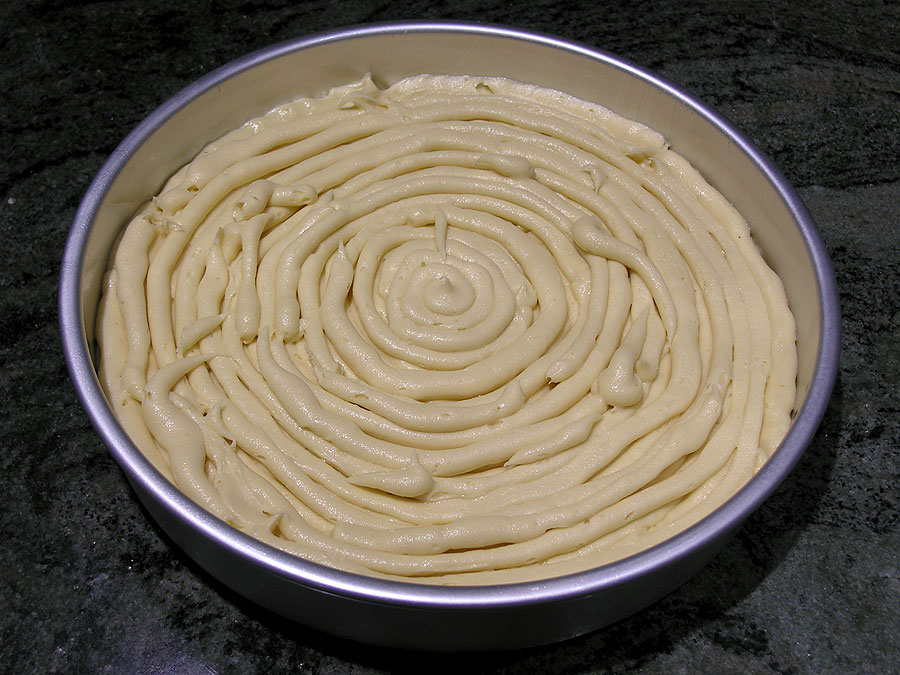
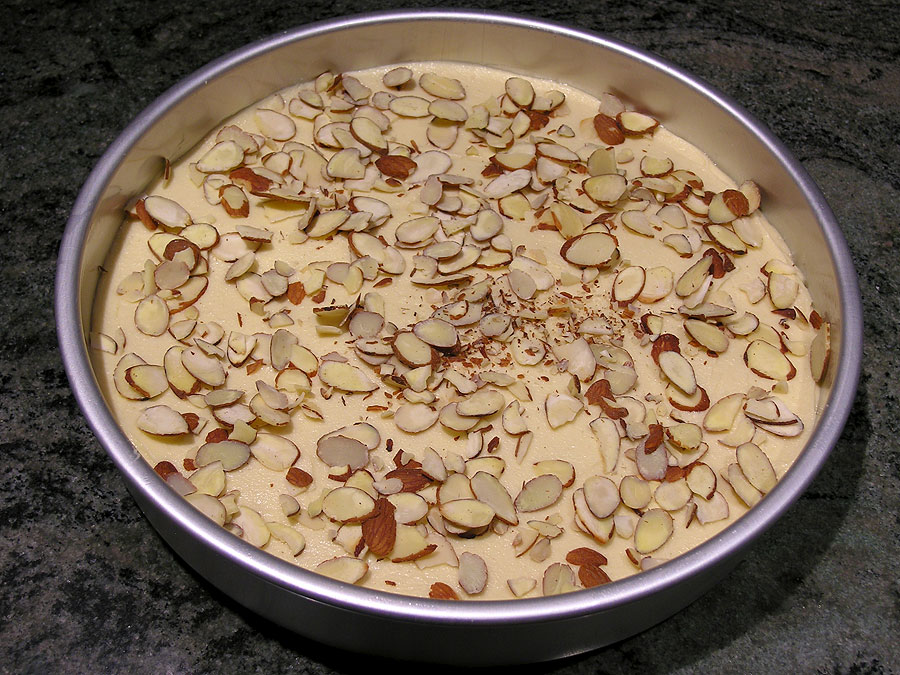
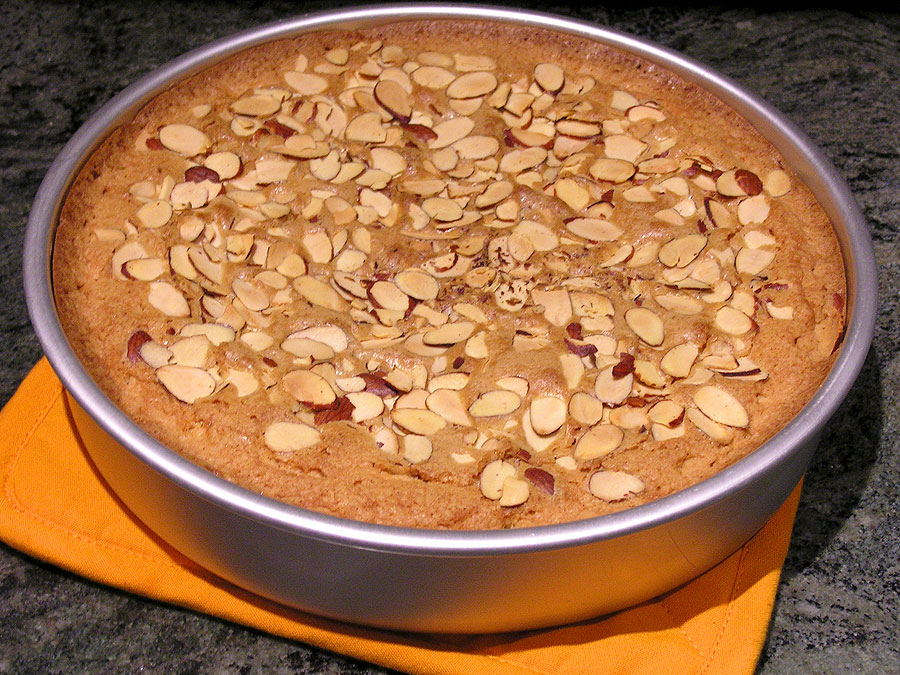
Use a spatula to spread the pastry cream evenly over the piped batter, but take care not to get any of it on the cake pan. Pipe the reaming batter in a spiral on the top of the pastry cream. Use a small spatula to spread the batter to the edge of the pan. Sprinkle sliced almonds over the top.
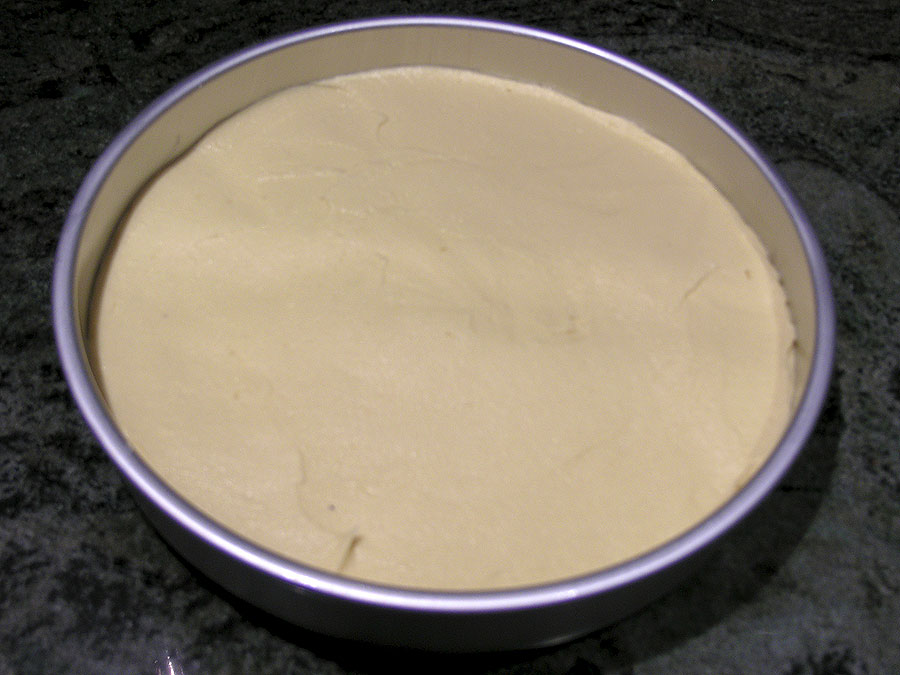
Bake at 350°F (175°C) for about 50 minutes. Allow to cool in the pan.
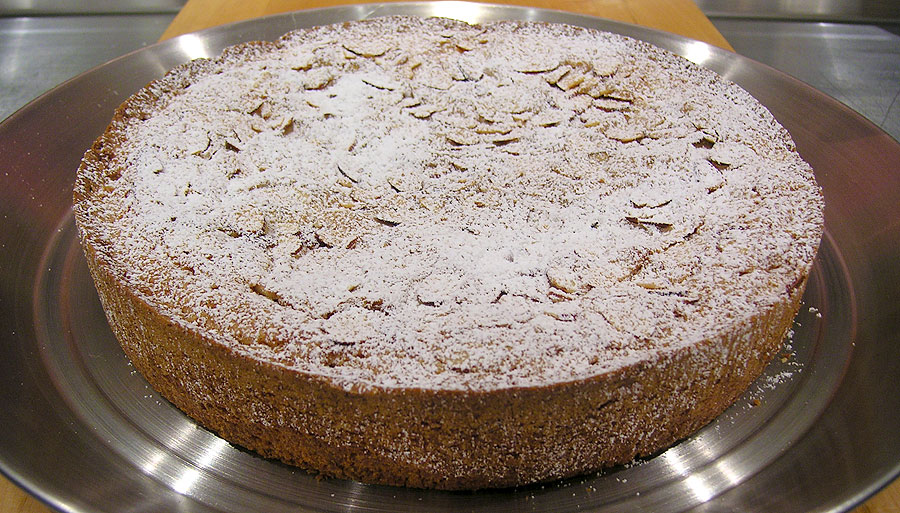
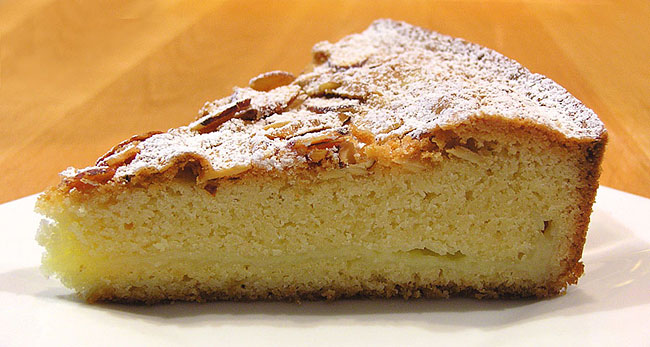
Remove the cake from the pan and dust with powdered sugar. Store, covered, in the refrigerator, it will keep fresh up to one week.
Recipe: Basque Cake
Adapted from The Professional Pastry Chef: Fundamentals of Baking and Pastry, 4th EditionPrint Recipe
Yield: 8-16 servings
Ingredients
Pastry Cream
- 5.33 ounces (160 ml) whole milk
- 1/6 vanilla bean or 1/6 teaspoon (1 ml) vanilla extract
- 2 1/4 teaspoons (12 g) cornstarch
- 1/3 cup (38 g) granulated sugar
- Dash of salt
- 1/2 an egg
- 1/2 ounce unsalted butter
Cake
- 12 ounces (340 g) unsalted butter at room temperature
- 12 ounces (340 g) granulated sugar
- 1 tablespoon (15 ml) vanilla extract
- 2 1/2 eggs, at room temperature
- 10 ounces (285 g) cake flour
- 1/2 tablespoon (6 g) baking powder
- 1/2 teaspoon (3 g) salt
- 1 tablespoon (15 ml) dark rum
- 8 ounces (228 g) pastry cream
- 1 ounces (28 g) thinly slices almonds
- Confectioners sugar for dusting
Instructions
- Place milk in a heavy-bottomed saucepan.Bring to a boil and immediately reduce to a simmer.
- Keeping an eye on the milk, whisk the cornstarch, sugar, and salt together in a bowl. Gradually add the eggs and mix until smooth.
- Slowly add about one-third of the hot milk to the egg mixture while whisking rapidly. Pour the tempered egg mixture back into the remaining milk.
- Place over medium heat and cook, stirring constantly, until the mixture comes to a boil and thickens. Stir in the vanilla extract. Stir in the butter continuing to stir until it is completely incorporated. Pour the custard into a bowl and cover.
- Cream together the butter, sugar, and vanilla until light and fluffy. Add the eggs, one at a time.
- Sift together the flour, baking powder, and salt. Incorporate the dry ingredients into the butter mixture in three steps.
- Grease the inside of a 10 inch (25 cm) cake pan. Place the batter in a pastry bag with a No. 5 (10-mm) plain tip. Pipe the batter in a spiral over the bottom of the prepared cake pan, starting in the center. Pipe an additional ring of batter on top of the ring against the inside perimeter of the pan.
- Stir the rum into the pastry cream. Spread the pastry cream evenly within the frames made by the batter so that the pastry cream does not touch the sides of the pan. Pipe the reaming batter in a spiral on the top of the pastry cream. Use a small spatula to spread the batter to the edge of the pan. Sprinkle the sliced almonds over the top.
- Bake at 350°F (175°C) for about 50 minutes. Allow to cool in the pan. Remove the cake from the pan and dust with powdered sugar.


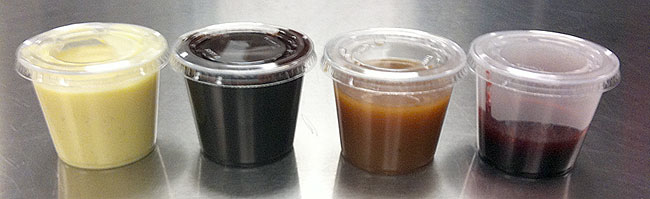
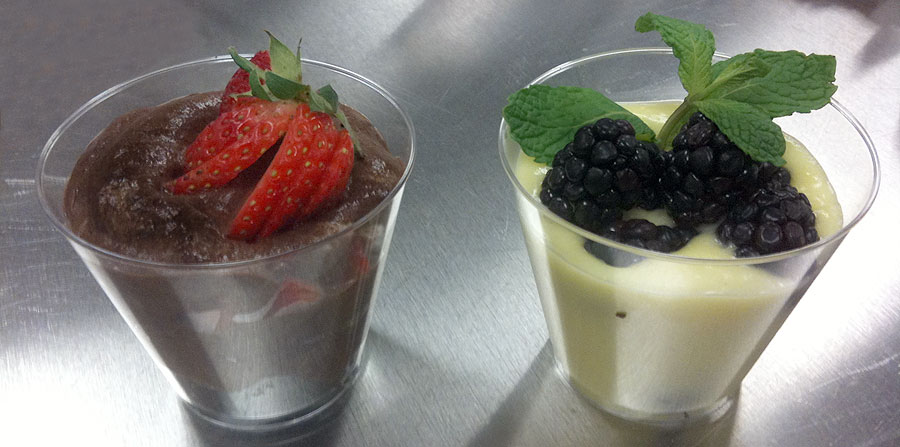
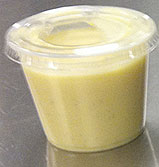 This is known as the “Mother Sauce” because it is the base for so many products. The sauce is made using the tempering method. A portion of a hot dairy mixture is pored into an egg and sugar mixture; and then that egg mixture is returned to the hot mixture.
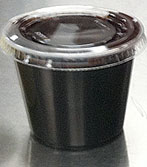 You can alter the flavor of any chocolate sauce by using different chocolates. The more expensive the chocolate the better the taste (as a general rule). If you’re using the sauce for children’s deserts or a minimal side you may want to use cheaper chocolate in the recipe. If you have chocolate that has developed a gray cast to it, it’s still good. It’s not mold, but rather the cocoa butter that has surfaced over time. Melting it down will re-incorporate it into the chocolate.
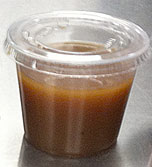 There are many different ways to make caramel sauce. We learned the water method in the class. Using a heavy bottomed stainless pot water is applied with a pastry brush to keep the sides clean during the cooking process. This along with lemon juice stops crystallization of the sugars. Aluminum pans have pockets which hold impurities that will make your sauce crystalize and should not be used for this.
 When making fruit sauces for a restaurant or bakery, frozen fruit is the best choice. The fruit is much more consistent in taste, sweetness, and ripeness than fresh fruit. Regardless, one must watch the sugar in the sauce and taste the sauce as you’re making it to get to the right amount of sweetness. Canned fruits are not a good choice for sauces. They are usually packed in a syrup and have added sugars, colors and preservatives.