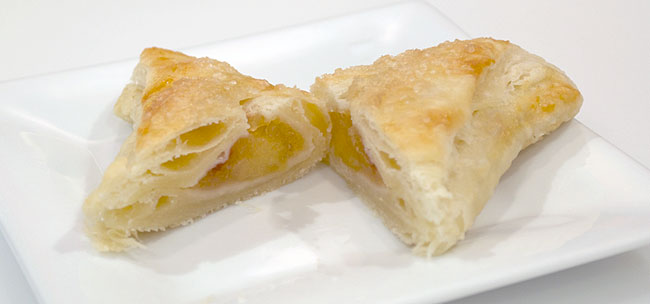
Apple Turnovers
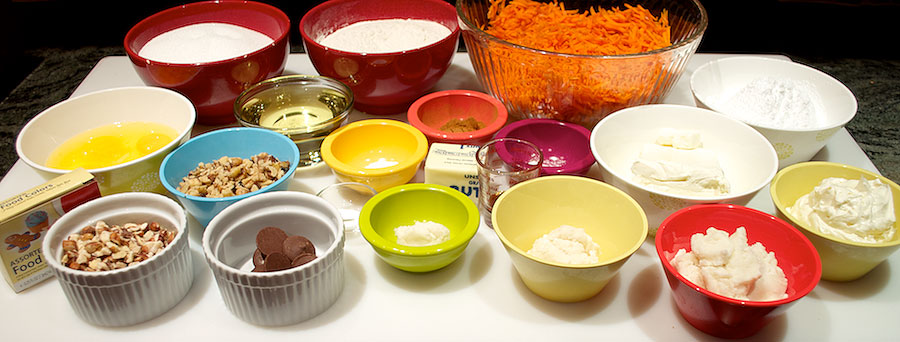
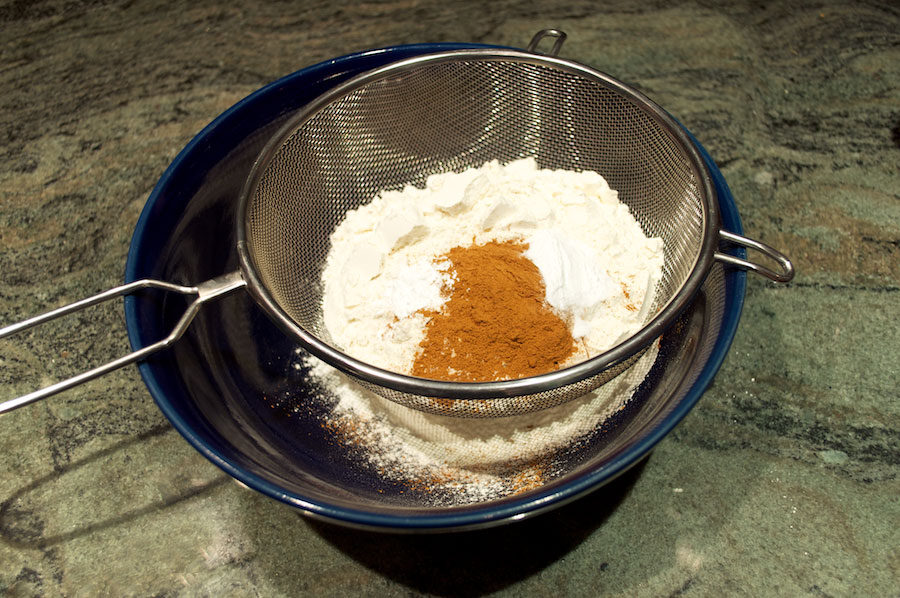
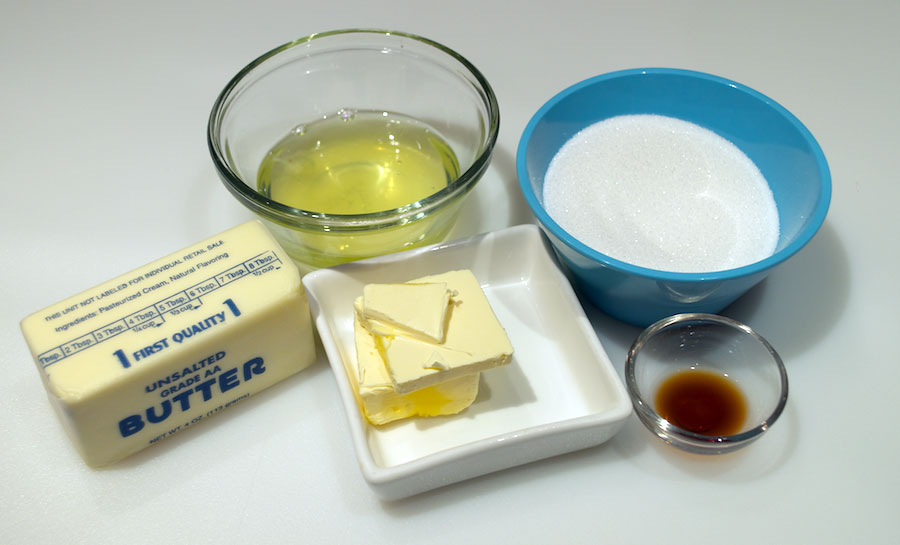
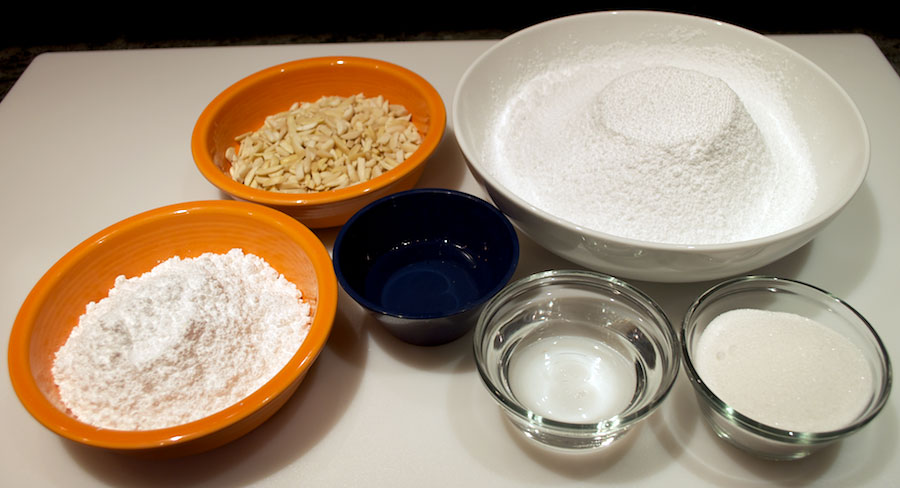
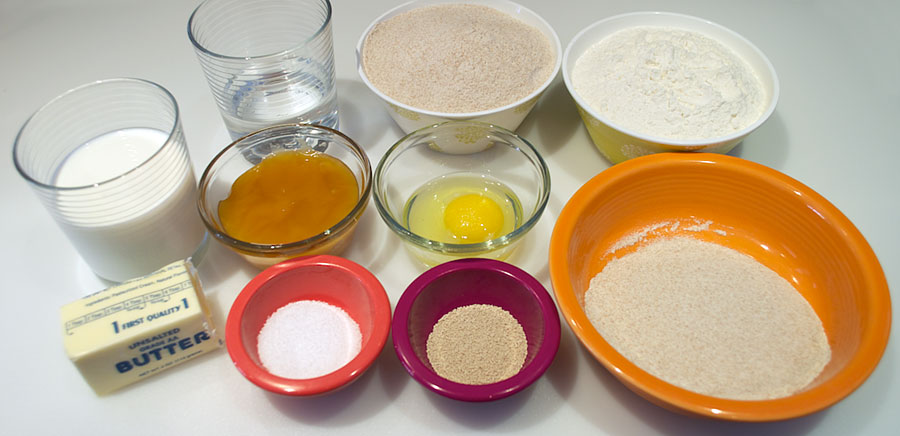
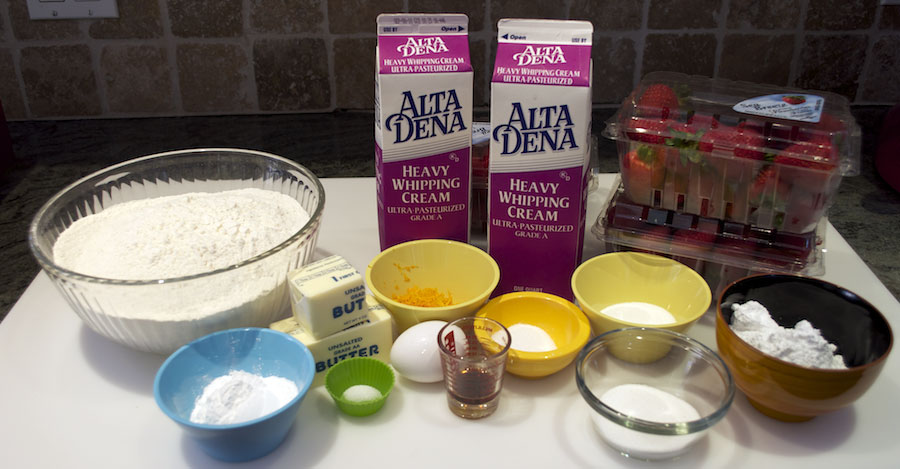
The recipe and detailed instructions are at the end of this post. For this recipe, we need unsalted butter, lemon juice, bread flour, salt, water, cake, tart apples, granulated sugar, an egg, cinnamon, and sanding sugar. Looks like we have it all. Ready, set, bake…
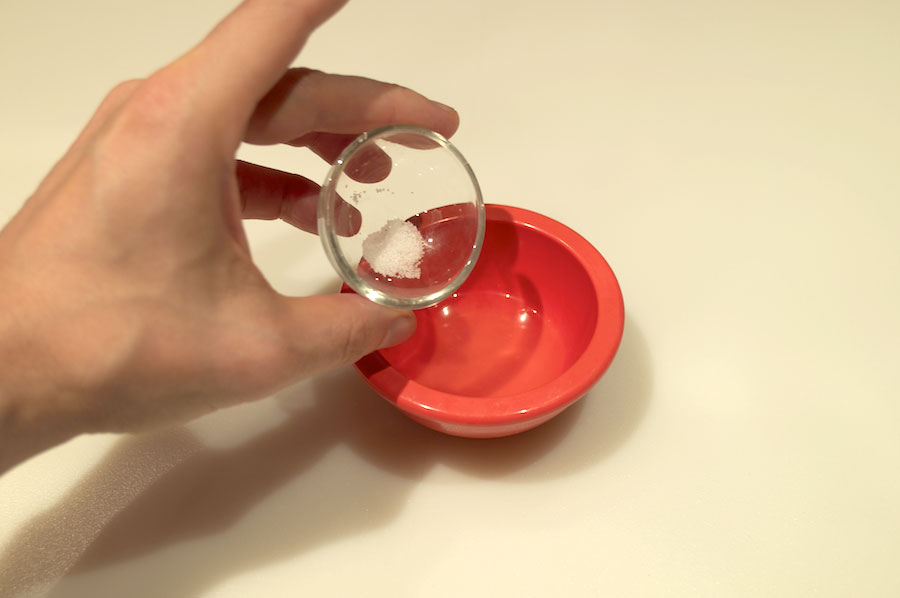
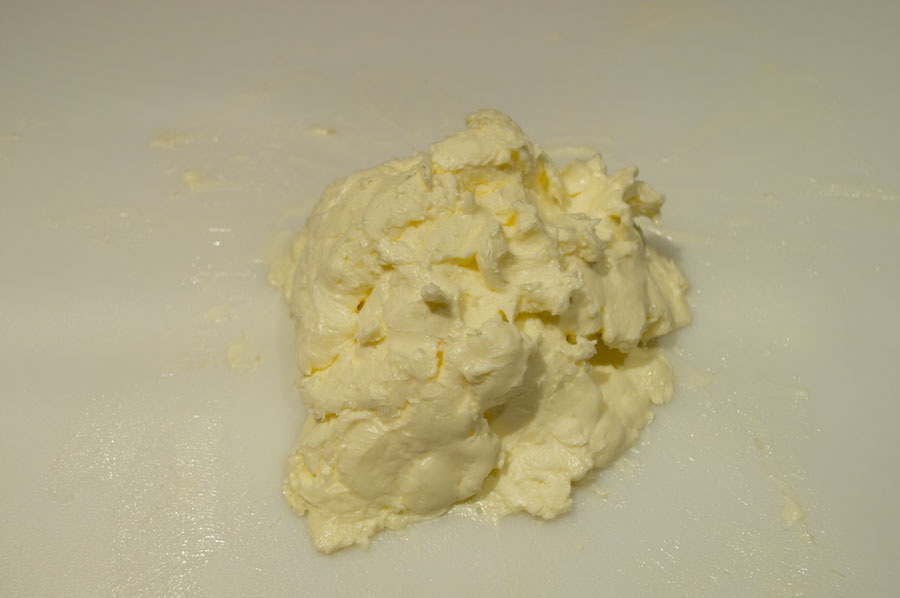
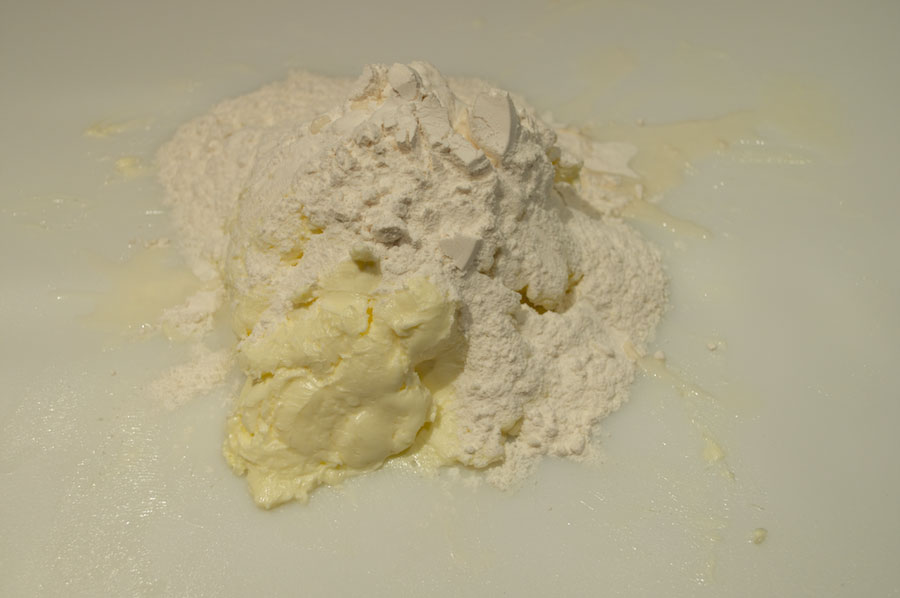
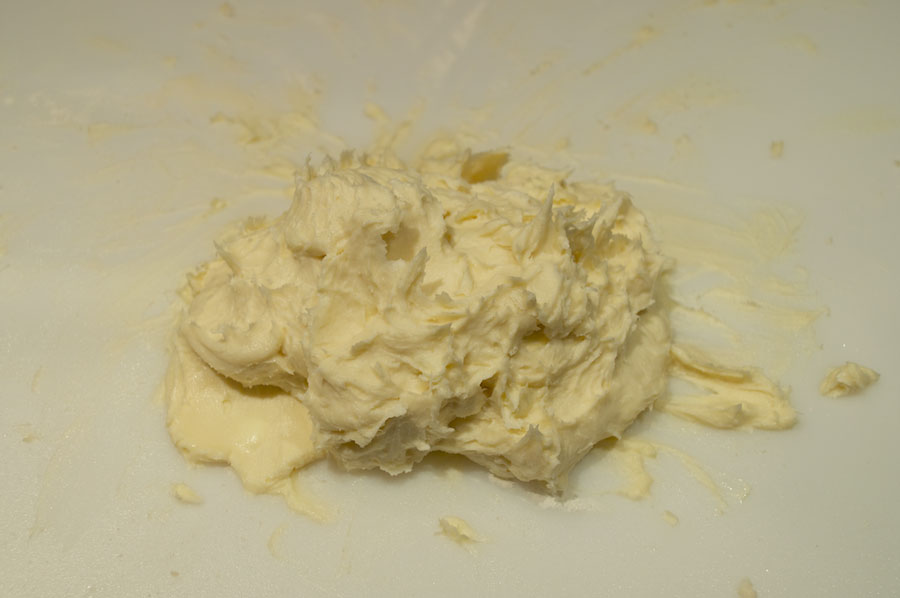
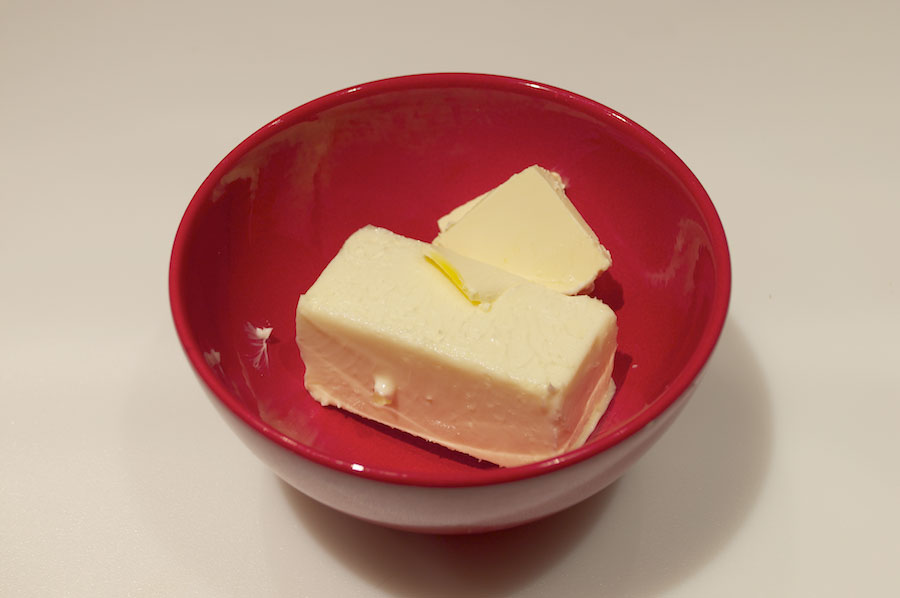
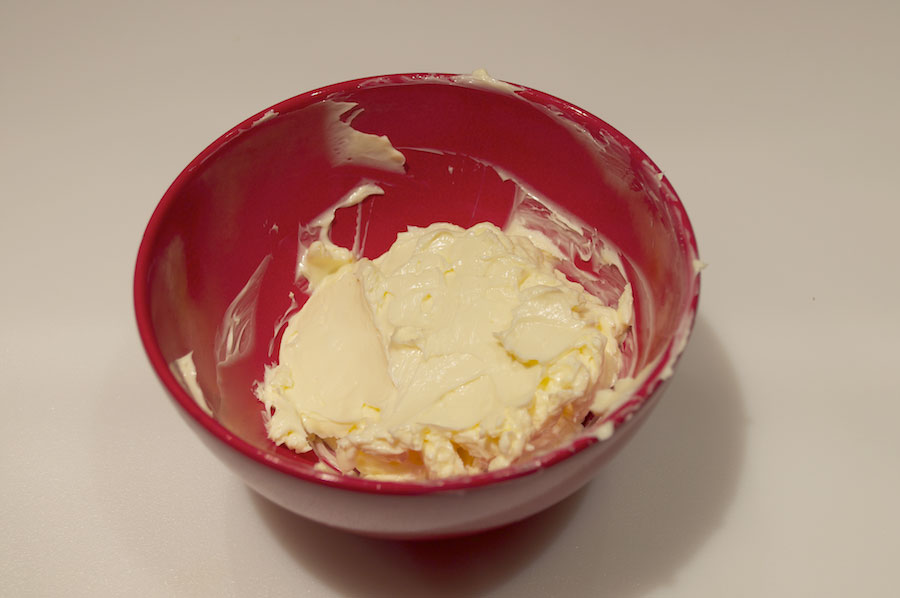
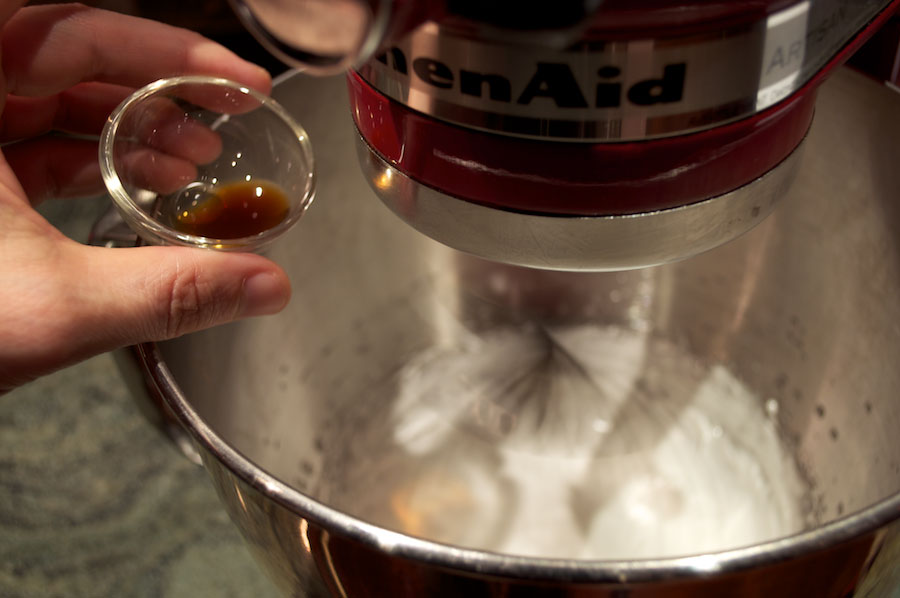
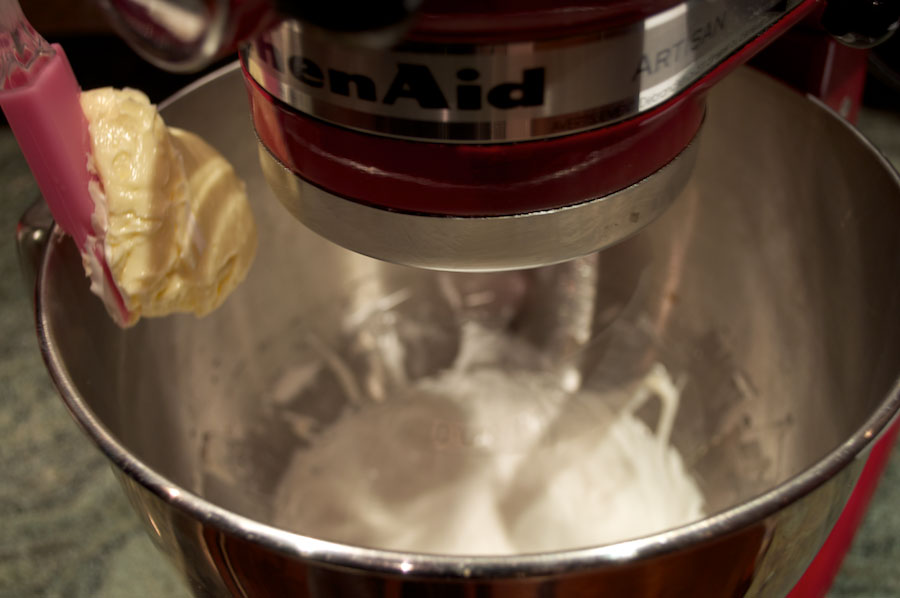
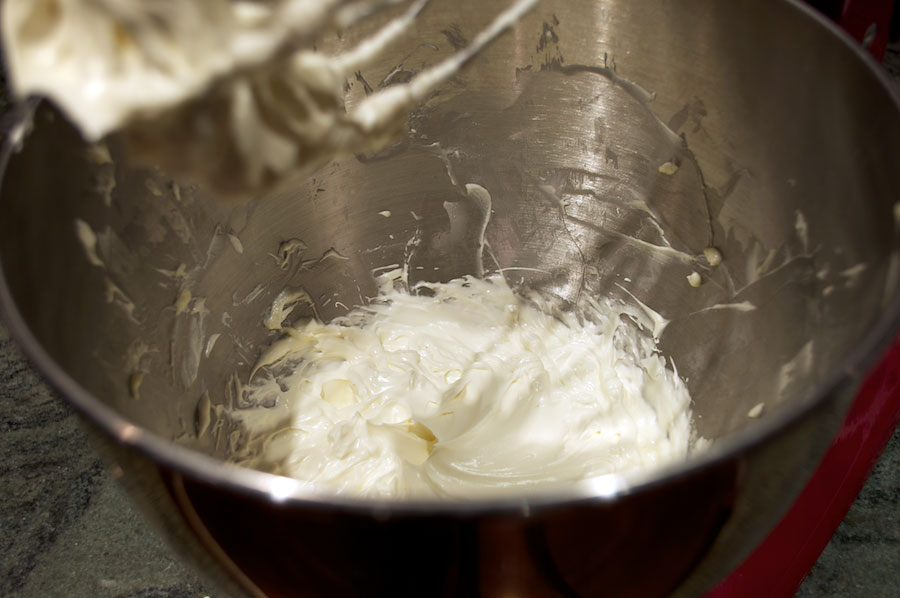
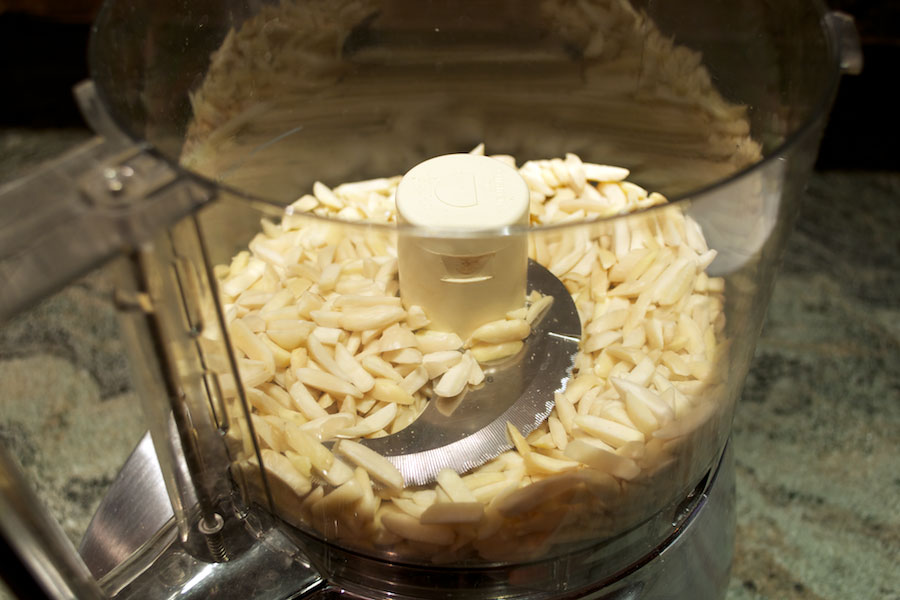
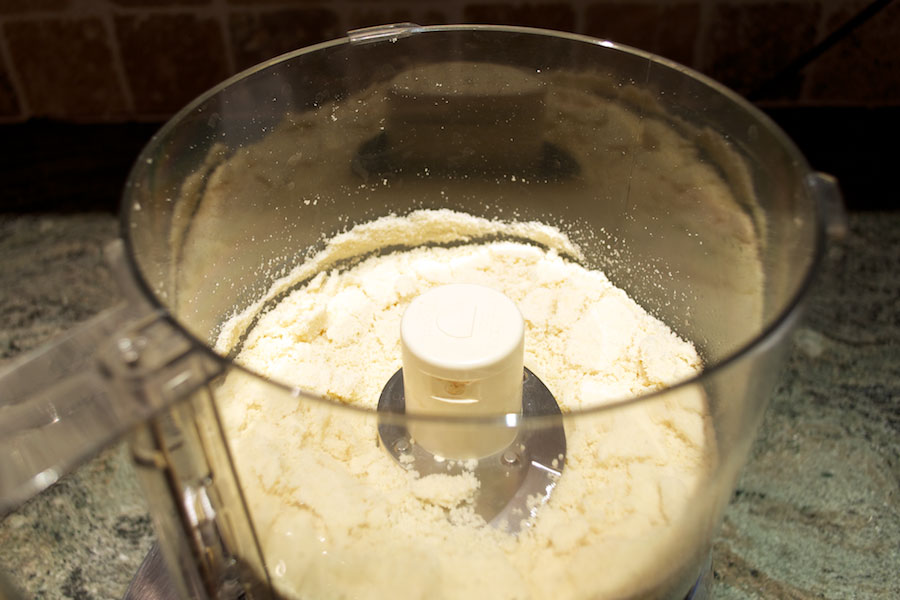
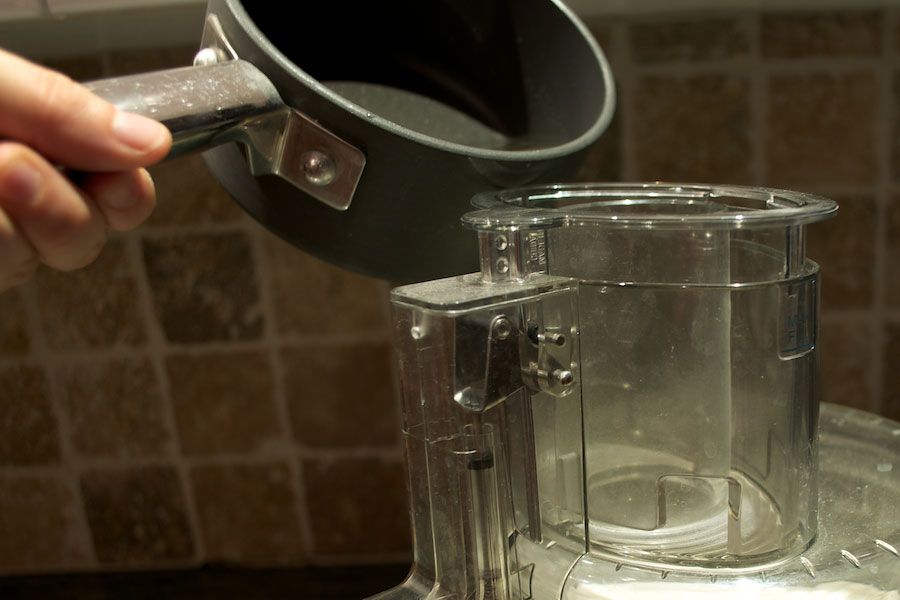
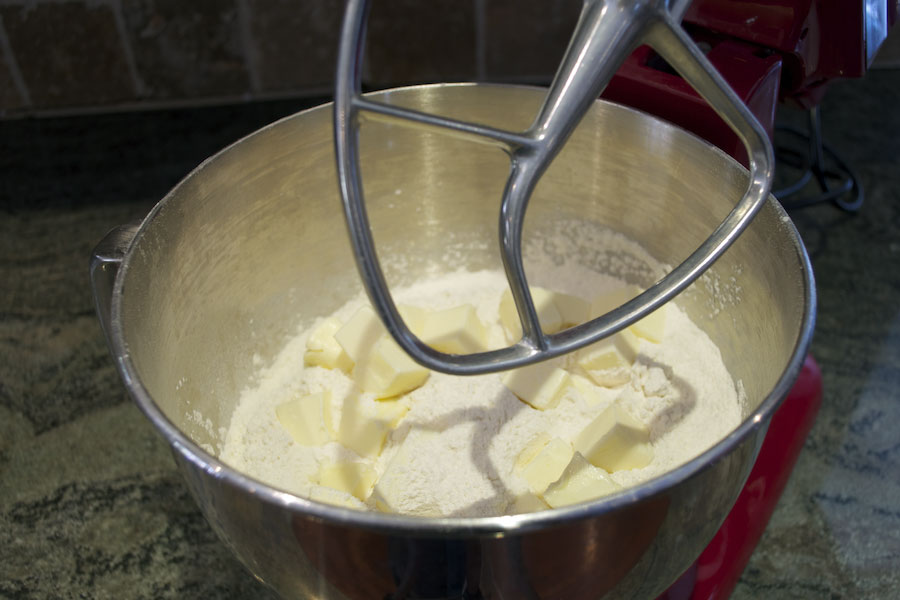
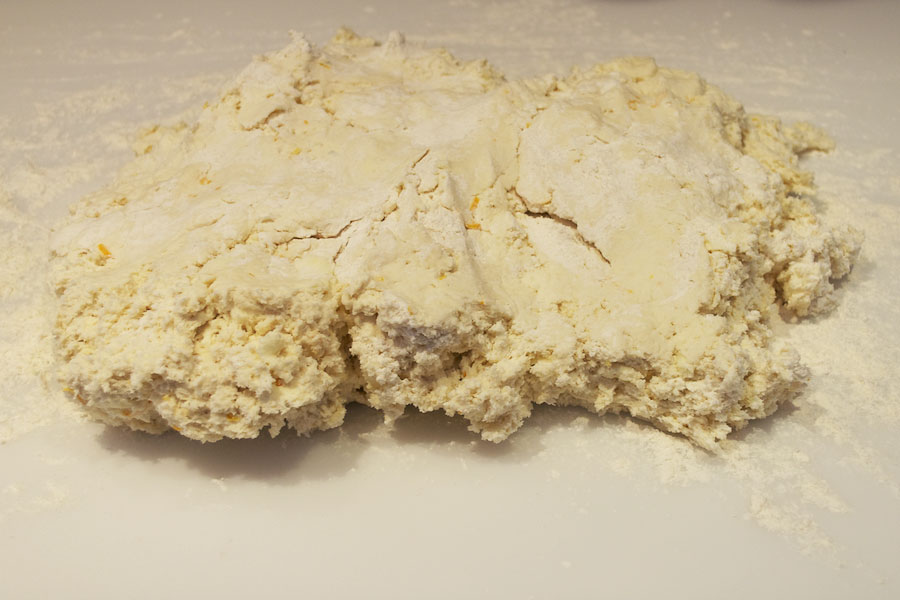
Dissolve the pinch of salt in the lemon juice. Work the cold butter into a dough like consistency with the warmth of your hand. Mix the salted lemon juice into butter along with with the bread flour. I do this right next to the sink with warm water running so I can clean off my hands as needed. It can get a little messy if you’re not focused.
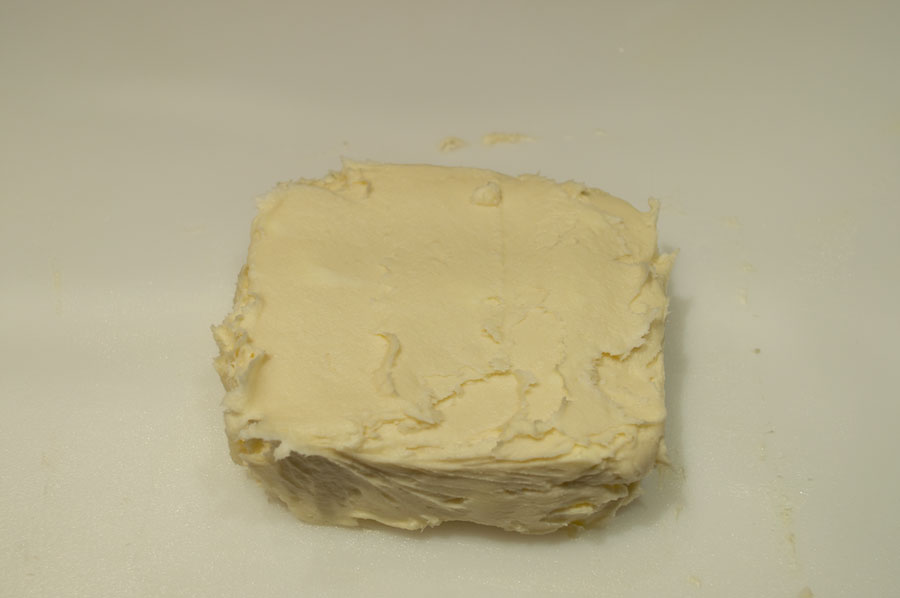
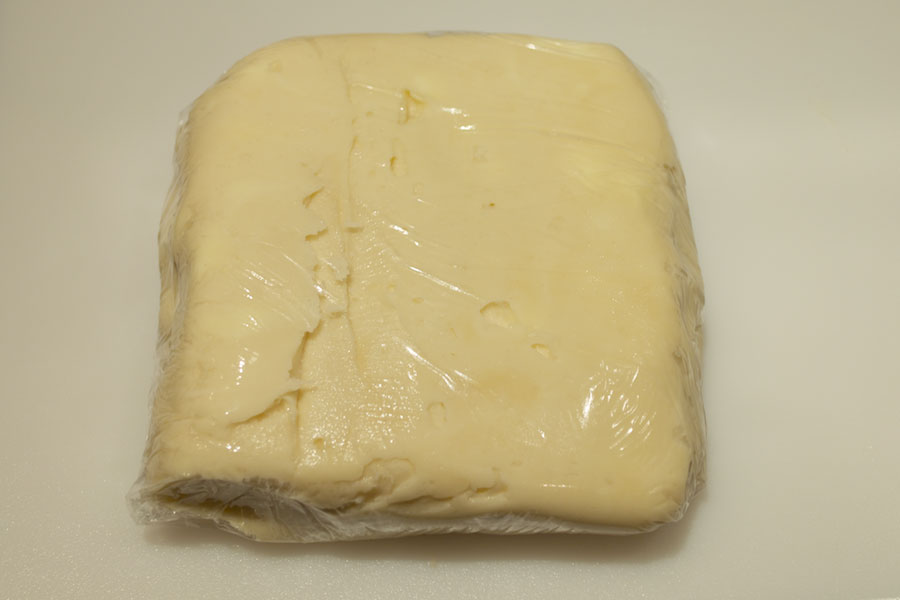
Shape the butter block into a 6-inch square, cover with plastic wrap and refrigerate until firm (about 30 minutes).
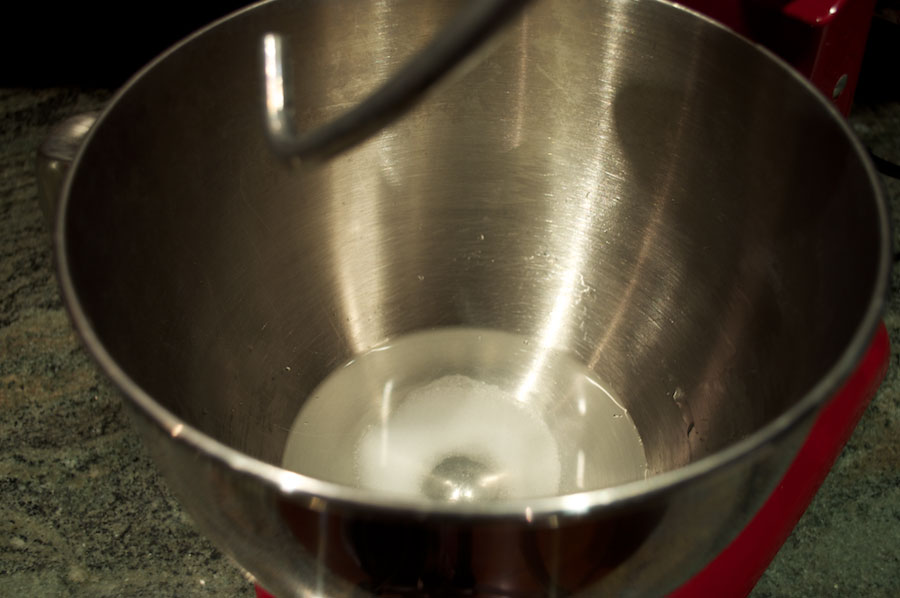

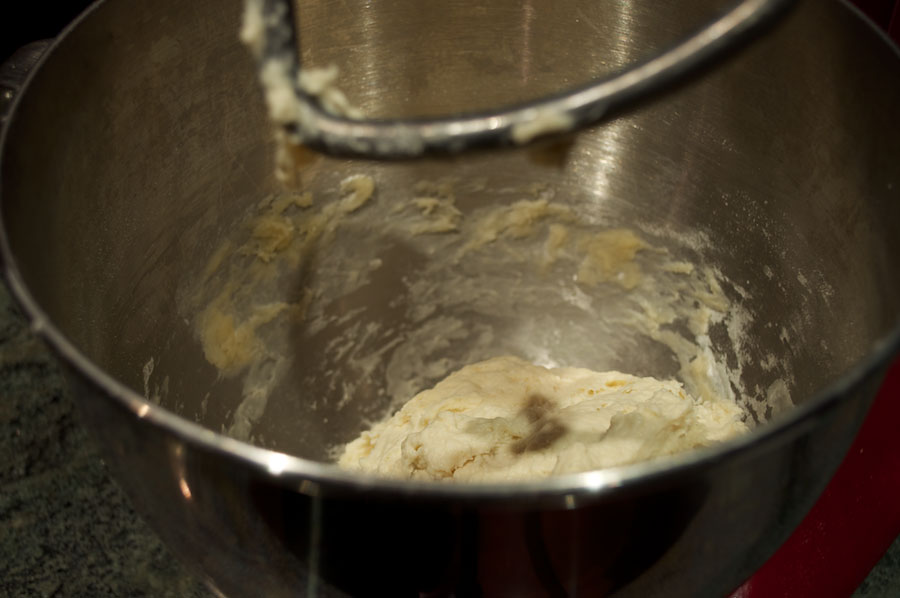


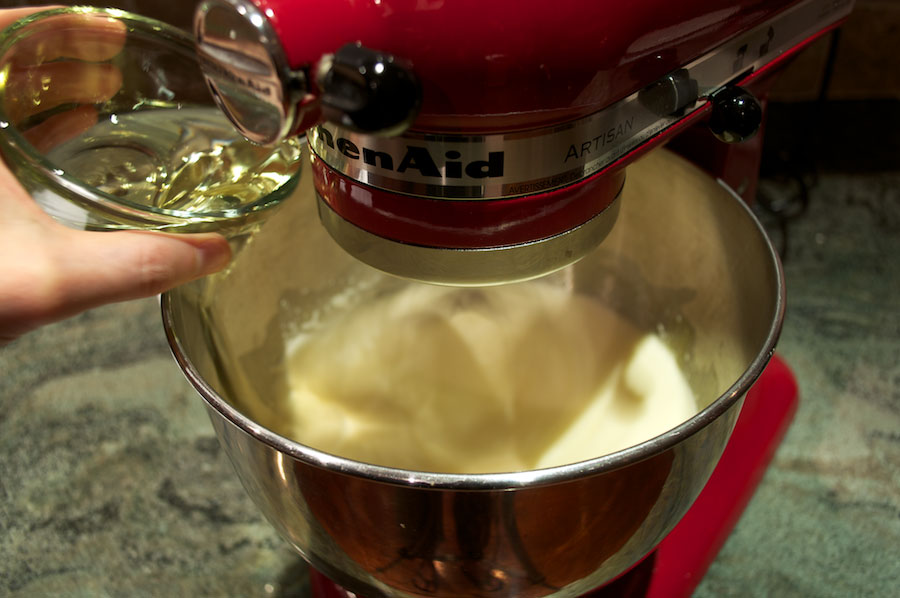
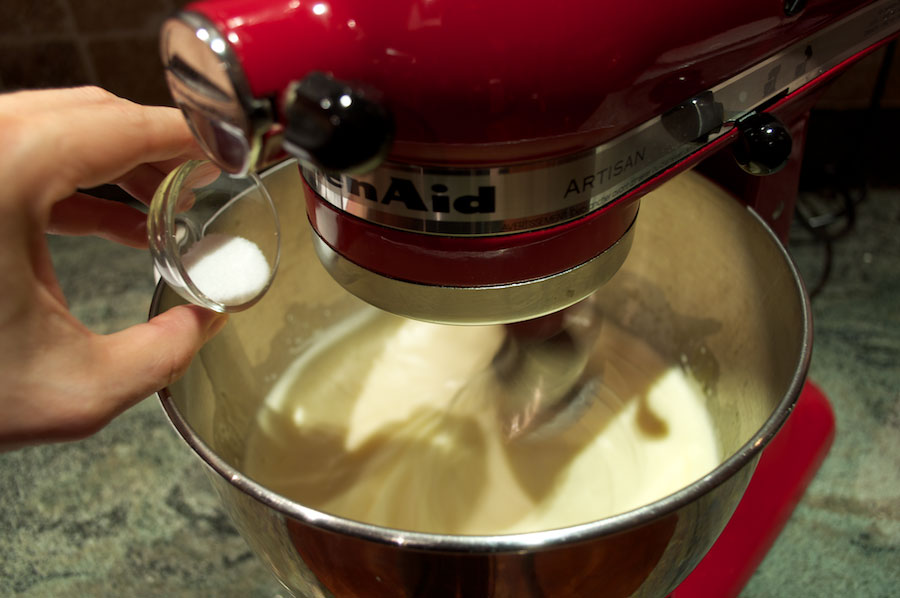
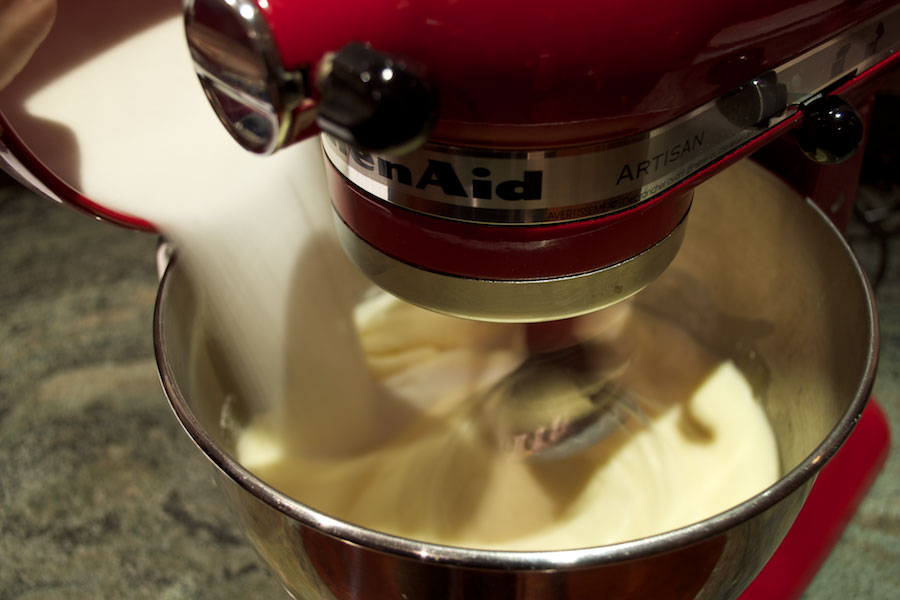
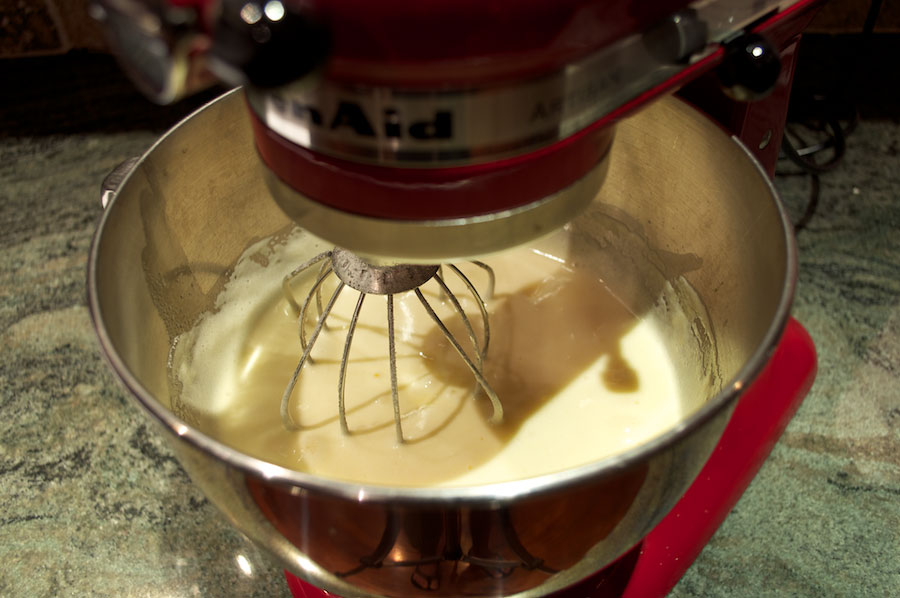
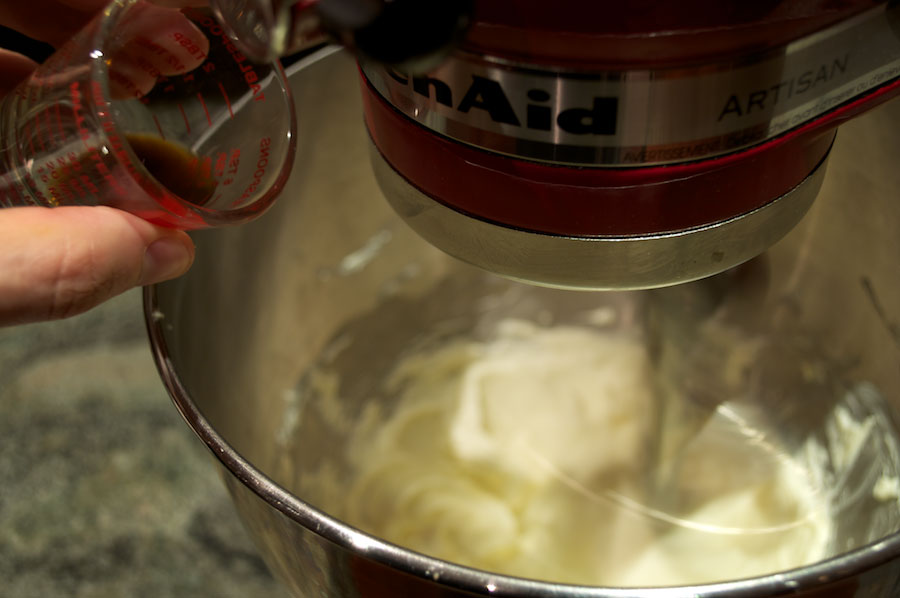
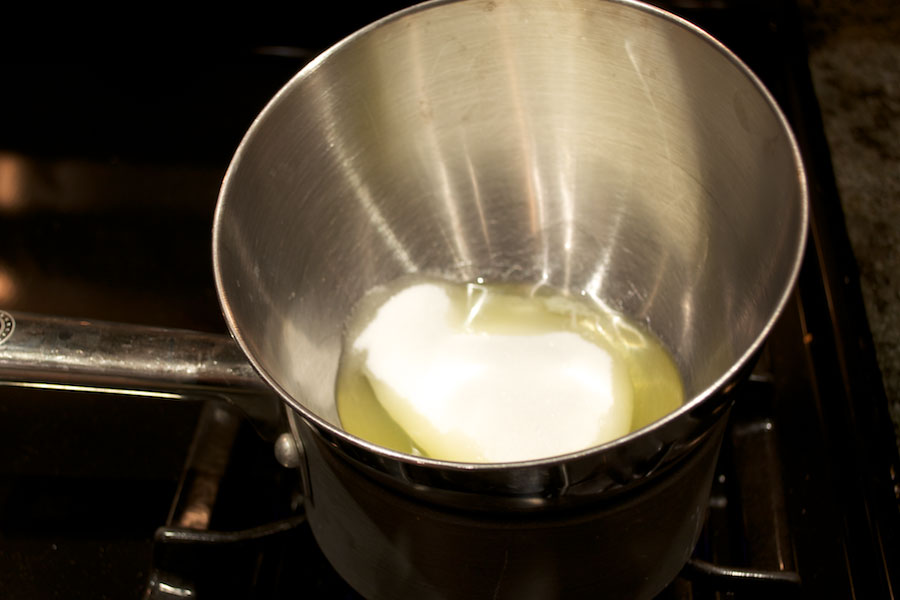
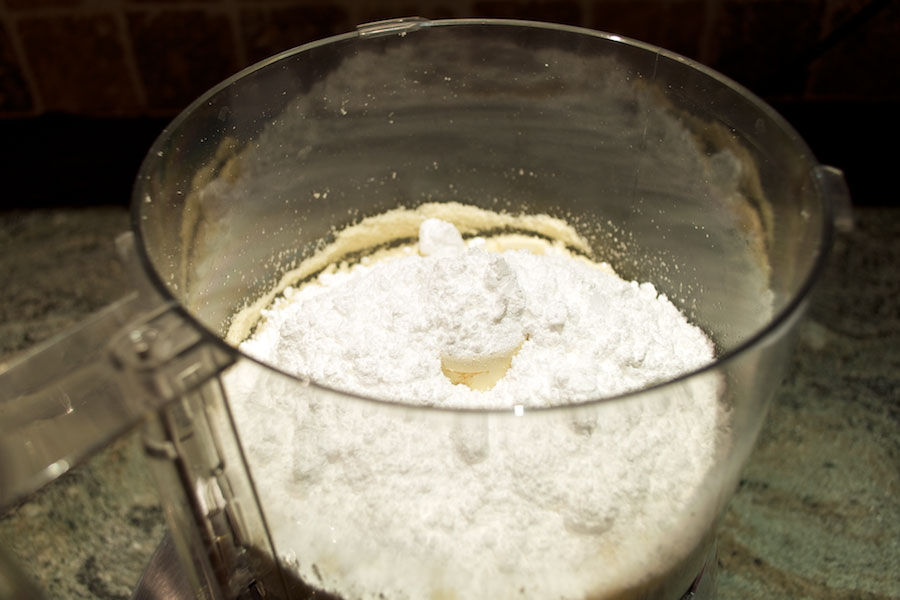
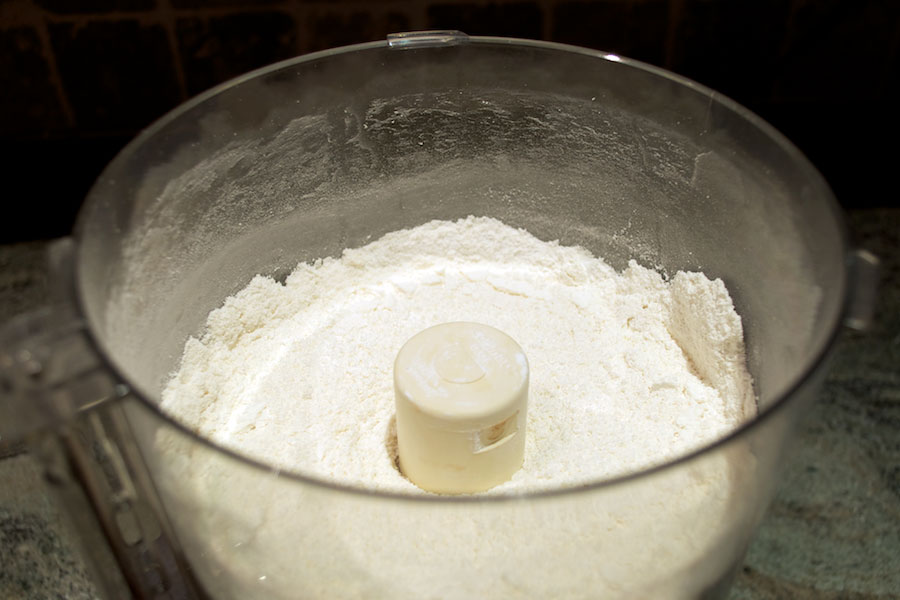
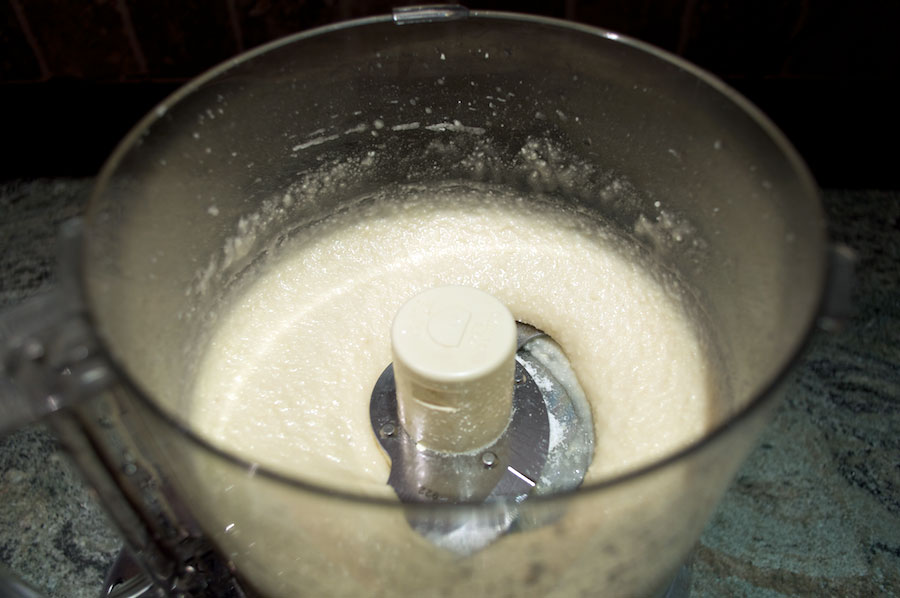
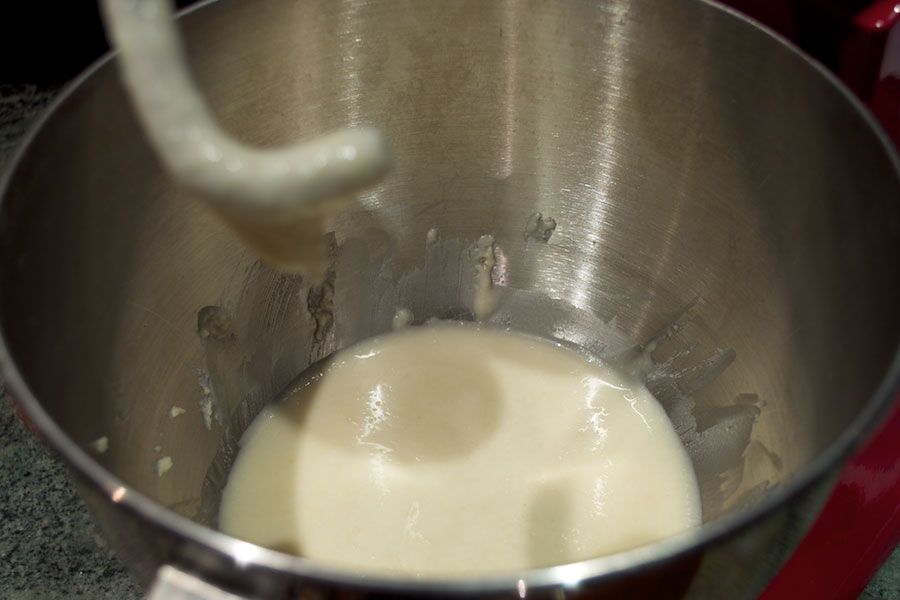
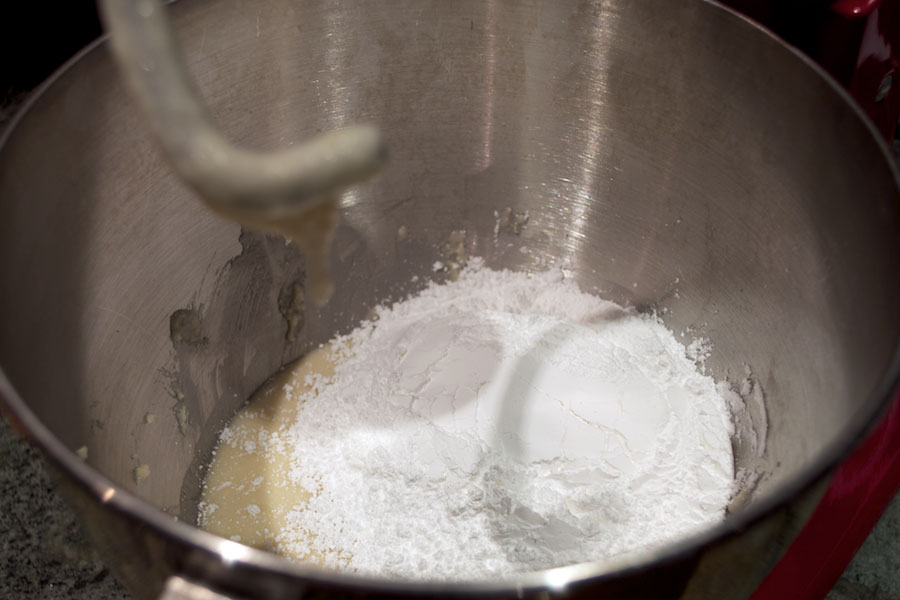
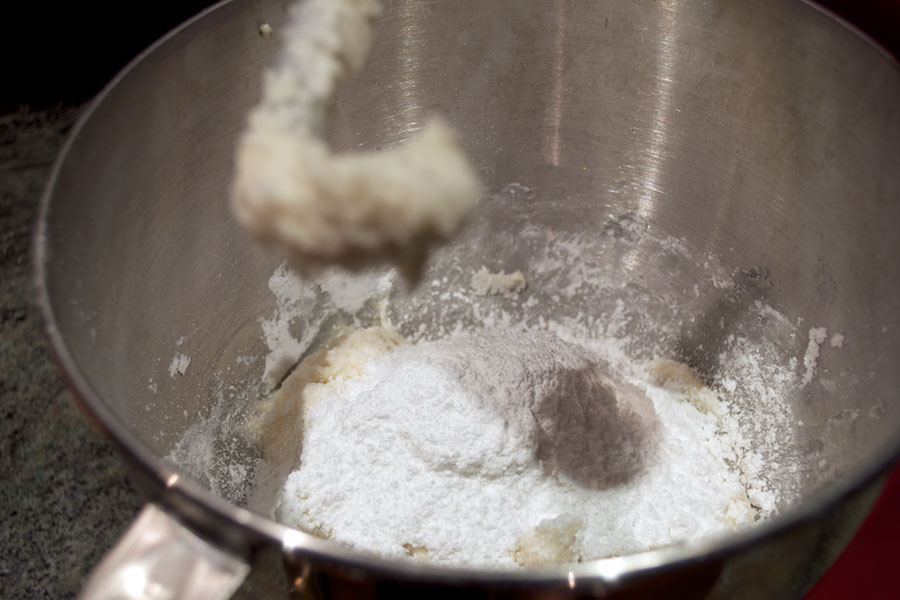
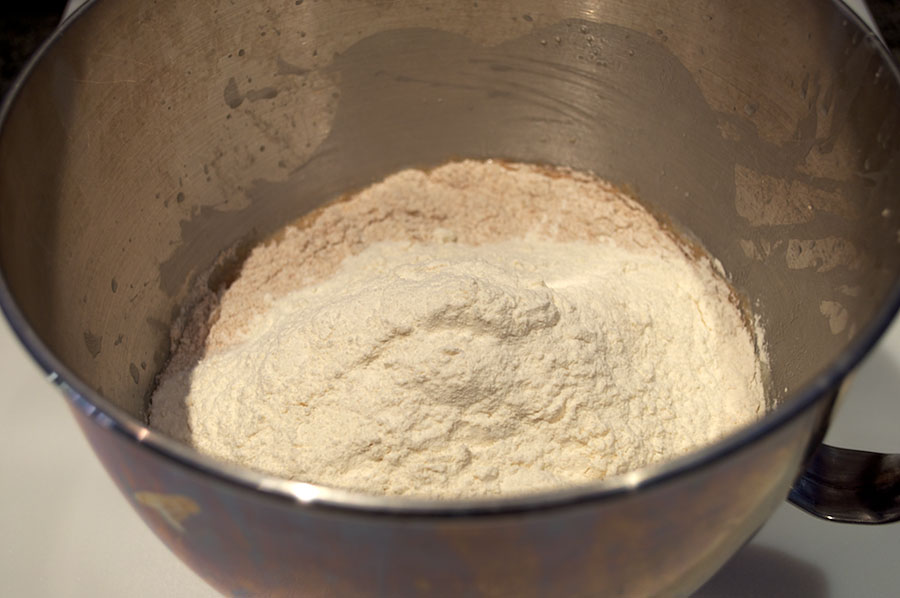
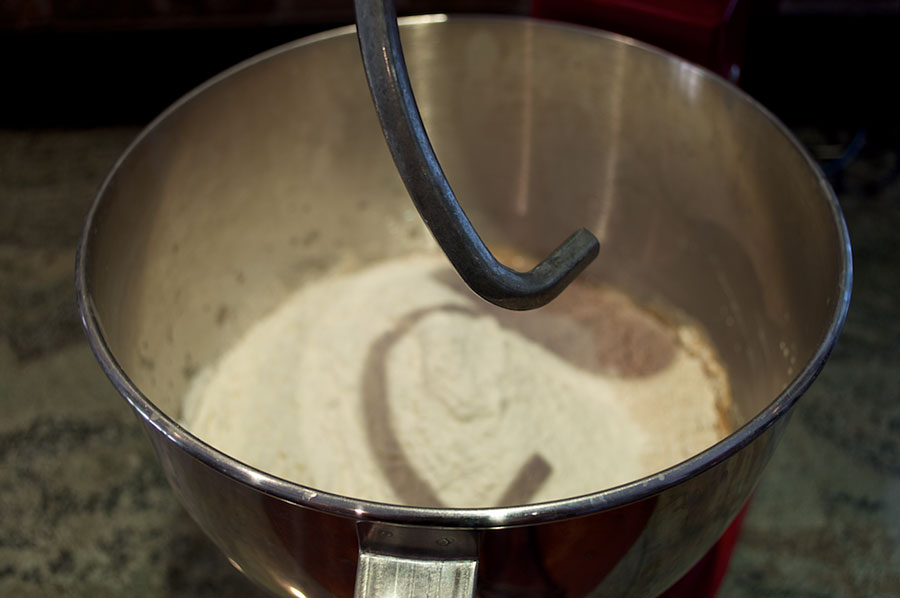
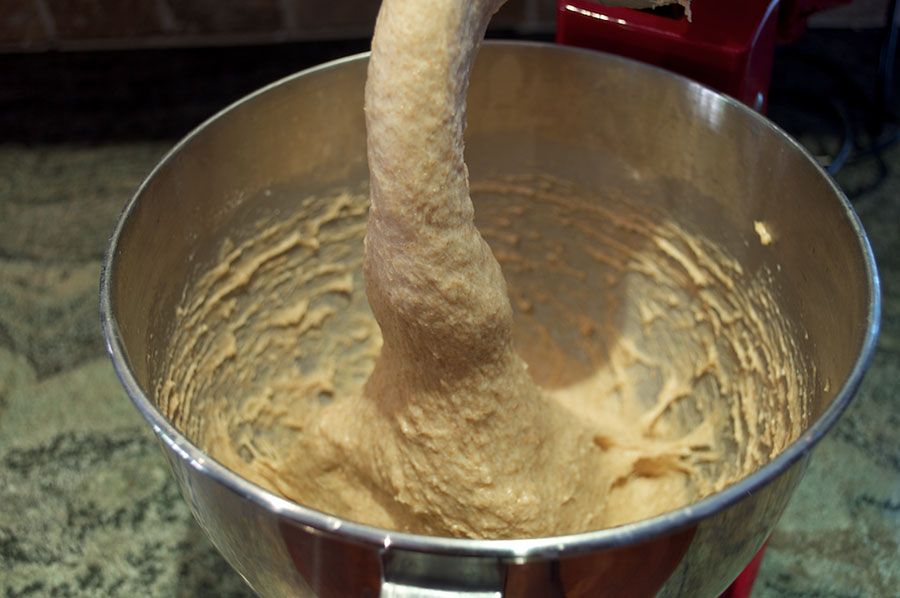
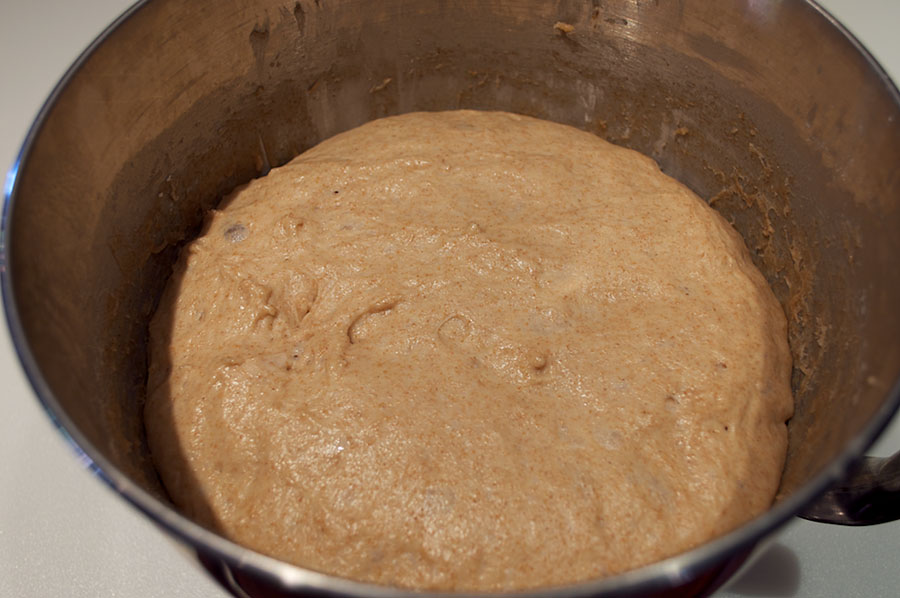
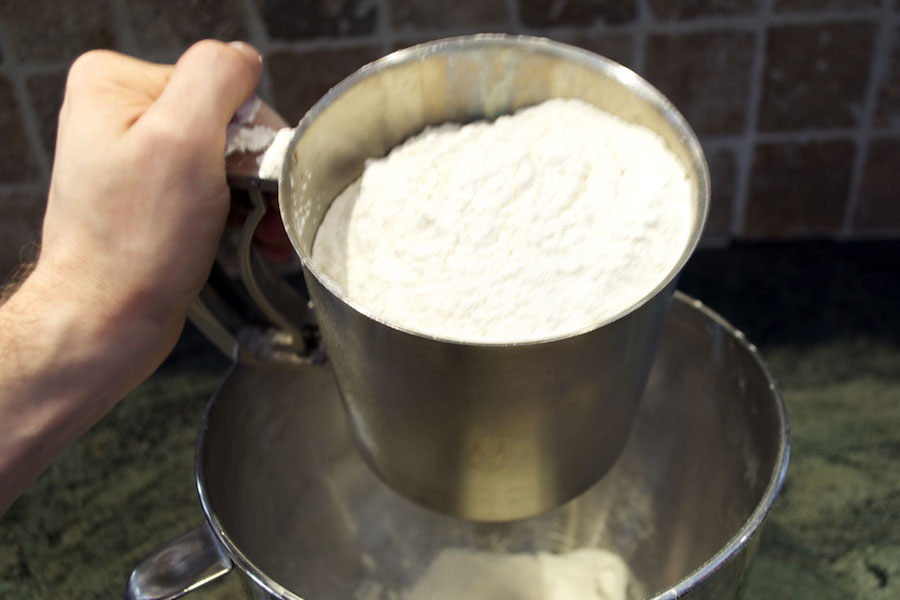
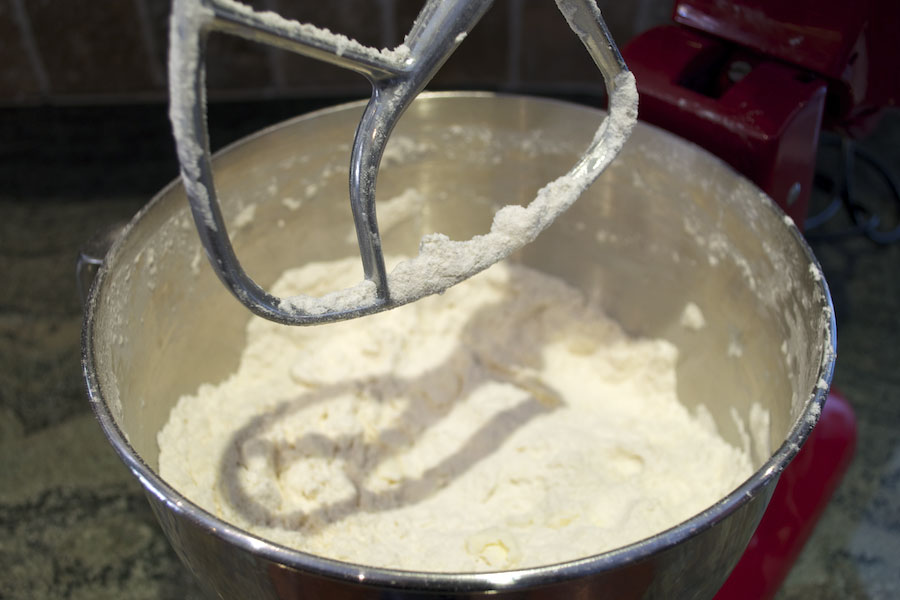
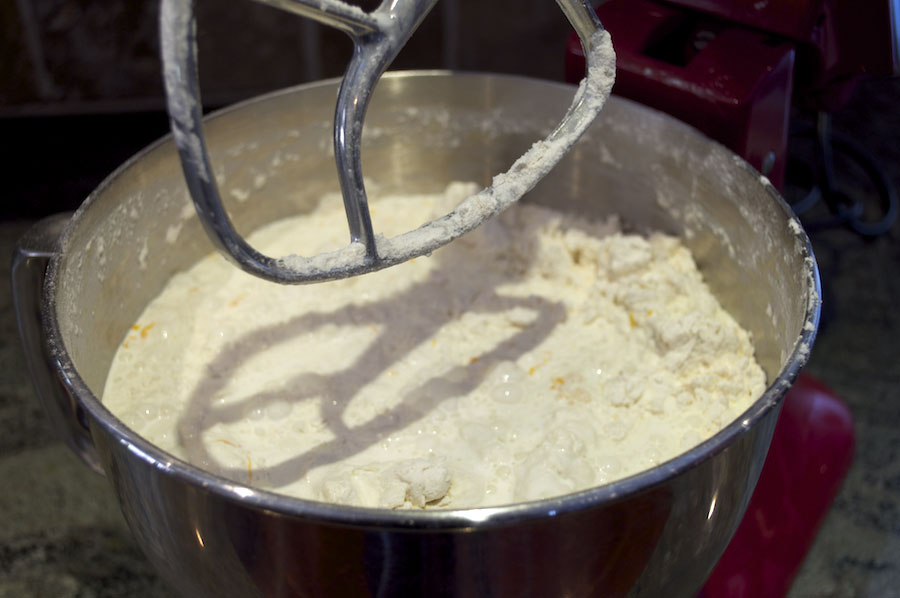
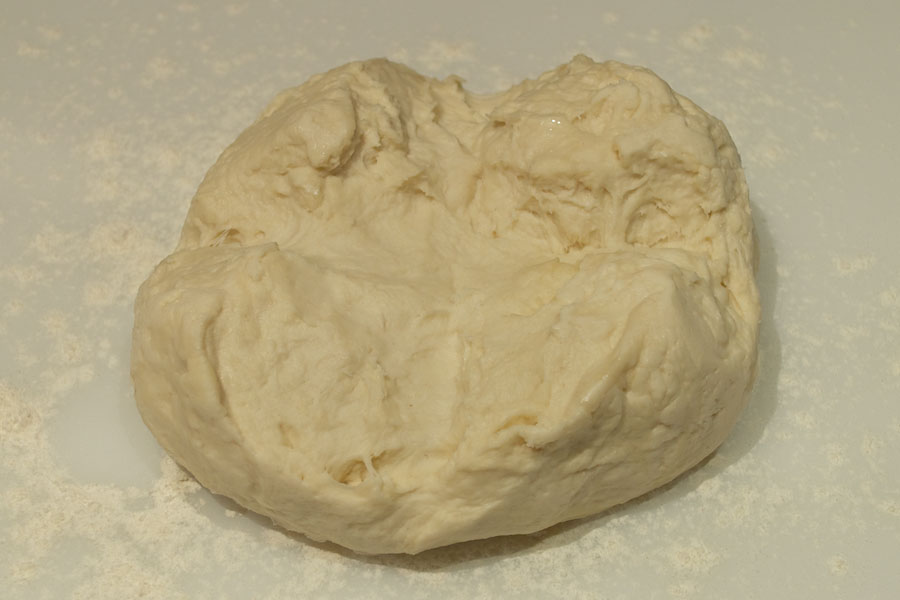
Using the dough hook in a mixer set on low, dissolve the 2 teaspoon salt and water. Add the melted butter, lemon juice, cake flour, and enough of the bread flour to make a soft, smooth dough. Do not over mix.
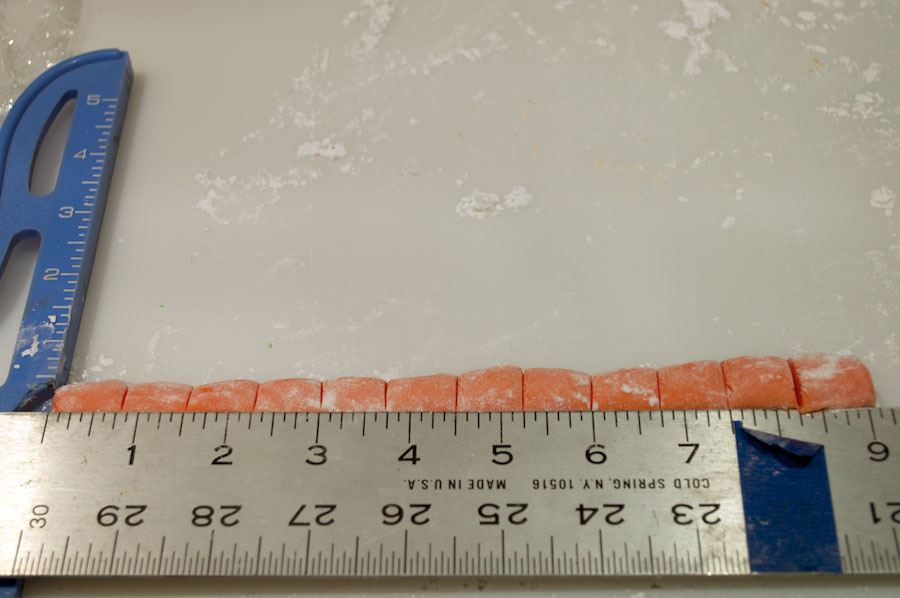
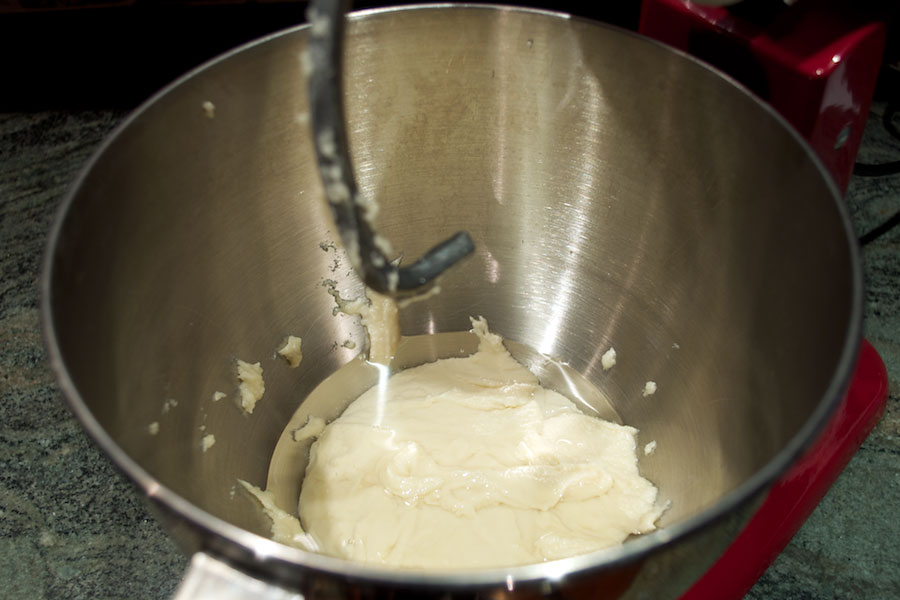
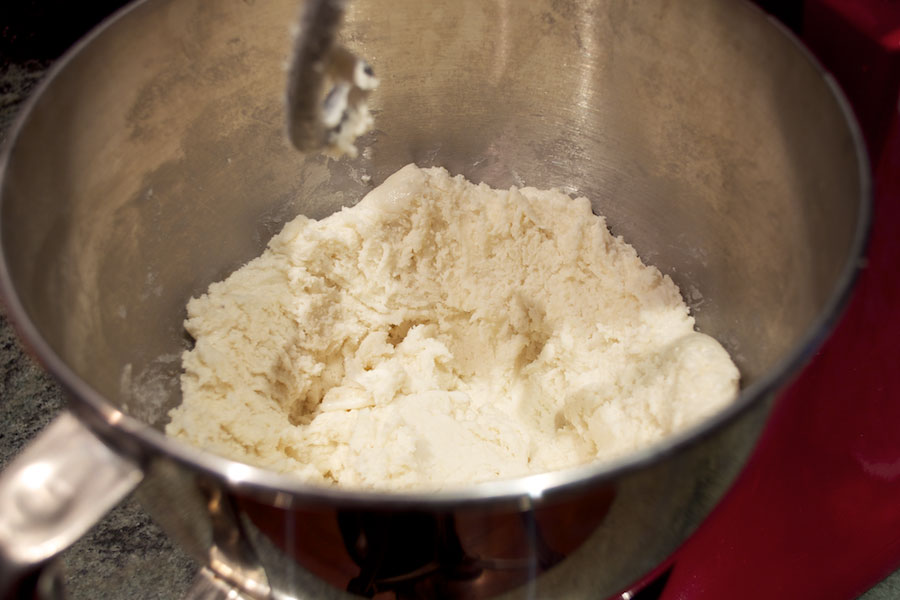
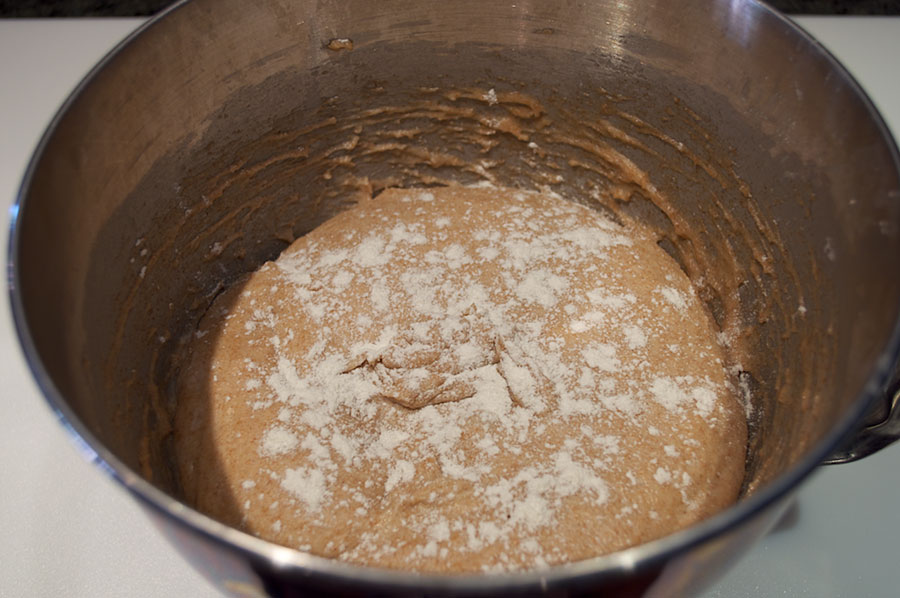
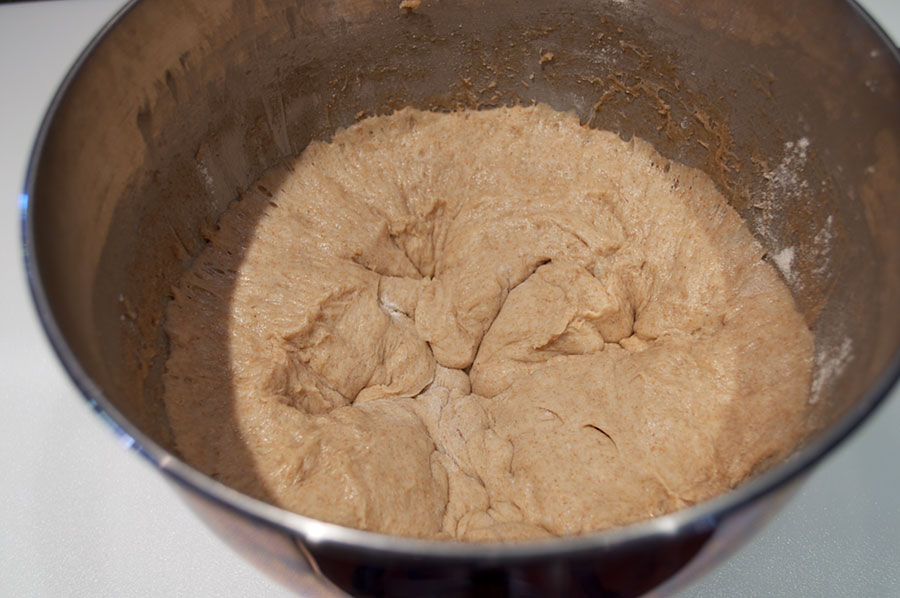
Shape the dough into a tight ball. With a sharp knife, cut across halfway into the ball. Cover with plastic and refrigerate for 30 minutes.

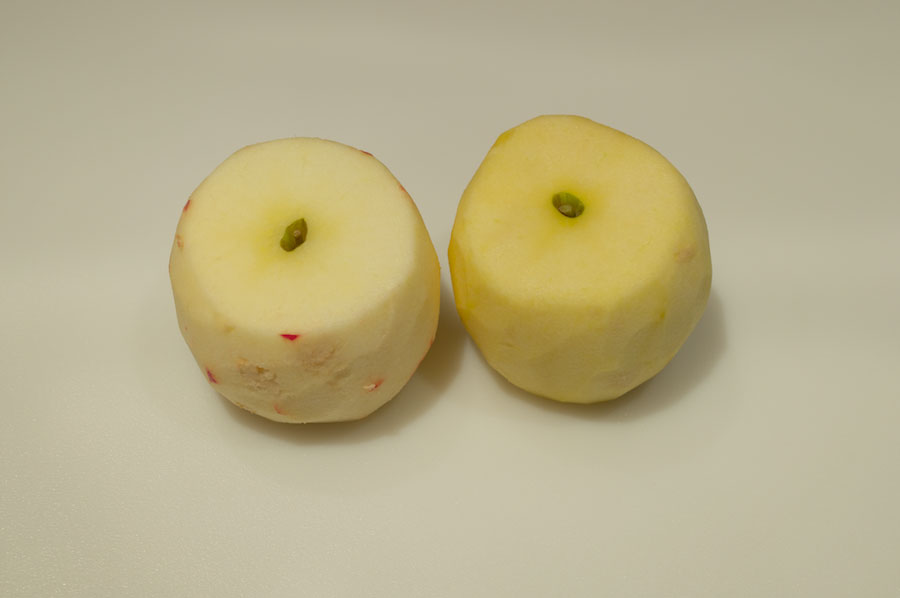
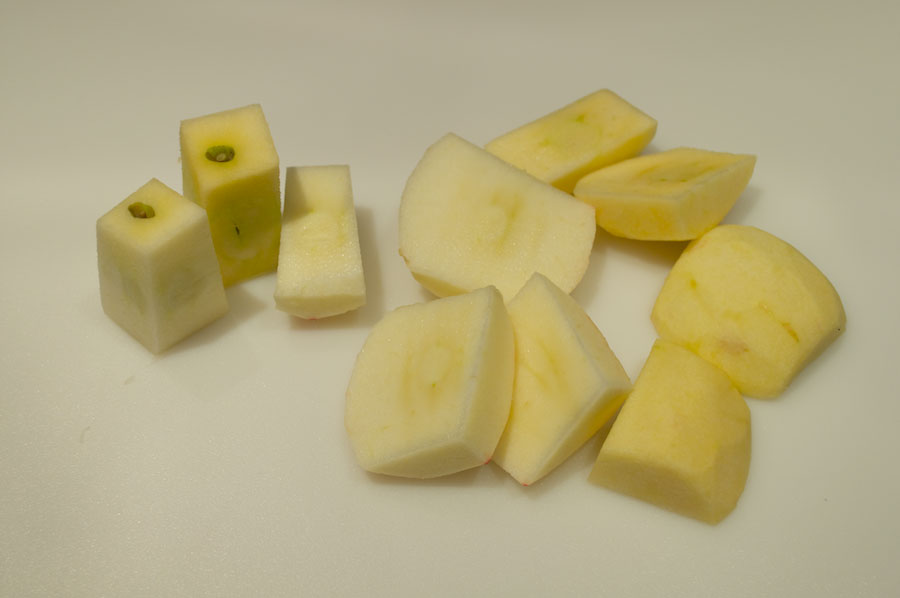
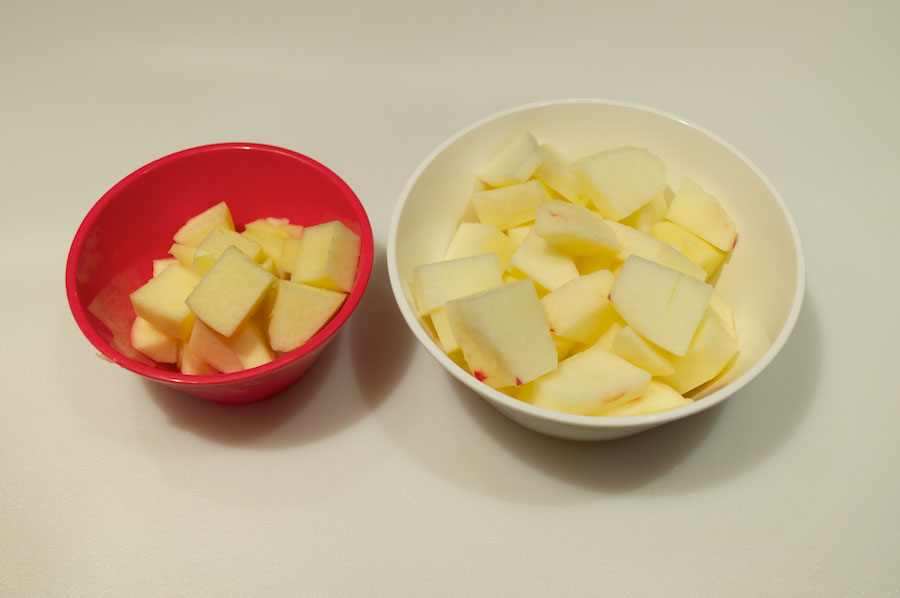
Peel and core the apples. Cut two-thirds of the apples into half inch pieces. Cut the remainder into one fourth inch pieces and reserve.
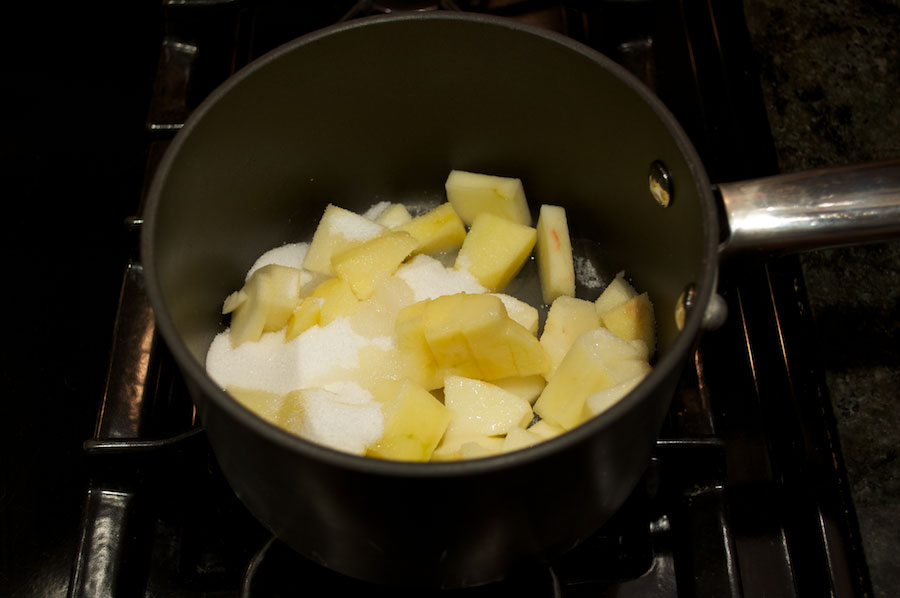

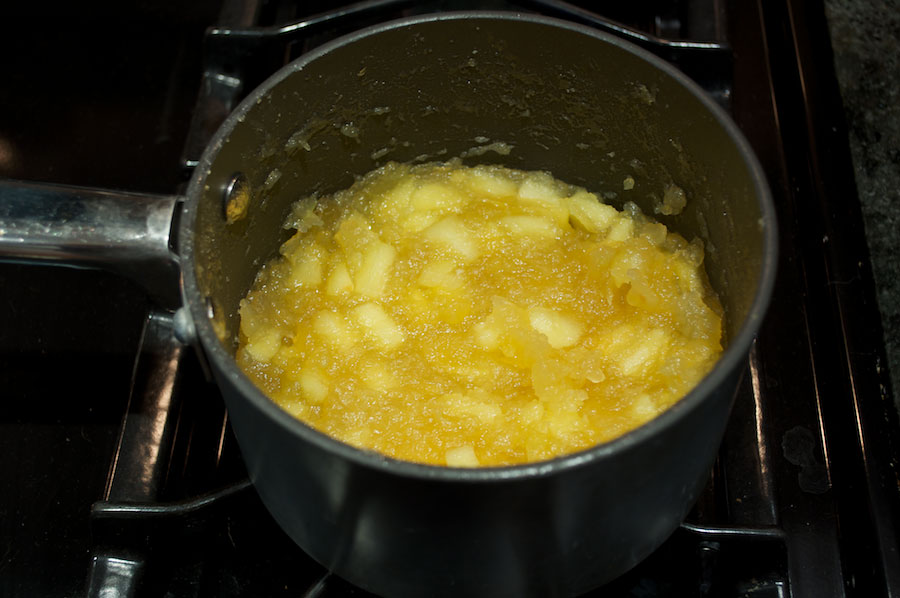
Cook the half-inch pieces of apple in a saucepan over medium heat along with the sugar, water and lemon juice until the apples have broken down. Add the remaining one fourth inch pieces of apple and cook until they have softened but are not breaking down. Remove from heat, allow to cool and reserve. It may seem like there is not enough, don’t worry, there is.
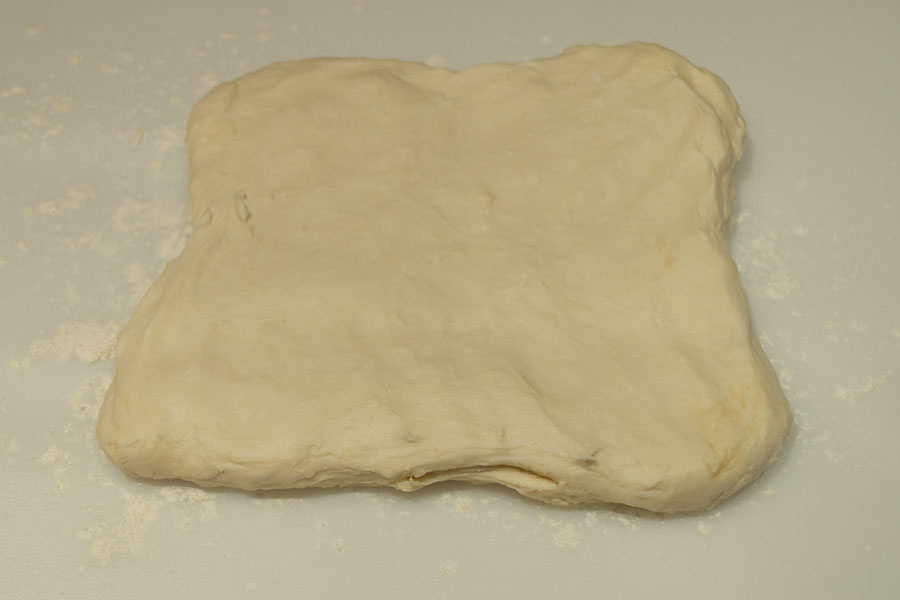
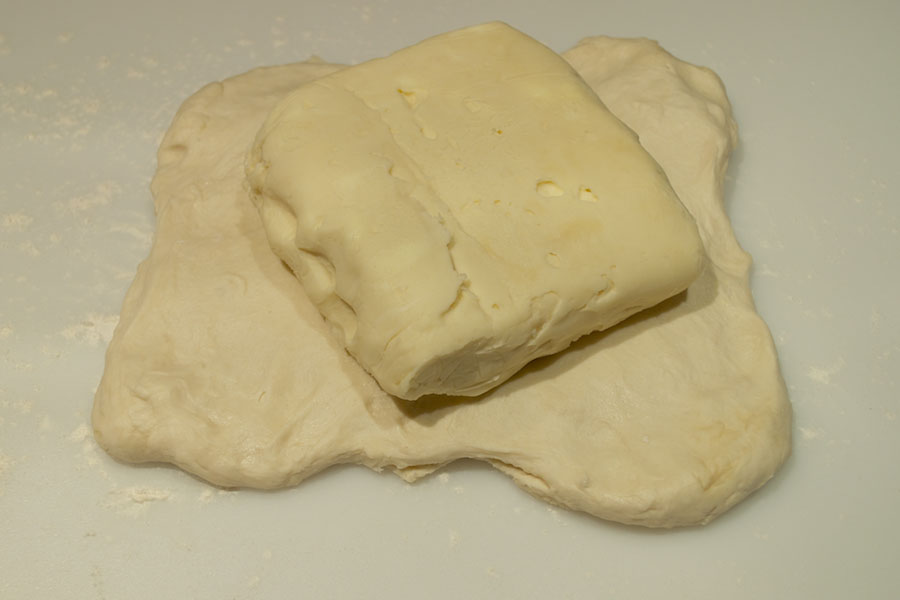
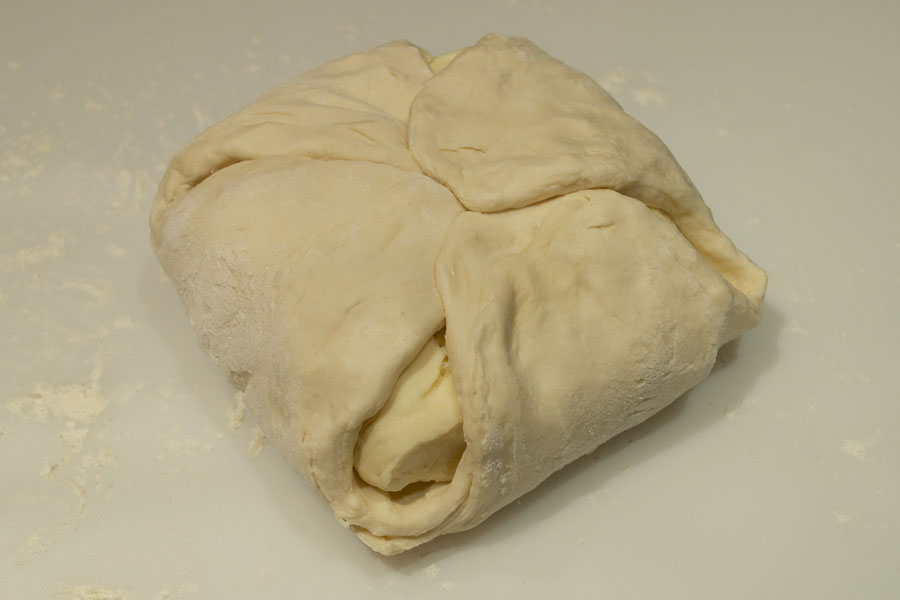
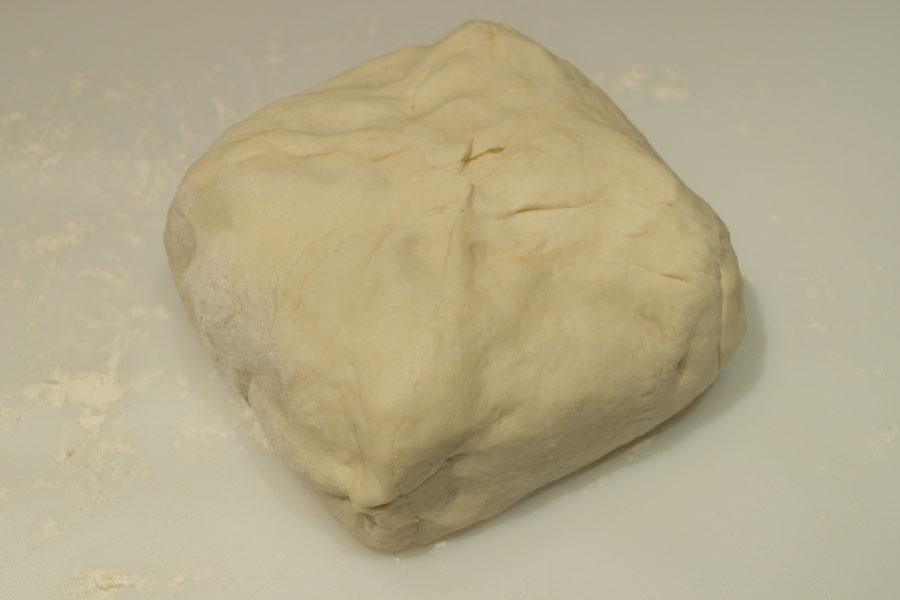
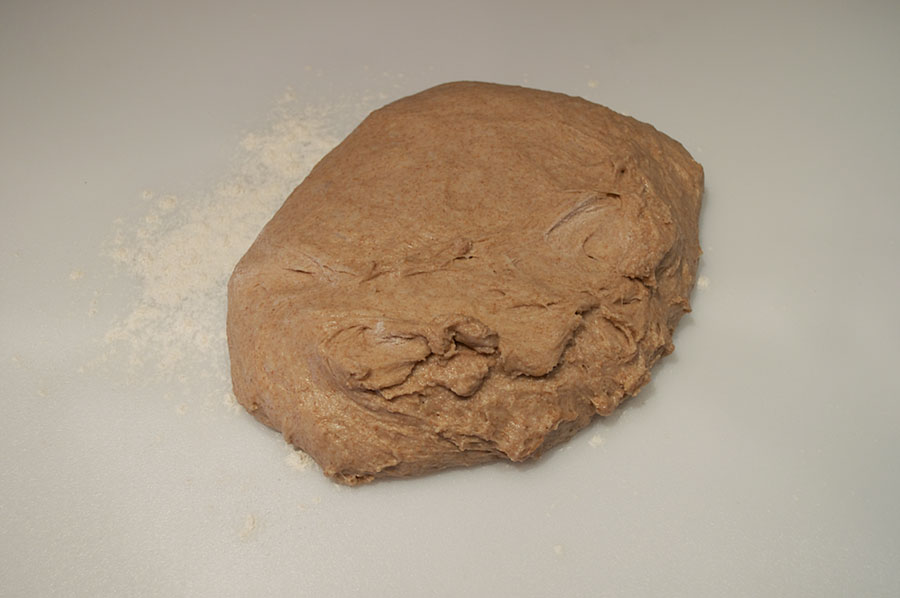
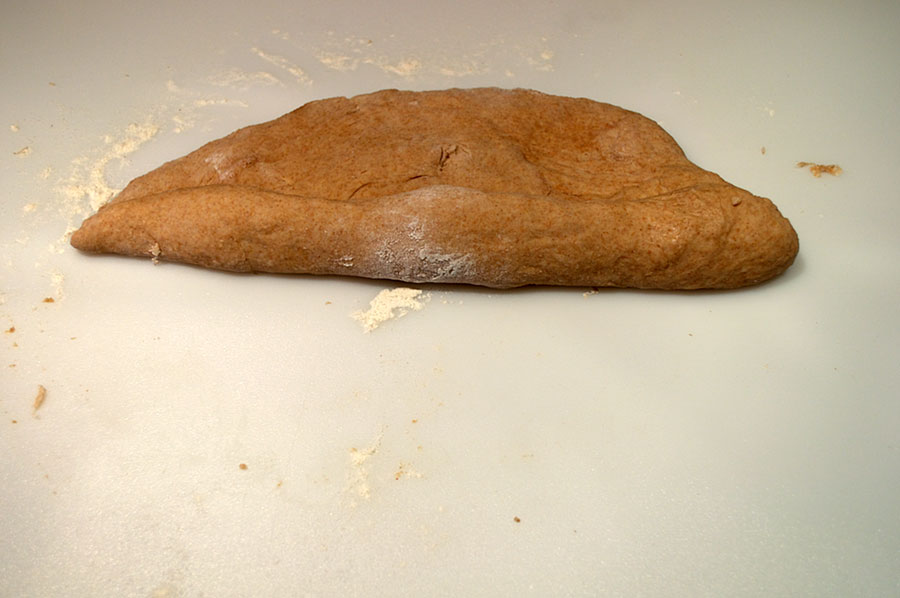
Pull the corners of the dough out to make a square. Place the butter block in the middle of the square, creating a diamond shape on top of the dough with the butter. Fold the triangles into the center of the butter block and seal the edges all the way around the block of butter.
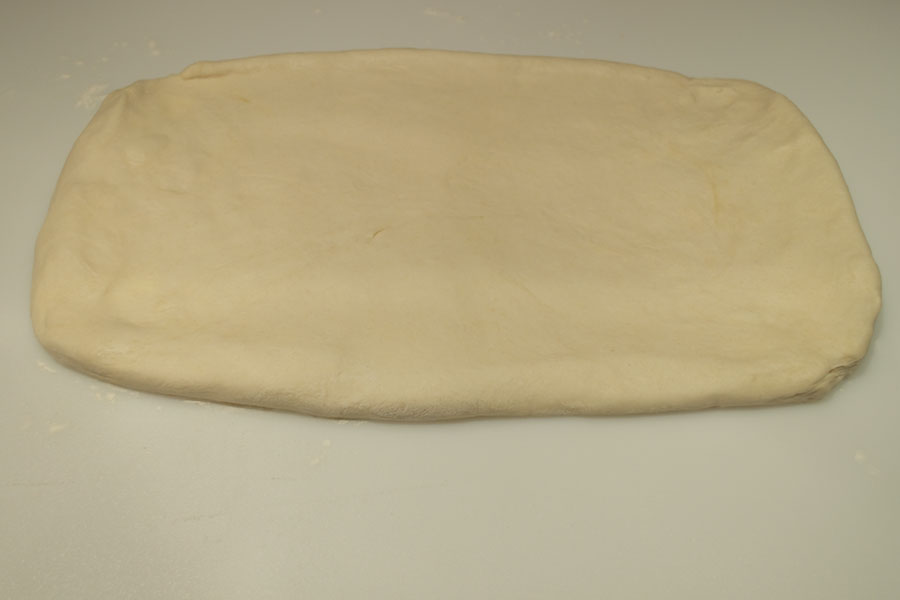
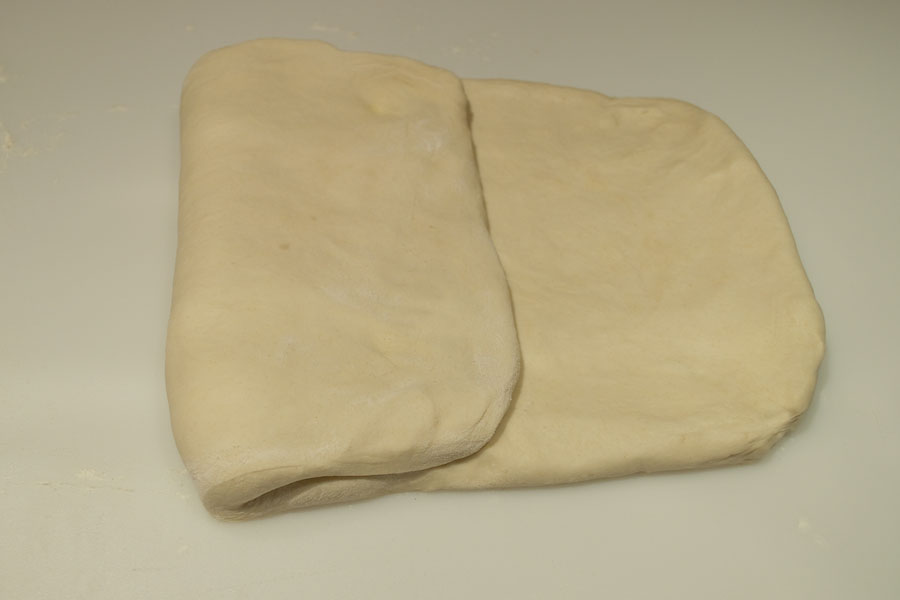
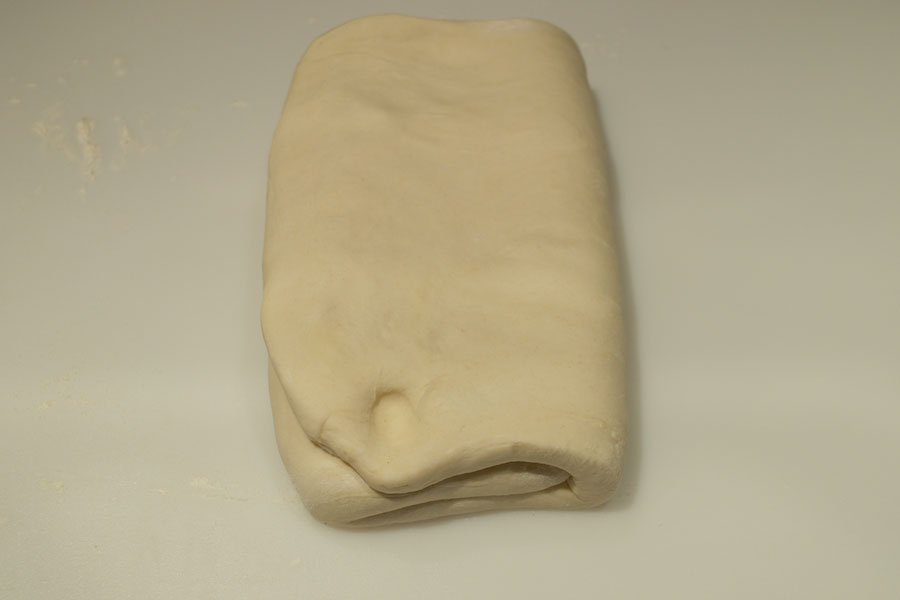
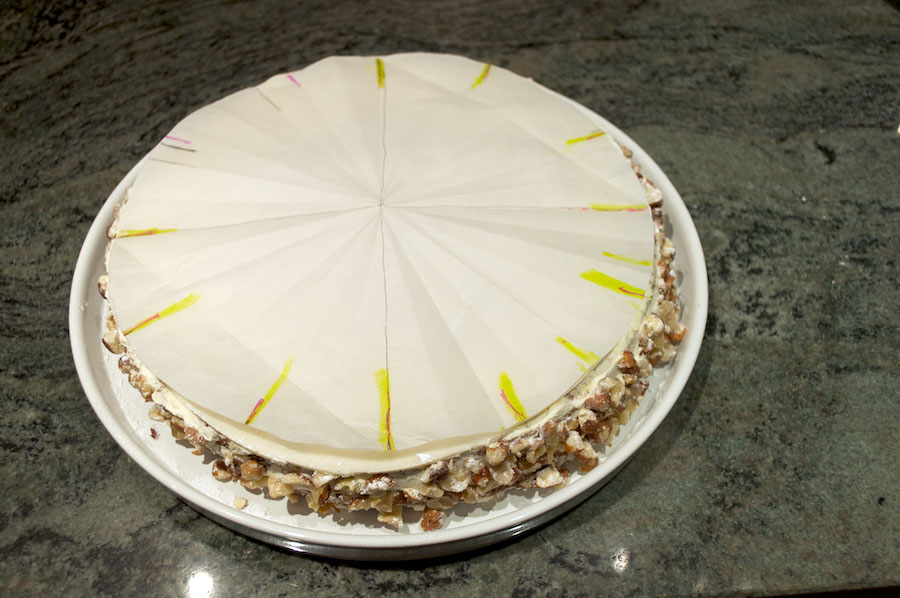
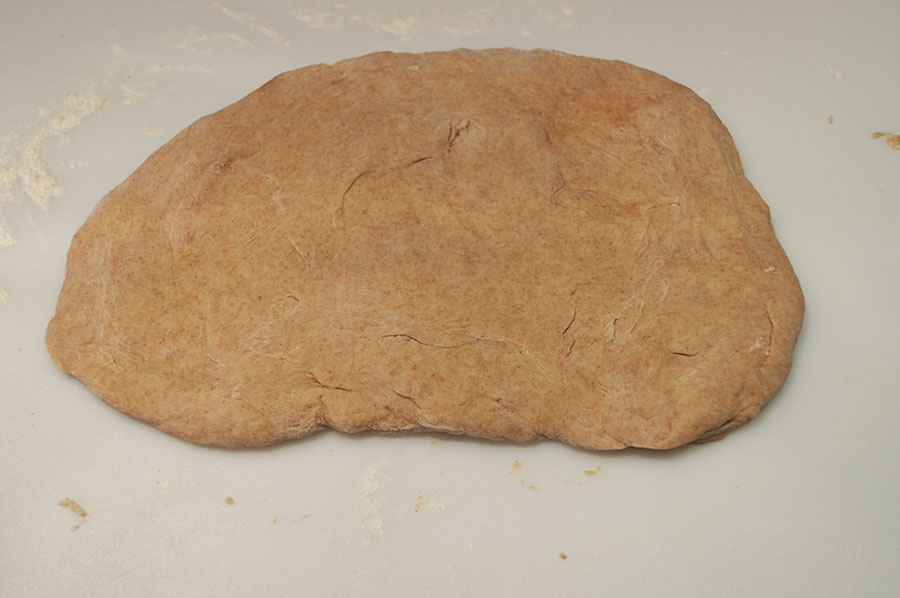
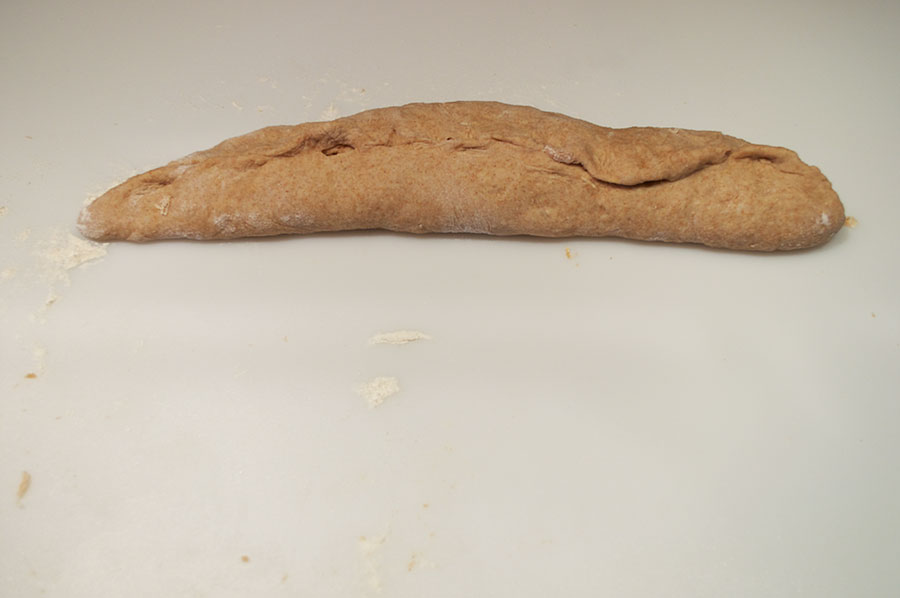
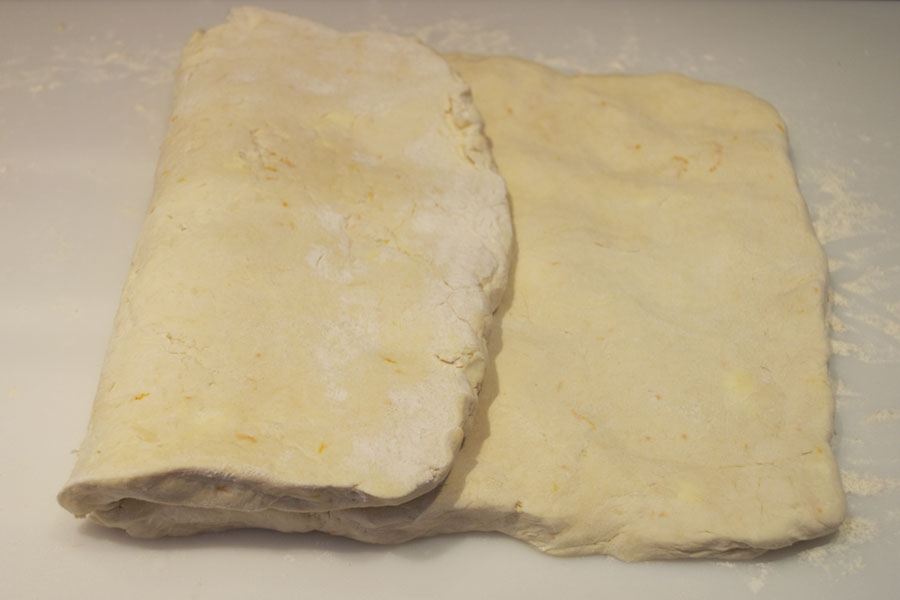
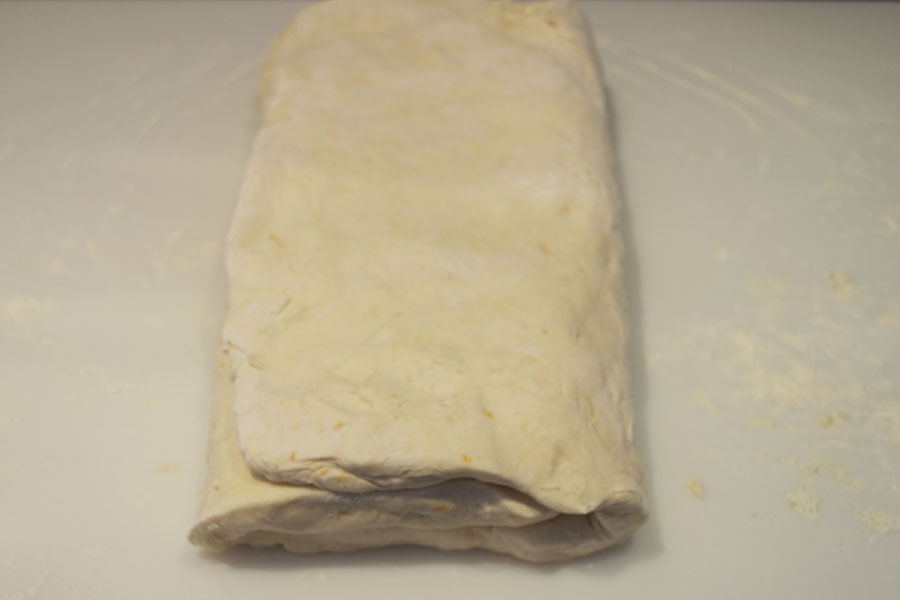
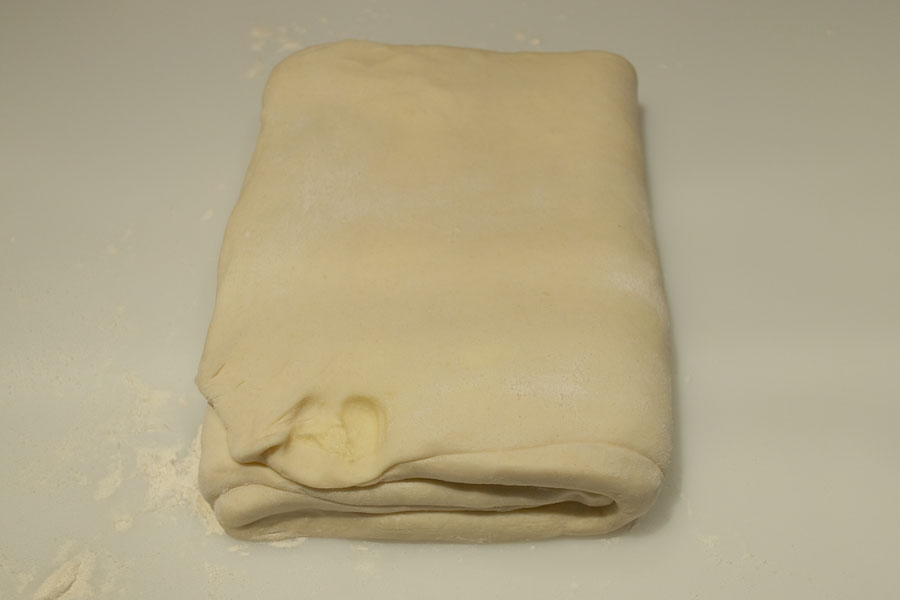
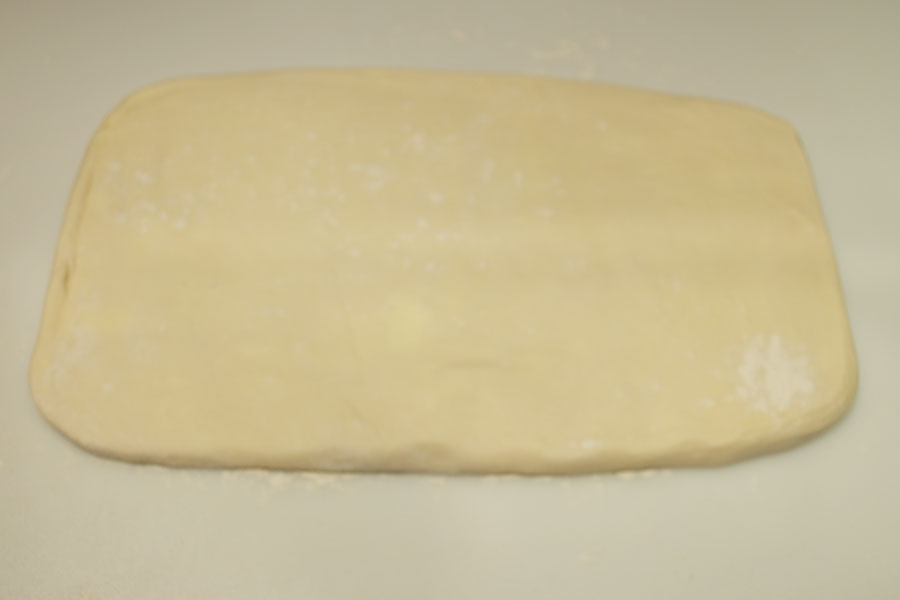
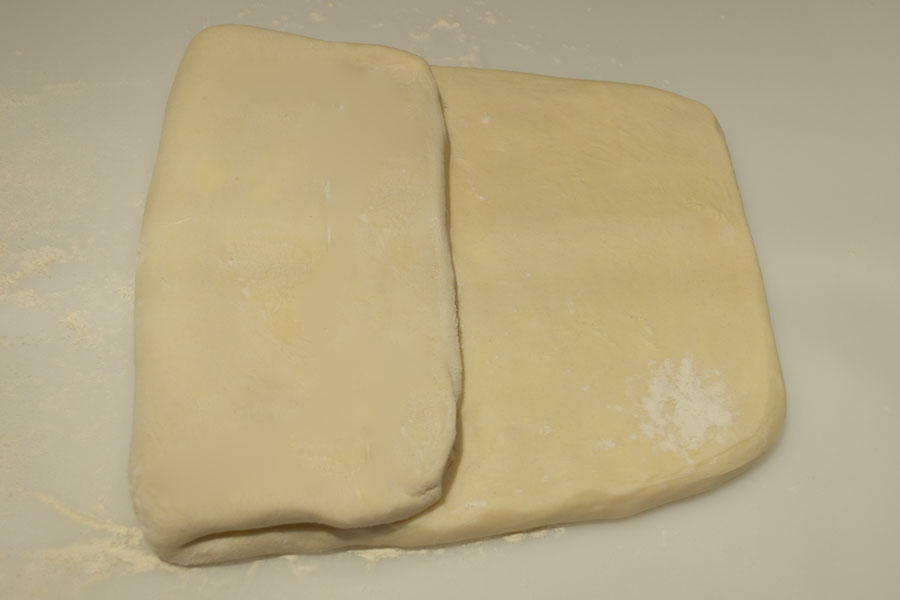
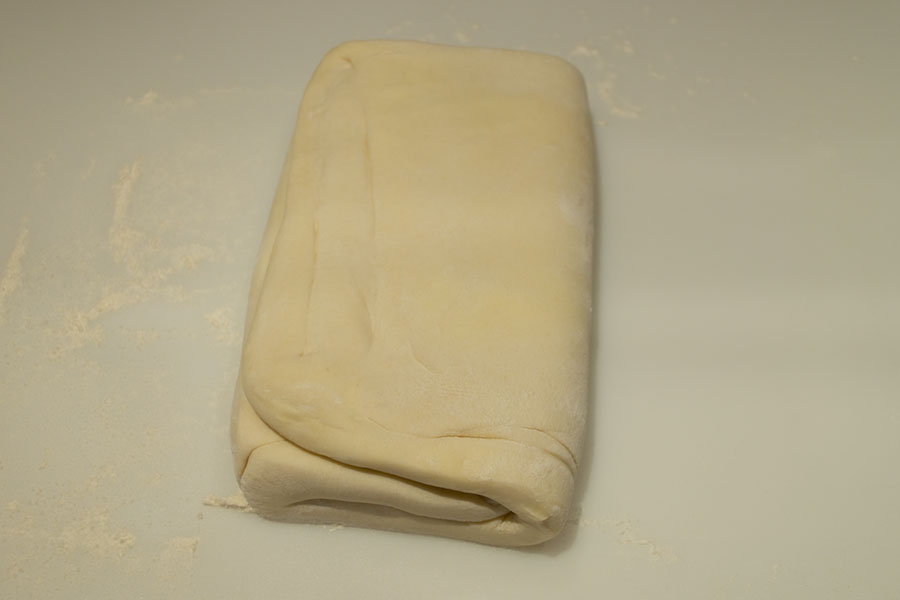
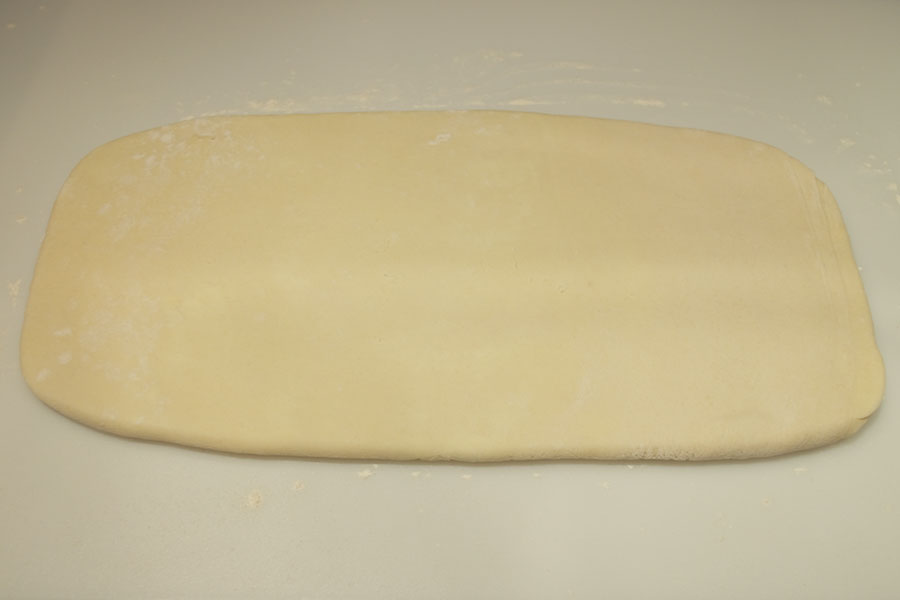
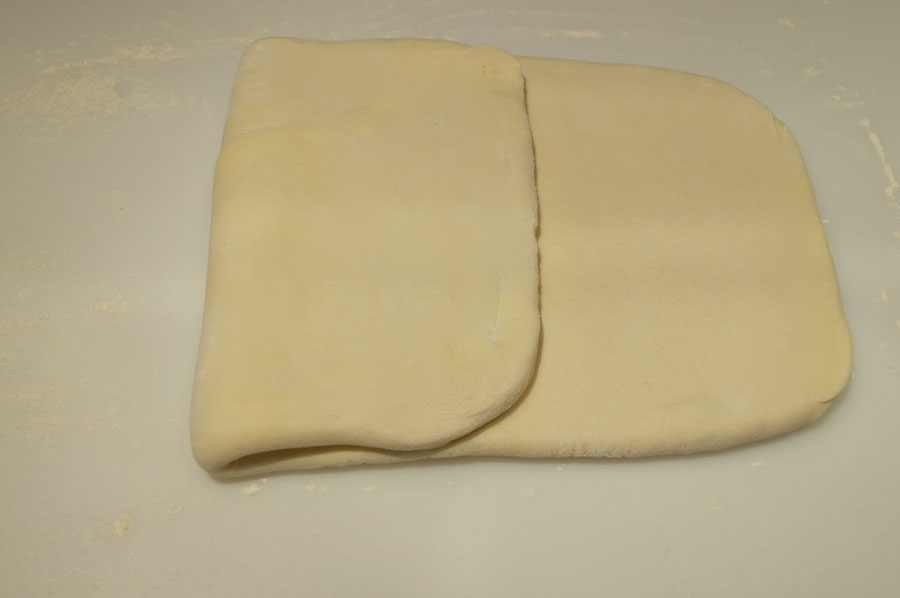
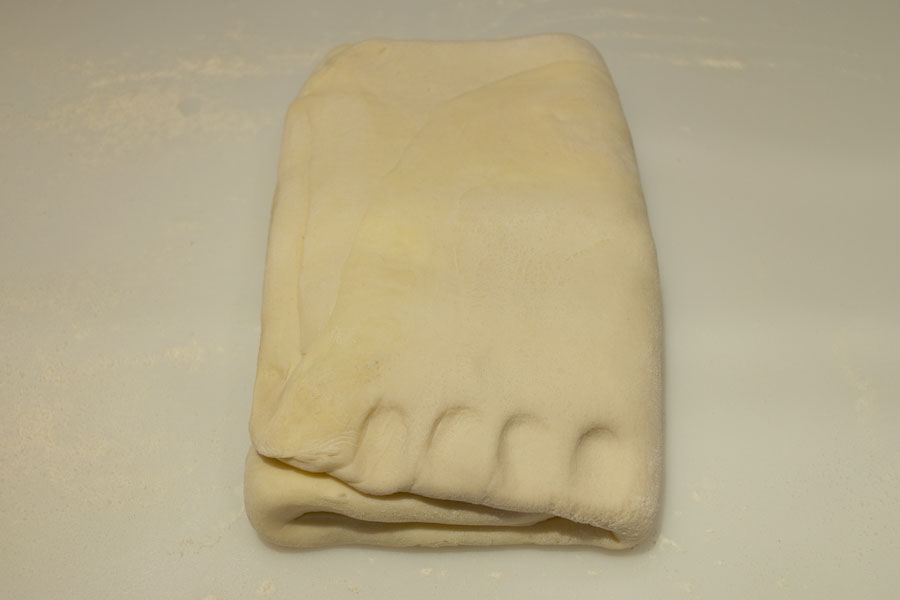
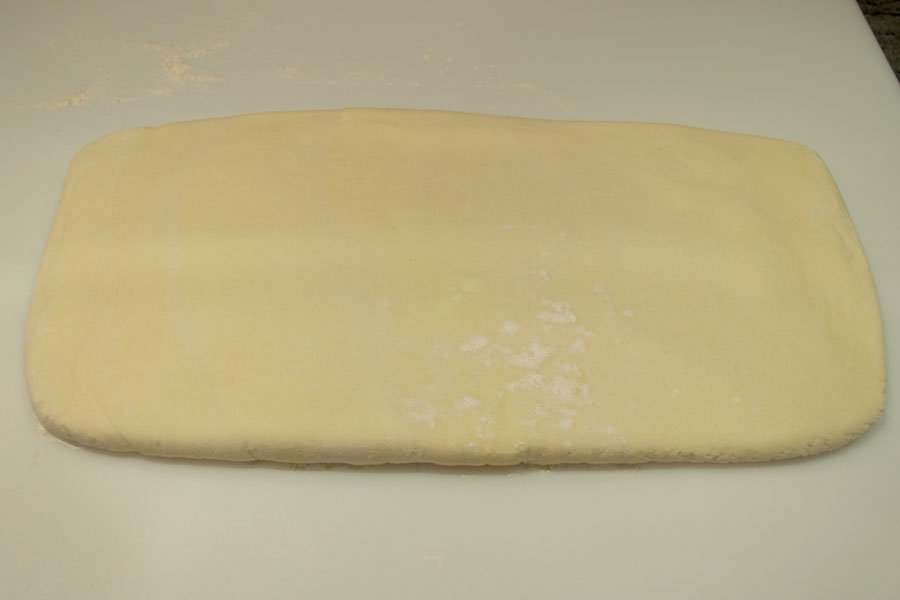
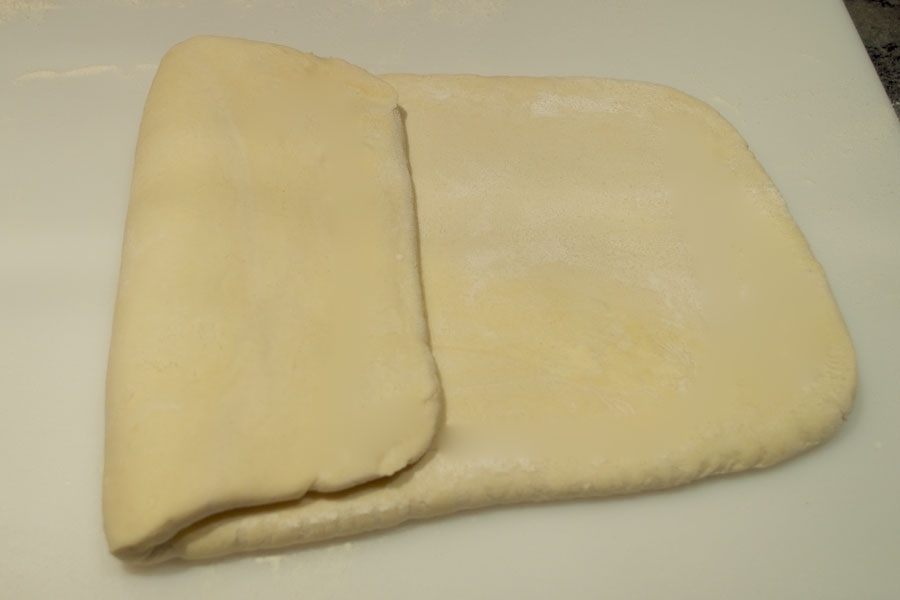
Do five single turns of the dough. This is accomplished by rolling the dough into a rectangle that is half an inch thick with a little flour to ensure it does not stick. Then fold into thirds, like you would fold a letter to put into an envelope. Refrigerate the dough for 30 minutes and repeat four times for a total of five turns. mark each turn with a light finger mark before returning it to the refrigerator to remember where you are in the process.
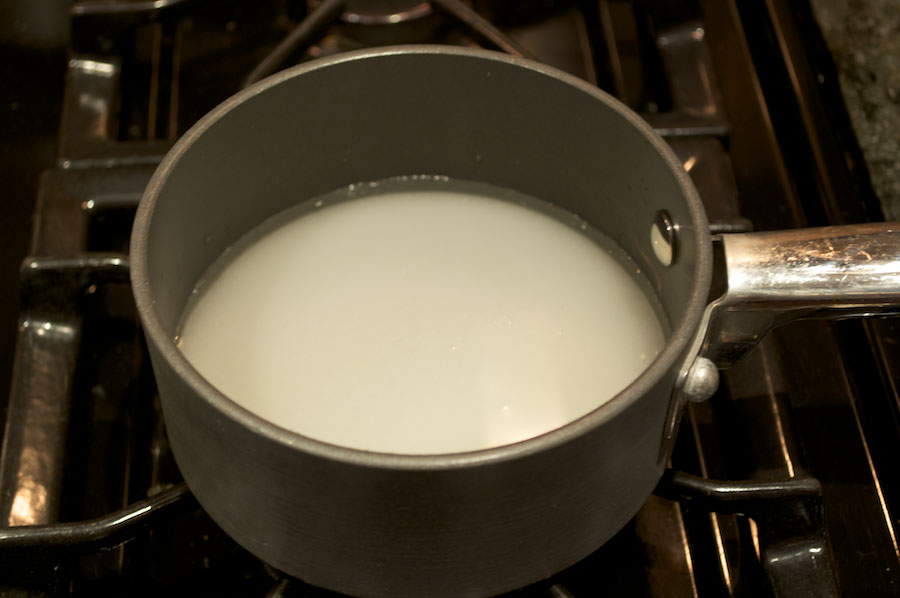
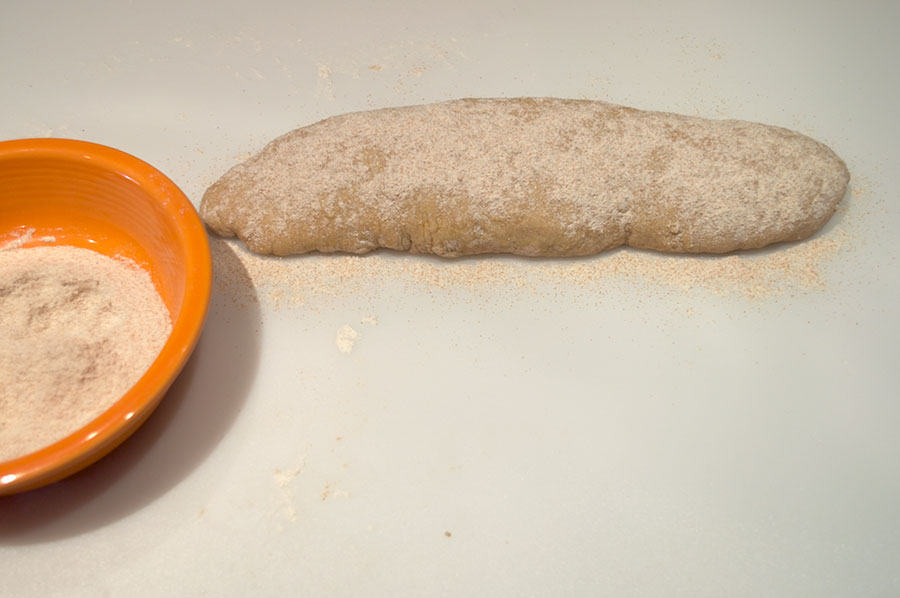
Durring the downtime between turns, two and half hours, I make the other parts that will be needed later on (not pictured). Make the egg wash by mixing the egg and a pinch of salt in a small bowl and reserve. Mix the cinnamon and sugar in a small bowl to create cinnamon sugar and reserve for later use. Make a simple syrup by placing the sugar and water in a saucepan over medium heat and to a boil, allow to cool and reserve.


Do a second turn and refrigerate for 30 minutes.
Do a third turn and refrigerate for 30 minutes.
Do a forth turn and refrigerate for 30 minutes.

Do a fifth turn and refrigerate for 30 minutes.
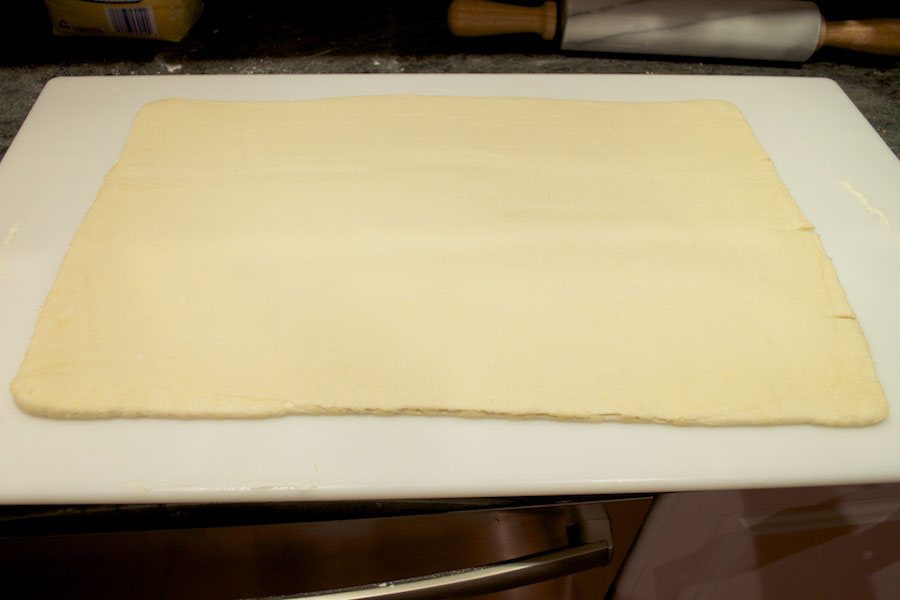

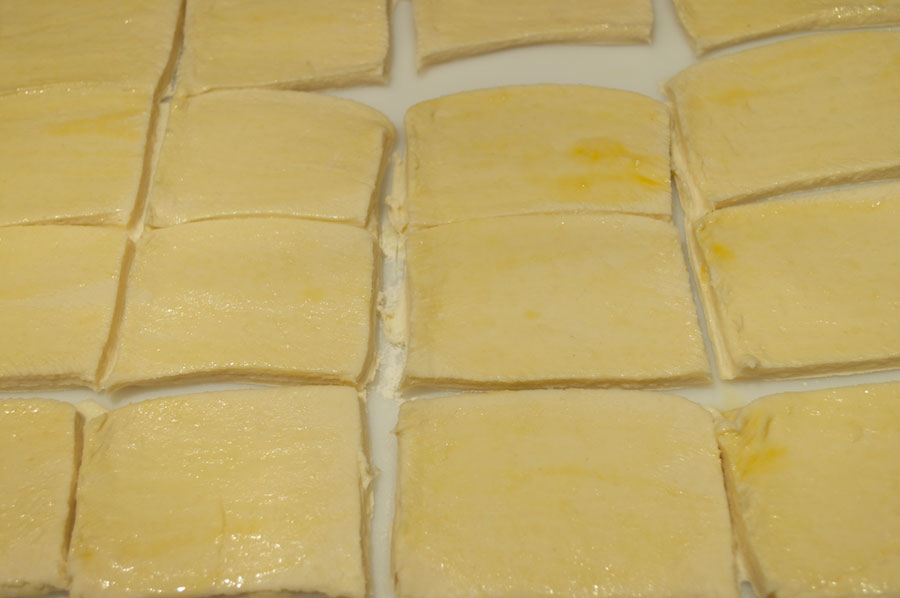
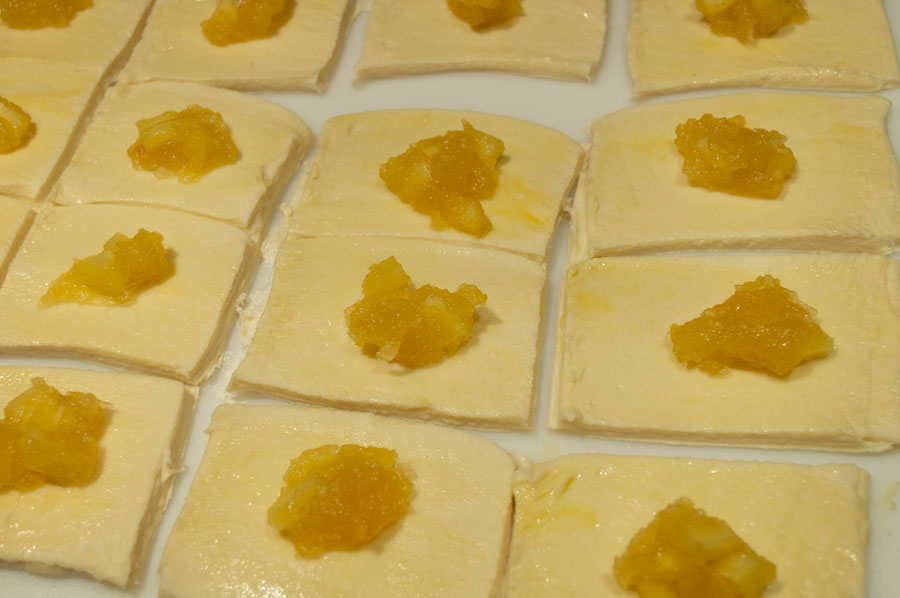
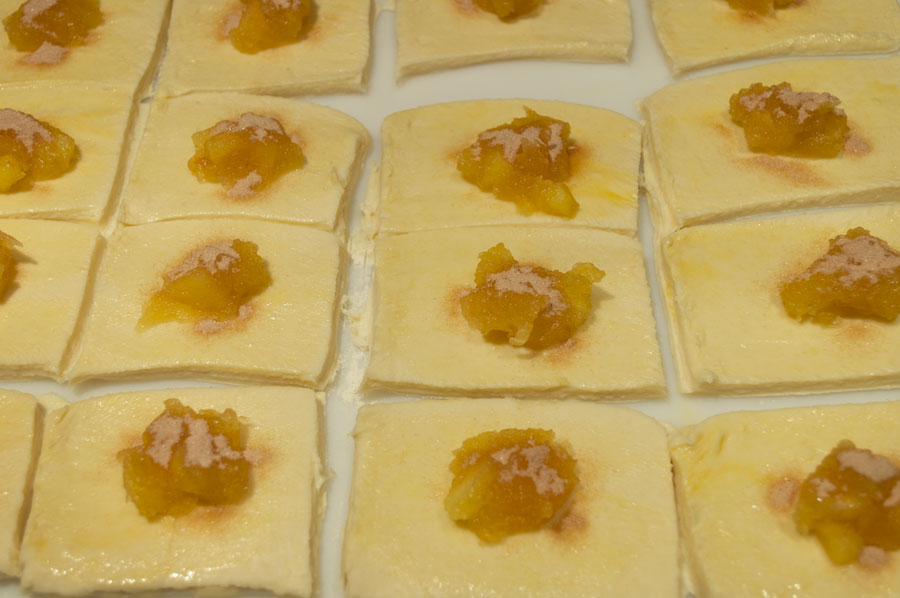
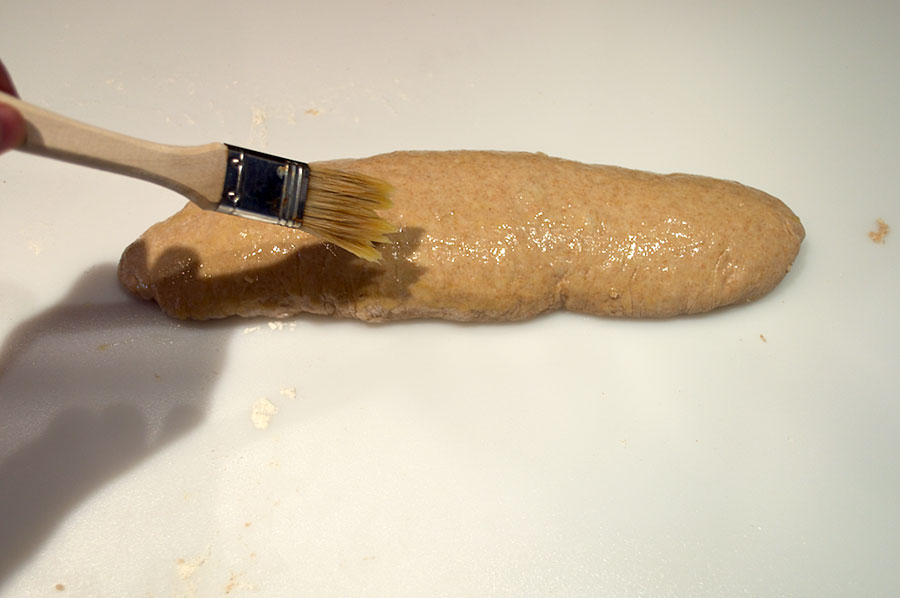
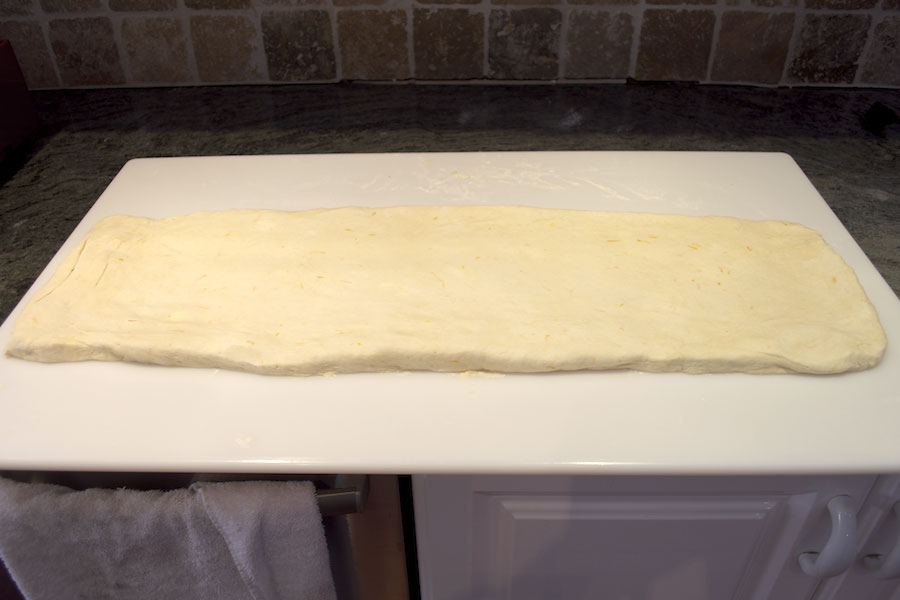
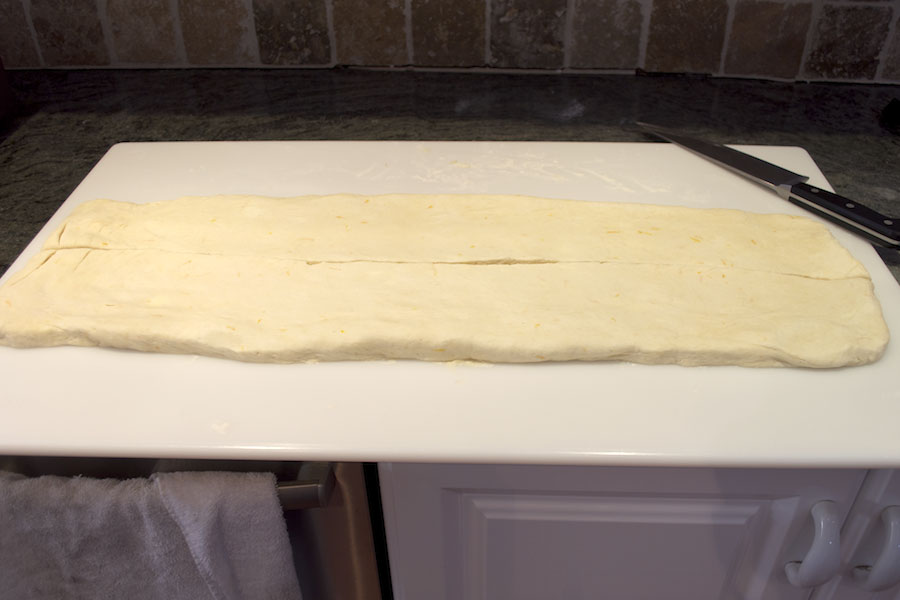
Roll the dough out to 1/8 inch thick, 22 1/2 inches long, and 18 inches wide. Let the dough rest for 5 to 10 minutes. Create 20 squares that are about 4 1/2 inches by cutting the dough into 5 rows of 4 squares each. Brush each square with the egg wash. Spoon about 1 tablespoon of the apple mixture in the middle of each square, sprinkle with cinnamon sugar.
I have a large cutting board I roll the dough out on that is just slightly larger than the desired size. If you don’t have access to a large board roll out the dough on your countertop.
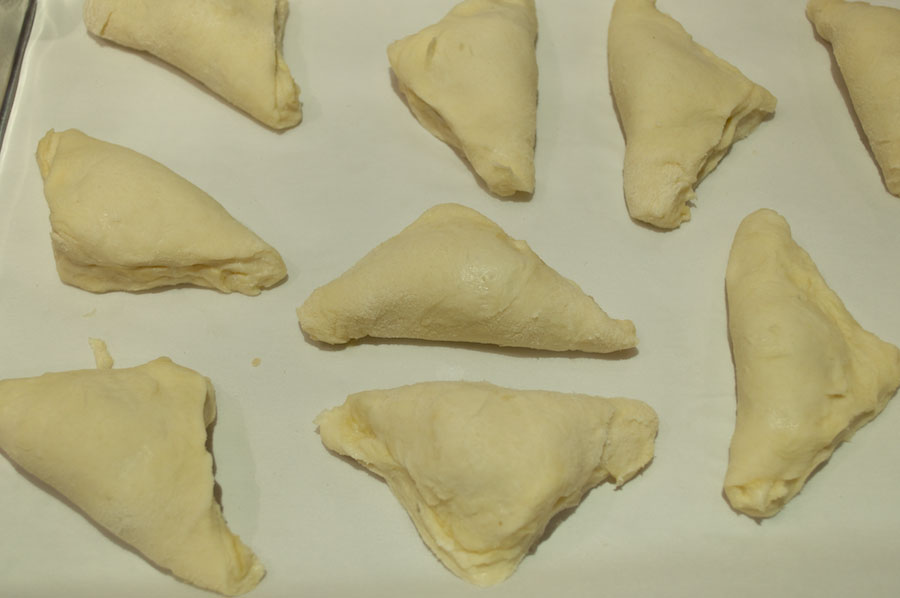
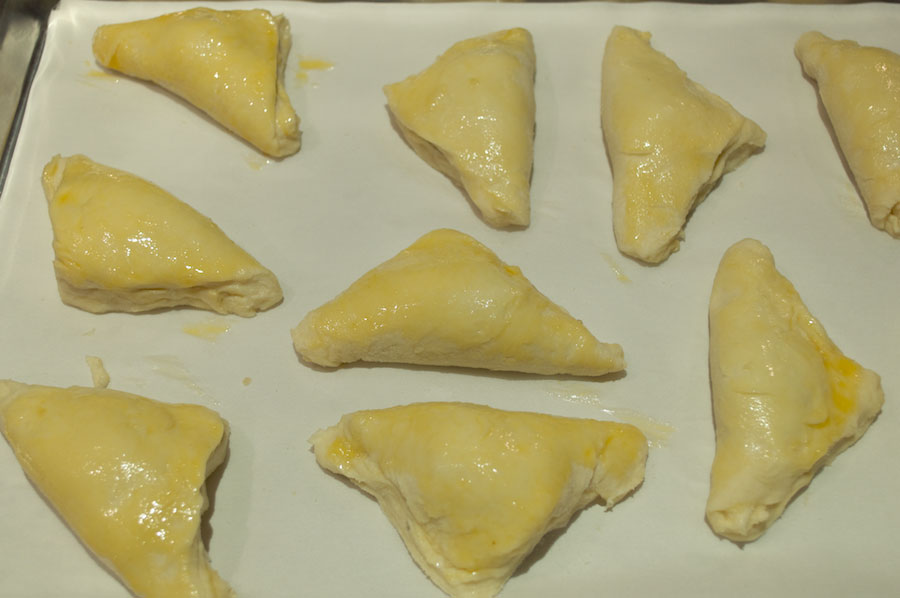
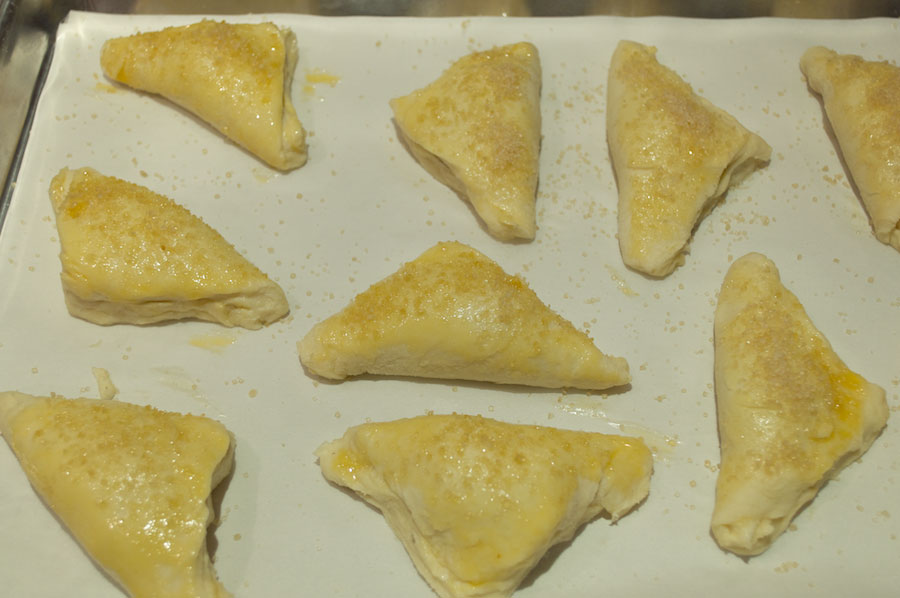
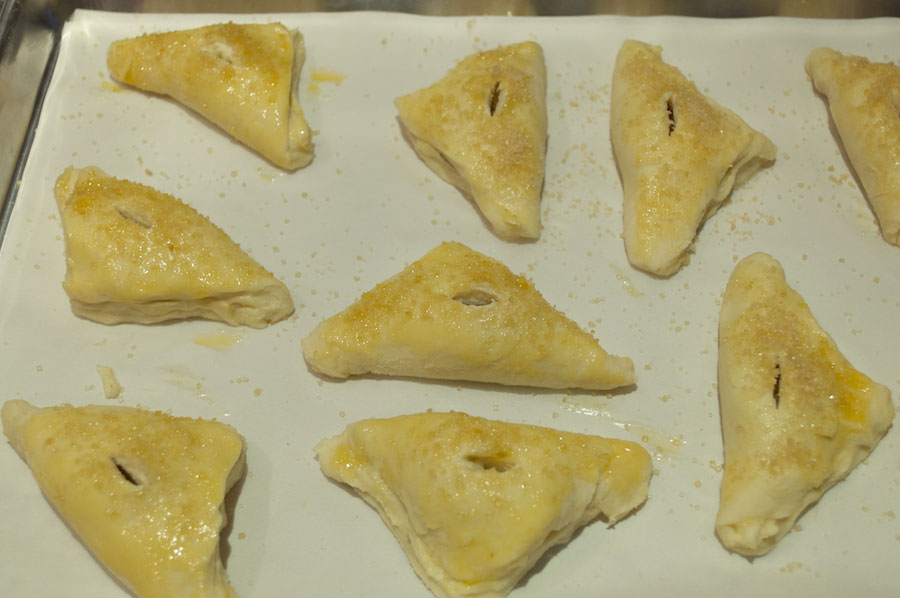
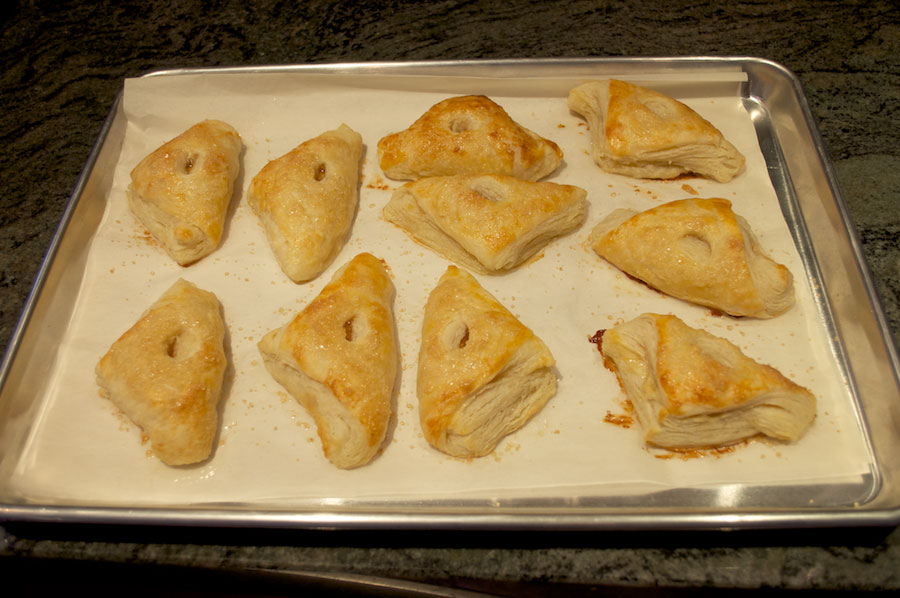
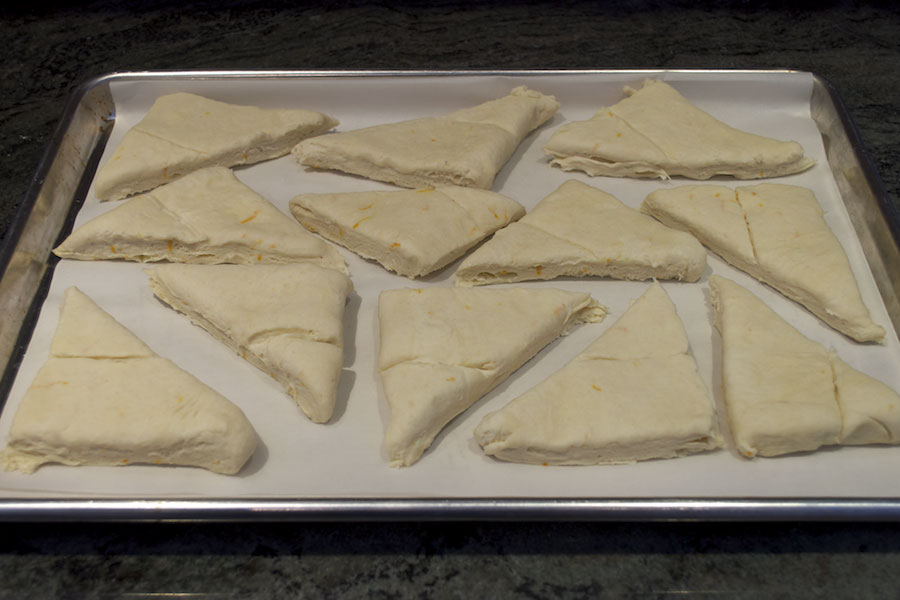
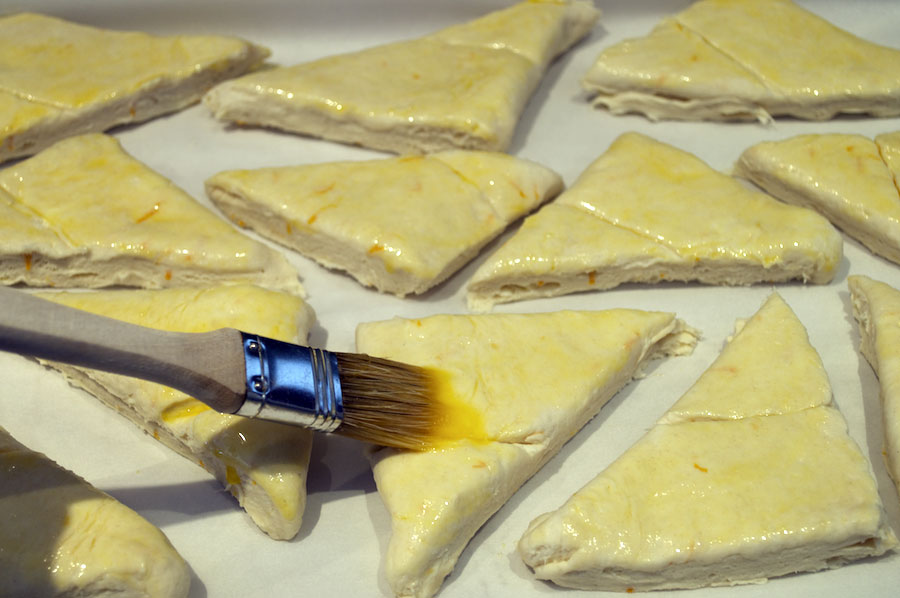
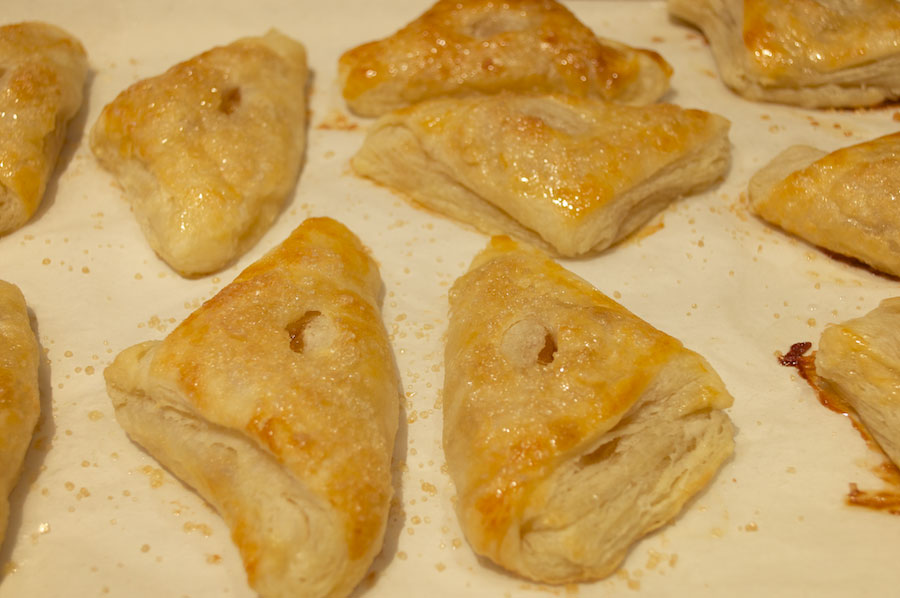
Fold the squares into triangles and seal the edges by pressing lightly with your fingers. Don’t press too hard, it will break the layers created by the folding. Brush the egg wash over the top of each turnover and sprinkle with sanding sugar. In the center of each turnover cut a slit about 1 inch long.
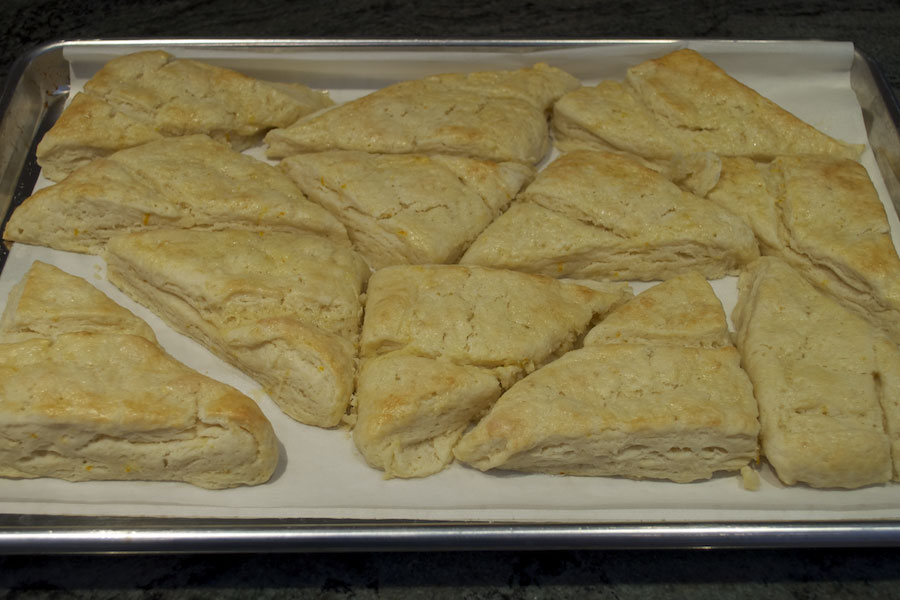
Bake at 375° for 25 minutes or until golden brown. As soon as they come out of the oven brush the pastries lightly with simple syrup. Serve warm or cold. If you wish to re-heat keep in mind the butter re-melting will damage the flaky texture but the flavor will still be good.
Recipe: Apple Turnovers
Adapted from The Professional Pastry Chef: Fundamentals of Baking and Pastry, 4th EditionPrint Recipe
Yield: 20 pastries
Ingredients
Butter Block
- 1 pound 2 ounces (510 g) cold unsalted butter
- Pinch of salt
- 2 teaspoons (10 ml) lemon juice
- 4 1/2 ounces (130 g) bread flour
Dough
- 2 teaspoons (10 g) salt
- 1 cup (240 ml) water
- 2 ounces (55 g) unsalted butter, melted
- 1 teaspoon (15 ml) lemon juice
- 3 1/2 ounces (100 g) cake flour
- 11 ounces (310 g) bread flour
Apple Filling
- 1 pound (454 g) tart apples
- 3 1/2 ounces (100 g) granulated sugar
- 1 tablespoon + 1 1/4 teaspoons water
- 1 1/2 teaspoons lemon juice
Egg Wash
- 1 egg
- Pinch of salt
Cinnamon Sugar
- 2 teaspoons cinnamon
- 1/2 cup granulated sugar
Simple Syrup
- 1/2 cup water
- 4 ounces (113 g) granulated sugar
- Sanding sugar
Instructions
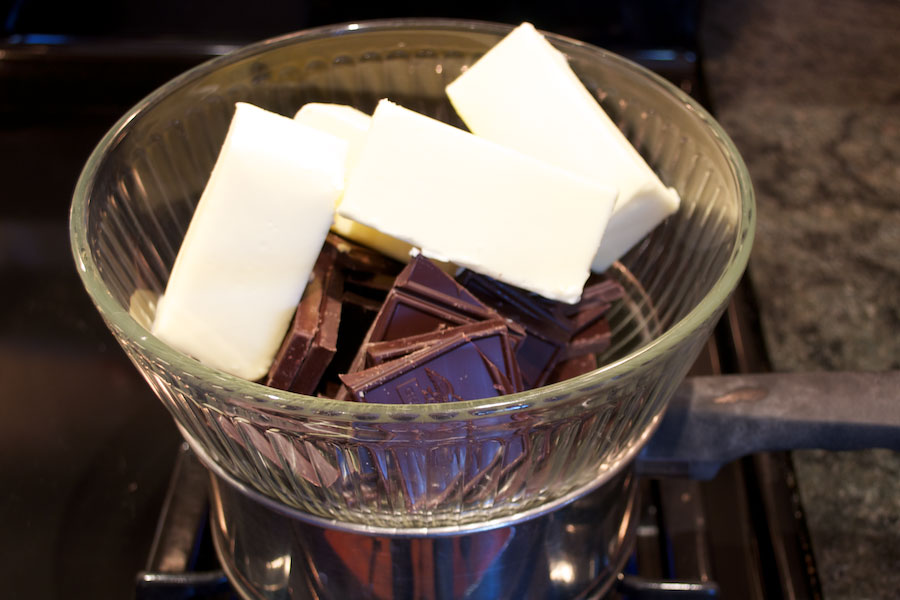
- Make the Butter Block. Dissolve the pinch of salt in the lemon juice. Work the cold butter into a dough like consistency with the warmth of your hand. Mix the salted lemon juice into butter along with with the bread flour.
- Shape the butter block into a 6 inch (15 cm) square, cover with plastic wrap and refrigerate until firm (about 30 minutes).
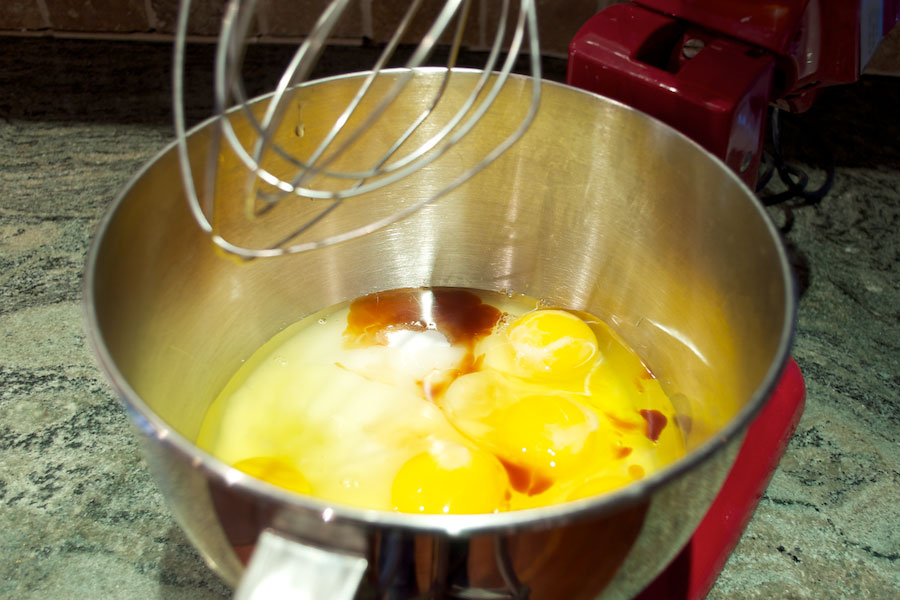
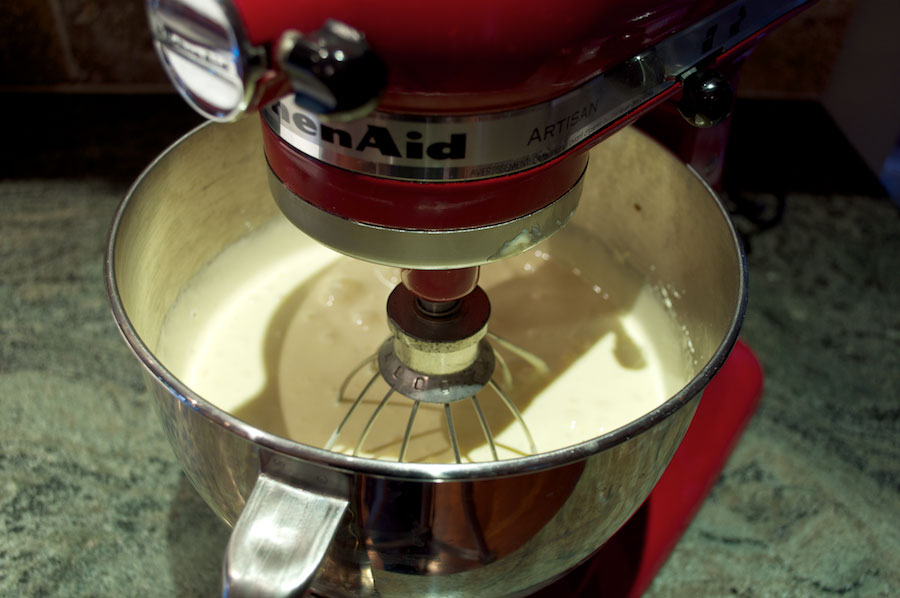
- Make The Dough. Using the dough hook in a mixer set on low, dissolve the 2 teaspoon salt and water. Add the melted butter, 1 teaspoon lemon juice, cake flour, and enough of the bread flour to make a soft, smooth dough. Do not over mix.
- Shape the dough into a tight ball. With a sharp knife, cut across halfway into the ball. Cover with plastic and refrigerate for 30 minutes.
- Pull the corners of the dough out to make a square shape. Place the butter block in the middle of the square, creating a diamond shape on top of the dough with the butter. Fold the triangles into the center of the butter block and seal the edges all the way around the block of butter.
- Do five single turns of the dough. This is accomplished by rolling the dough into a rectangle that is 1/2 an inch (1.2 cm) thick with a little flour to ensure it does not stick. Then fold into thirds, like you would fold a letter to put into an envelope (see pictures above). Refrigerate the dough for 30 minutes and repeat four times for a total of five turns.
- Make the Apple Filling. Peel and core the apples. Cut 2/3 of the apples into 1/2 inch (1.2 cm) pieces. Cut the remainder into 1/4 inch (6 mm) pieces and reserve.
- Cook the 1/2 inch (1.2 cm) pieces of apple in a saucepan over medium heat along with the sugar, water and lemon juice until the apples have broken down. Add the remaining 1/4 inch (6 mm) pieces of apple and cook until they have softened but are not breaking down. Remove from heat, allow to cool and reserve.
- Roll the dough out to 1/8 inch (3 mm) thick, 22 1/2 inches (56.2 cm) long, and 18 inches (45 cm) wide. Let the dough rest for 5 to 10 minutes. Create 20 squares that are 4 1/2 inches (11.2 cm) by cutting the dough into 5 rows of 4 squares each.
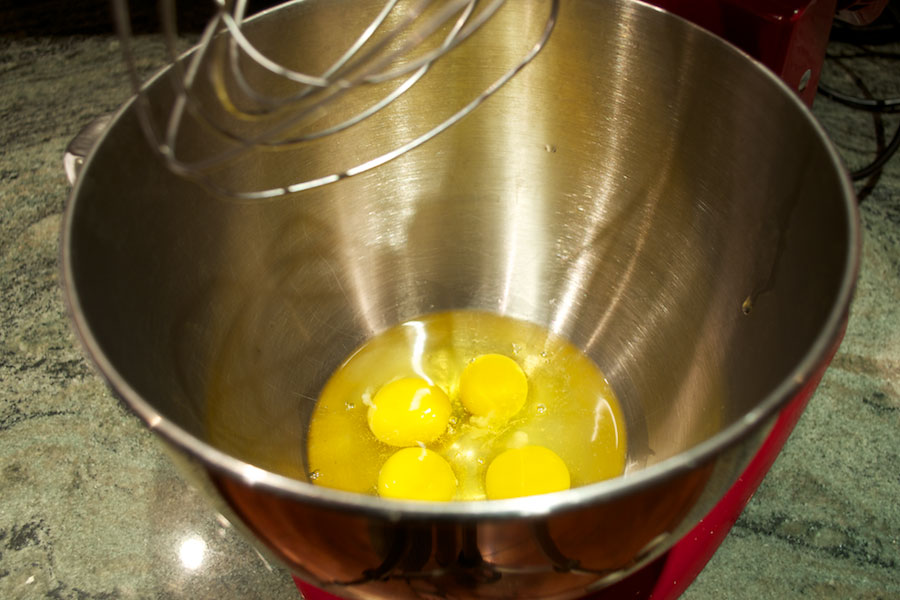
- Make the Egg Wash. Mix the egg and a pinch of salt in a small bowl and reserve.
- Make the Cinnamon Sugar. Mix the cinnamon and sugar in a small bowl and reserve for later use.
- Make the Simple Syrup. Place the sugar and water in a saucepan over medium heat and to a boil, allow to cool and reserve.
- Brush each square with the egg wash. Spoon about 1 tablespoon of the apple mixture in the middle of each square, sprinkle with cinnamon sugar. Fold the squares into triangles and seal the edges by pressing lightly with your fingers. Brush the egg wash over the top of each turnover and sprinkle with sanding sugar. In the center of each turnover cut a slit about 1 inch (2.4 cm) long.
- Bake at 375° (190°C) for 25 minutes or until golden brown. As soon as they come out of the oven brush the pastries lightly with simple syrup.


 Chiffon Sponge with Buttercream and filled with pastry cream
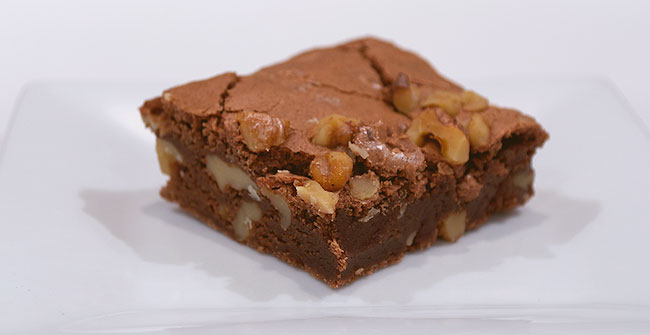
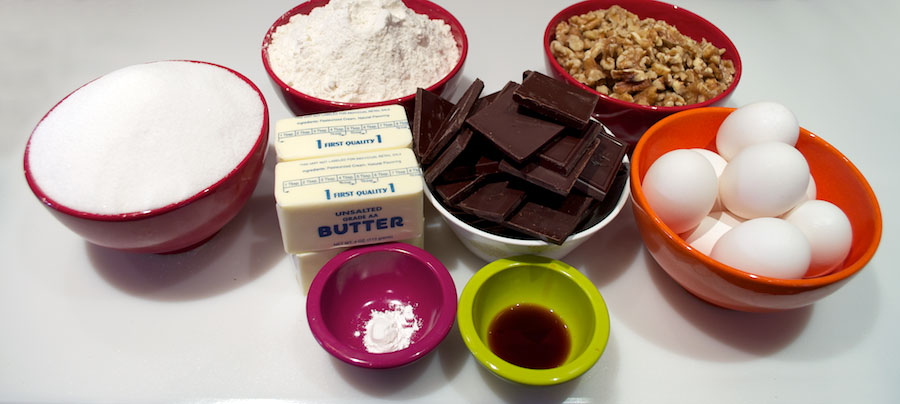
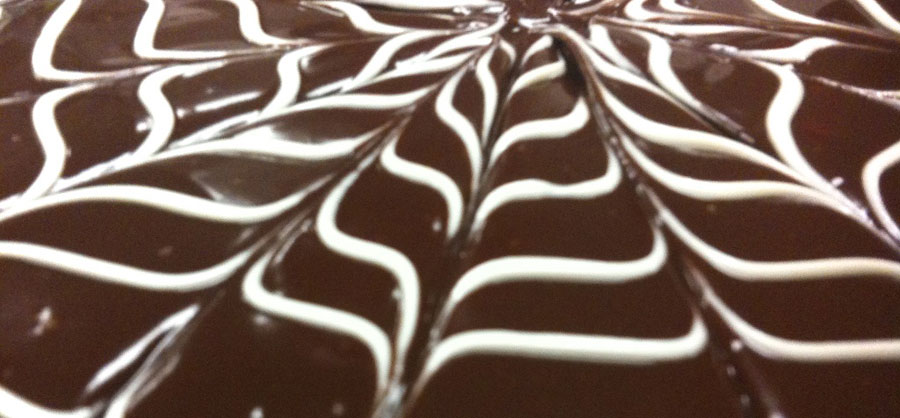
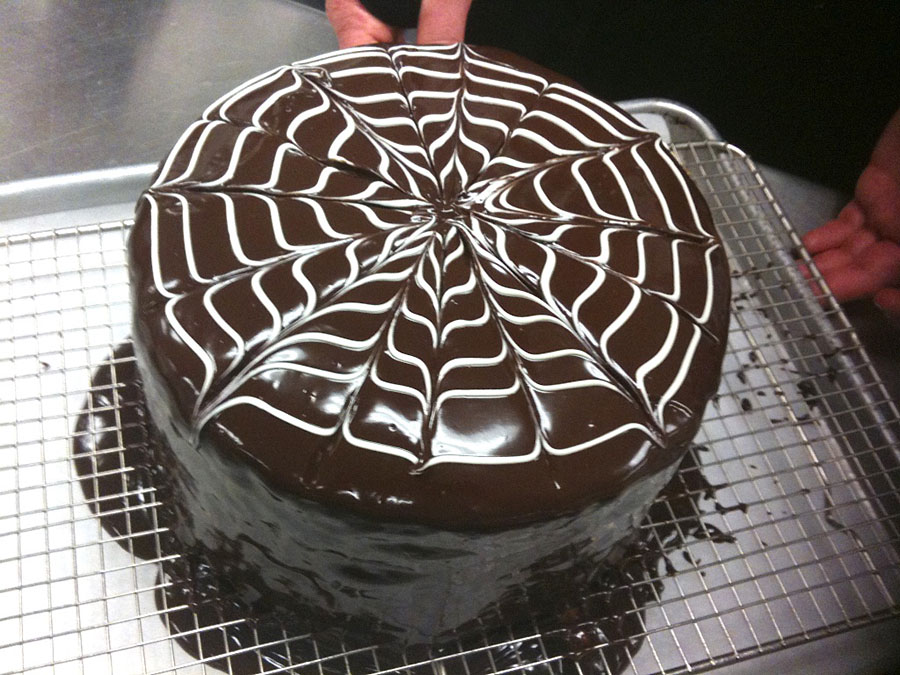 Jeff’s Chocolate Birthday Cake with Ganache and cream cheese frosting filling
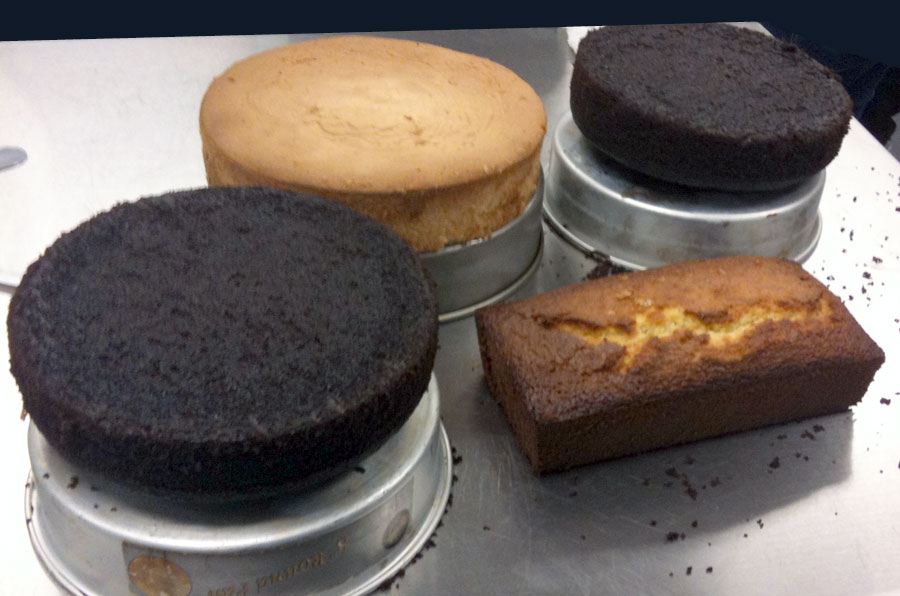
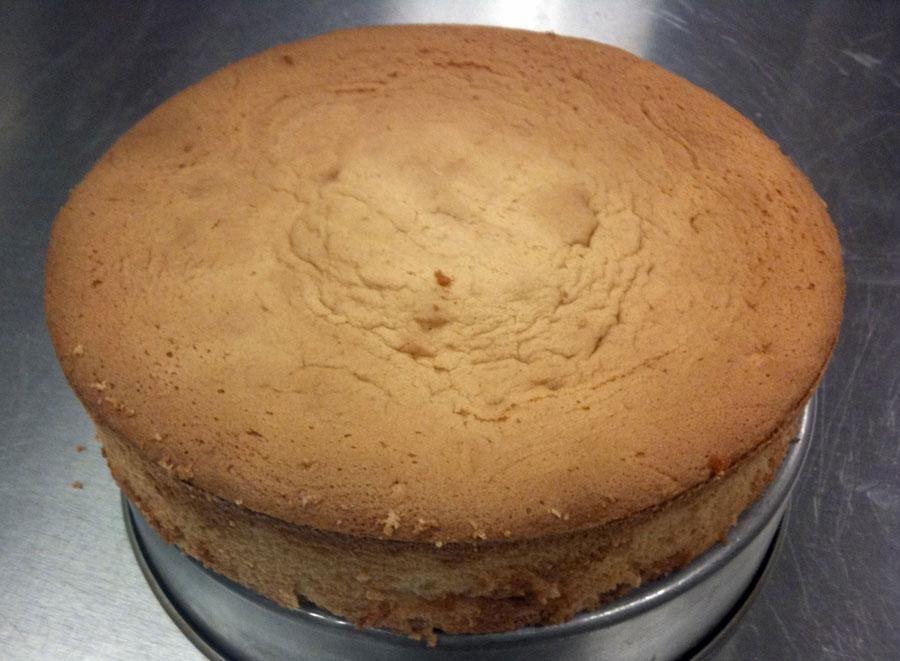 Chiffon Sponge
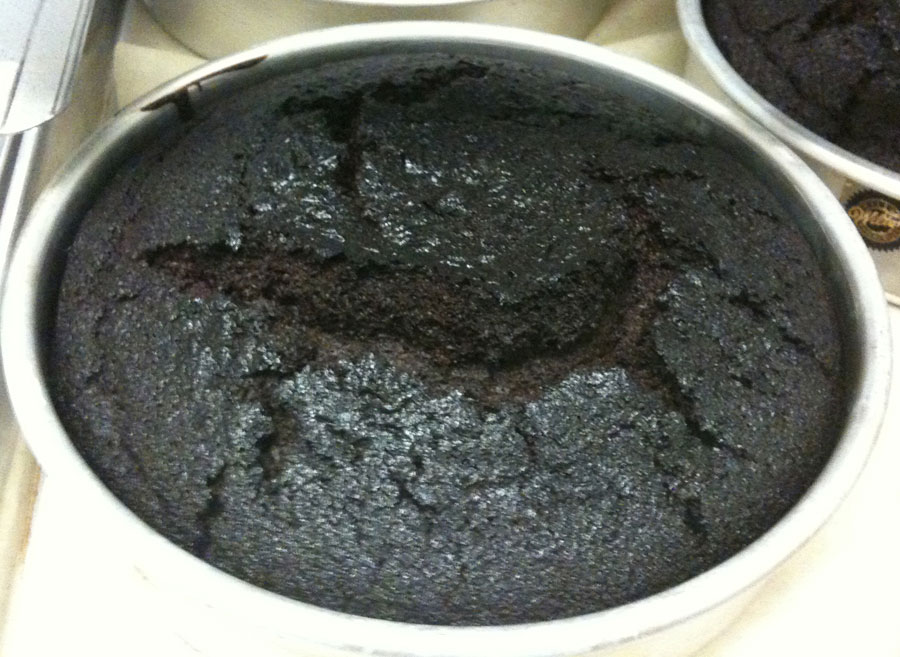 Jeff’s Chocolate Birthday Cake
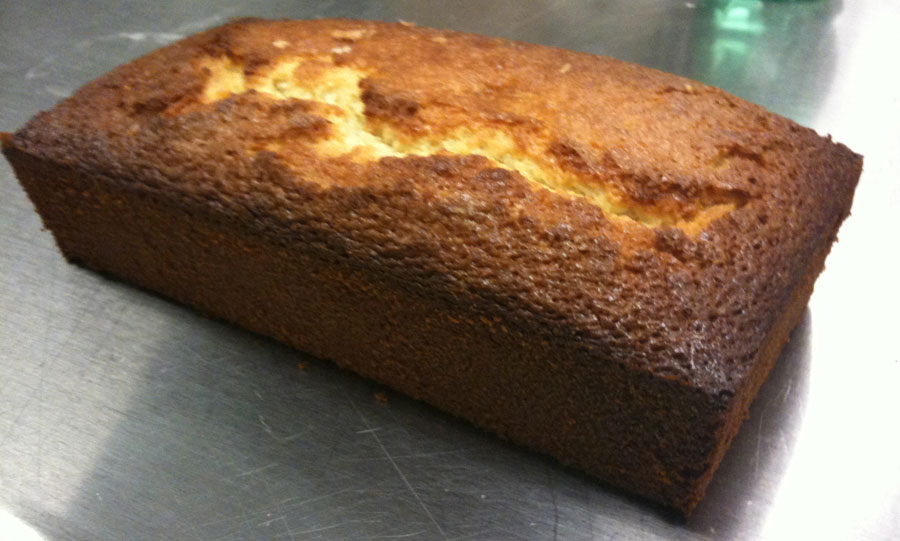 Lemon Pound Cake
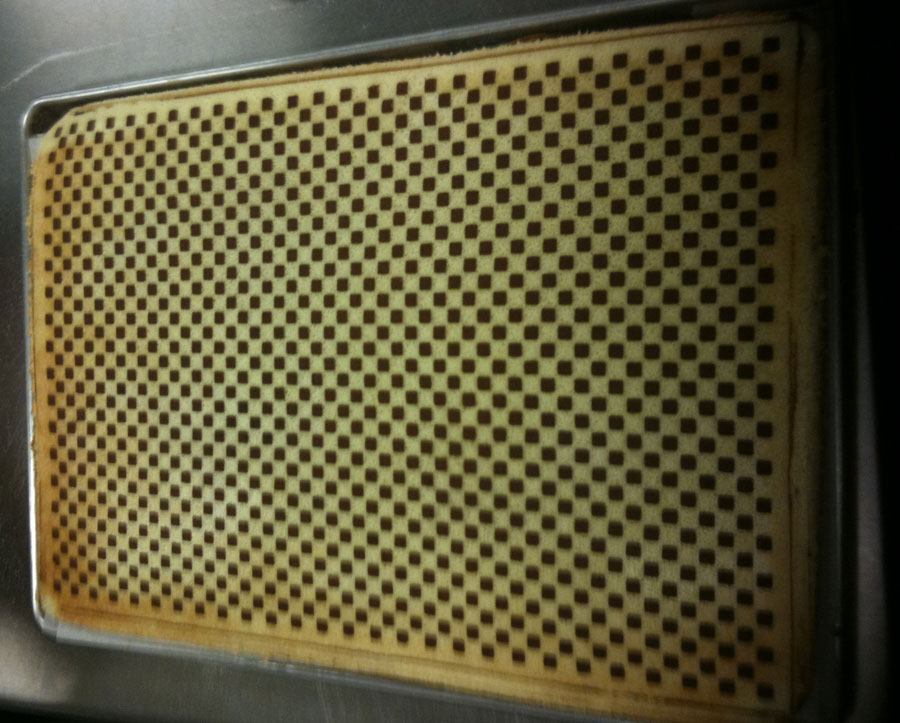 Patterned Jaconde Sponge