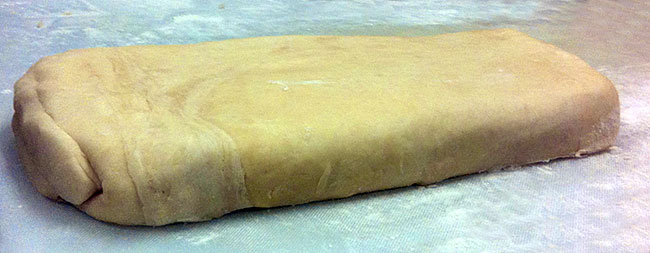
Bakeshop Skills Class this week covered laminated doughs. Layered fat and dough are what create these doughs. The layers are created by encapsulating a layer of fat into the dough, flattening it and then rolling it out, and folding it over and over. There is a lot of resting time in between rolling out and folding the dough. Depending on the dough, it can take several days to complete the process. For this reason, there are no finished products this week to share, they will be baked off in next weeks class along with fried doughs.
The more layers one creates the flakier the finished product. The amount of layers also creates more “puff” when the dough is backed. The fat, usually butter or margarine, holds water that when cooked at the right temperature (400° or higher) creates steam that gives the dough height. Some doughs, such as croissants and danishes, use yeast which creates a flakier and softer product. Doughs that don’t use yeast result in a crispier crust than those that do.
There are several different ways of creating laminated dough. In class, we covered the techniques of two different methods. One is known as the American Method – which is the basic pie dough method, only the butter is left in slightly larger than marble sized chunks before folding and rolling, rather than pea-sized. The other method is known as the butter block method, where butter is mixed with a little flour, wrapped in the dough as a block, and kept at the same constancy of the dough while rolling and folding.
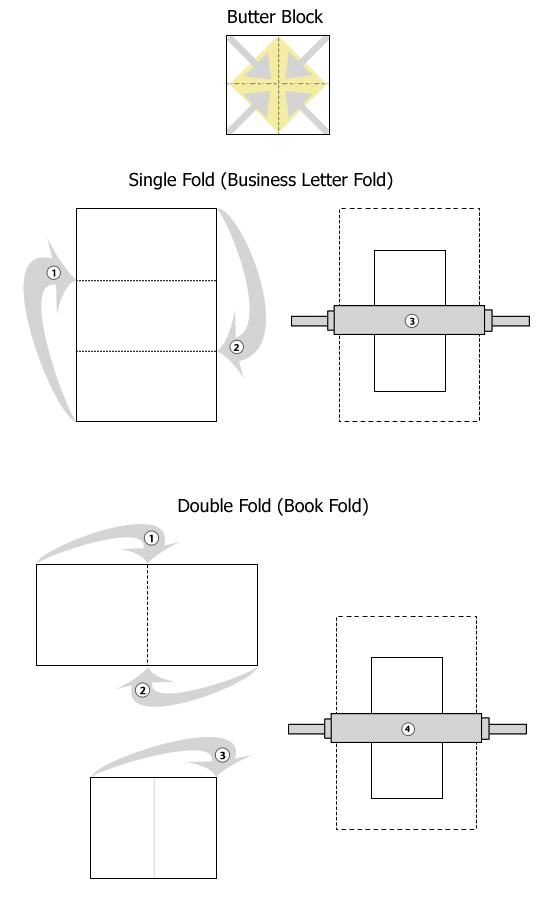
The rolling and folding is not complicated, once one gets the hang of it. The folding is probably the hardest thing to learn. The first kind of fold is called a single fold, and it resembles a business letter being folded. Once the dough is rolled out it is folded like a business letter and then returned to the specified resting method and time. This can be repeated many times depending what kind of dough you’re making. The second method, double folding, is similar to folding a book cover. Once the dough is rolled out both ends are folded to the center and then folded in half again. Depending on the recipe a combination of both methods or just one method can be used. The most important thing is to keep your edges square so each layer is equal before folding, or your butter layers will not be consistent throughout the pastry effecting its height and texture.
I had read about folding before and never really understood what I was supposed to do. I created the graphic below to help describe two folding methods that are used. Hopefully, these diagrams are a little more helpful to someone than the ones I had seen in the past. Next week is our last class where we will be doing baking, followed by our field trip the next week. I can’t believe the class is almost over, it seems to have flown by.
